HOME | DD
 Bme-Cutesyart — Step by step tutorial - Sunset city
#aesthetic #anime #anthroart #background #city #cool #cute #digitalart #digitalillustration #kawaii #landscape #manga #oc #orange #pastel #pink #retro #step #stepbystep #sun #sunset #tutorial #yellow #cutesyart #kawaiiadorable #art #bme_cutesyart #anthro #stepbystepart
Published: 2021-04-23 16:31:16 +0000 UTC; Views: 3910; Favourites: 68; Downloads: 0
Redirect to original
Description
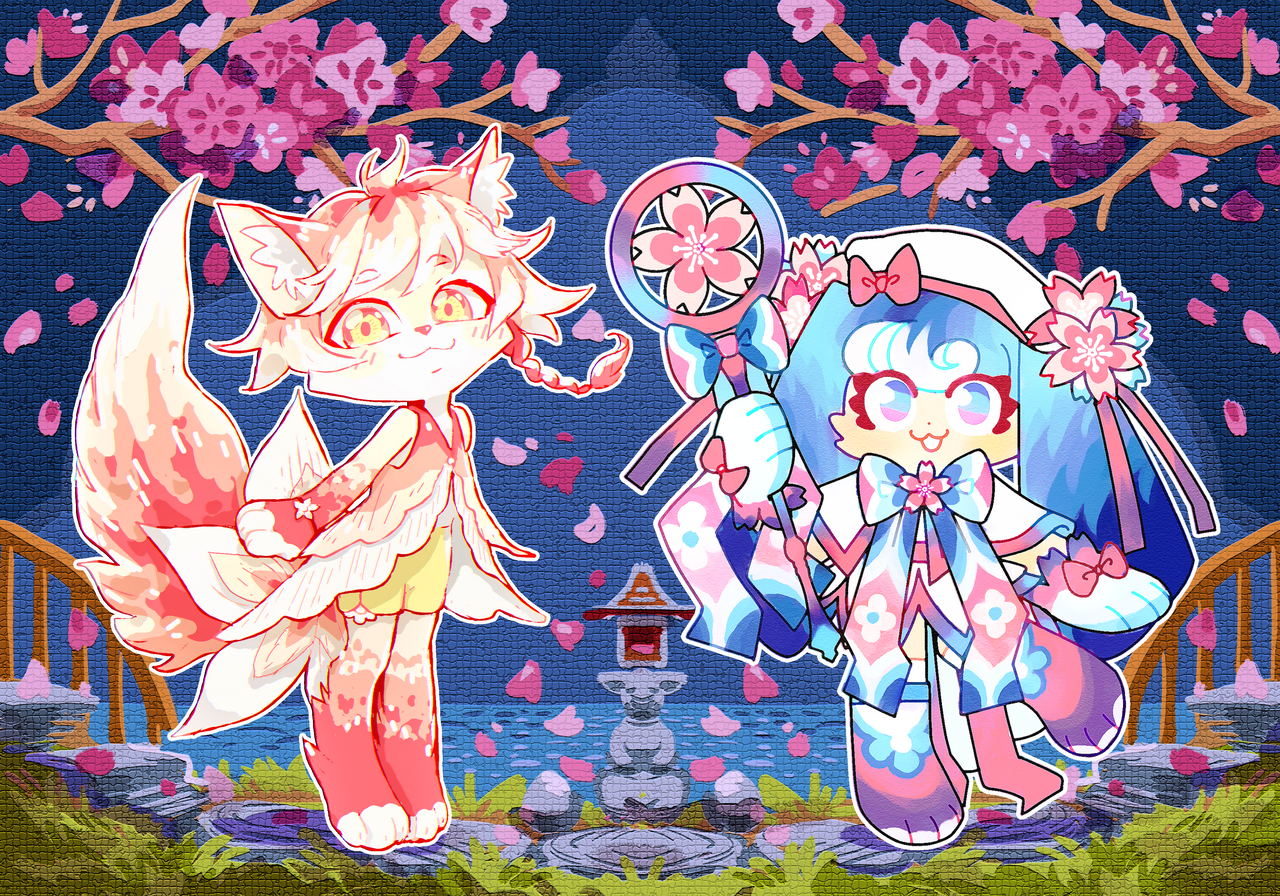
Step by step - Sunset cityHere the step-by-step version of my last piece of art that I promised to make. Hope this help you learning how to do the lighting for environment like this ^w^
Do you think I should create more step-by-step tutorial like this (hair shading, eyes shading technique, other environment lighting, etc)? Love to hear feedback from you <33
______________________________________________________________________
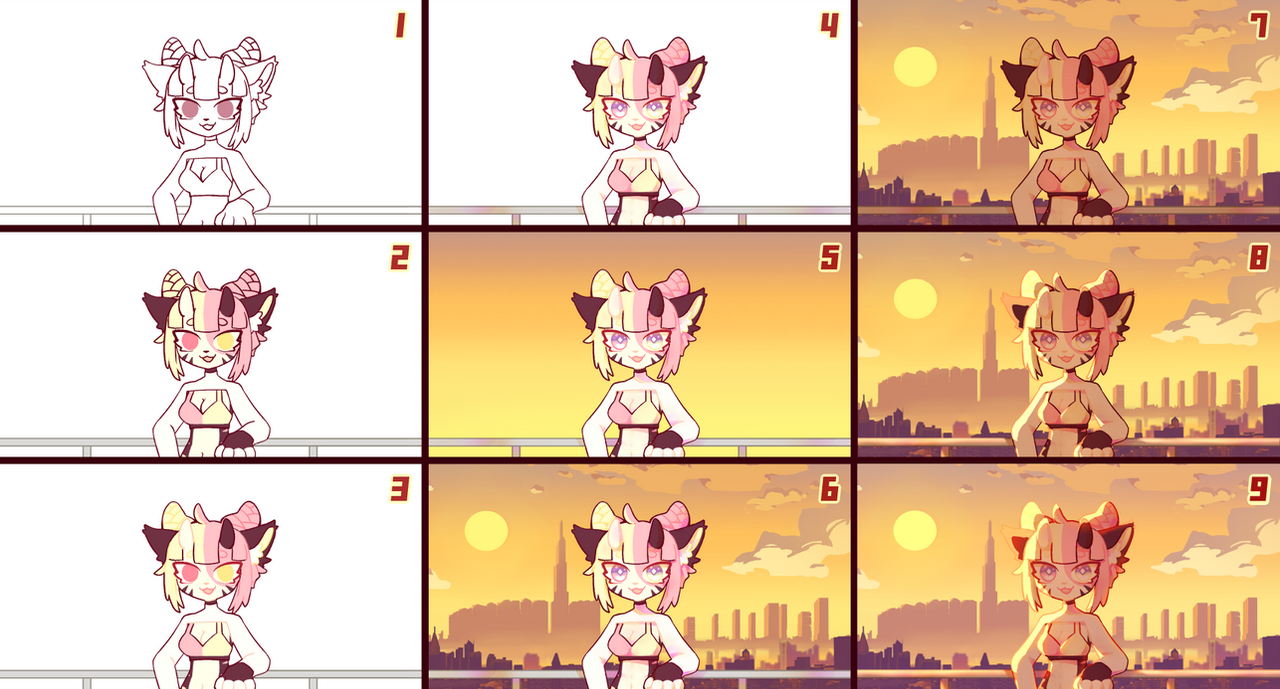
Step #1
- Prepare your lineart. Turn on anti-analysing (weak) if you want your lineart to look smoother. I work on a 1500x800 pixels canva and I use 7 pixels pen for it.
Step #2
- Creating a layer underneath the lineart layer and start adding base colors. I put all of colors in one layer but you can keep each of them on a seperate layer if you like (it'll make your shading process a little bit easier)
Step #3 ( You can skip this step if it don't fit your stlye)
- Coloring your lineart with a darker and more saturated color from your base colors.
Step #4
- Shading on a multiply cliping layer above the base colors layer. I personally using orange and electric purple for this step.
Step #5
- I created a gradient layer of all color I'm going to use for the background details.
Step #6
- Now I drew a rough and simple background using the color from the gradient layer (the color sun is the yellow from the bottom, color of buildings far away is orange from the top and middle). After that I drew bulding in the front with a darker and more saturated purpleish color. You can use assets from your program website for this step.
Step #7
- Merged all layers except the background layer then create a multiply cliping layer above that. Selecting an light orange from the background then fill this whole layer with it.
Step #8
- Create an add (glow) cliping layer above that, using a orangeish yellow color for the lighting. Reduce the opacity if needed.
Step #9
- Create a hard light cliping layer below the add (glow) layer and use airbrush with a red color to add glow light to all the part near the light source. Use tone curve to color corection the whole piece
Voilà. It's done!!
Program used: Clip studio paint
______________________________________________________________________