HOME | DD
 DemonikWolfe — Tutorial on making BW Overlay for DAZ billboards
#tutorial #daz3d #dazstudiopro410
Published: 2019-04-28 20:26:28 +0000 UTC; Views: 1105; Favourites: 2; Downloads: 11
Redirect to original
Description
Overlay in GIMP, not the same as Color Overlay in PS.I was watching a video on how to make billboard type backgrounds instead of using several characters in a scene. As we all know, the more characters in the scene the more time the render takes. I mean, a really LONG time as you add several characters or complex objects into the scene. So, I became interested in this idea for larger scenes. Here is the video I watched:
www.youtube.com/watch?v=_KdRAs…
Sounds easy enough. The only problem is, i don't PS. I use GIMP as I have noticed a lot of us amateur and maybe many advanced artist do. It is quite powerful and fairly easy to get used to. So, i tried to follow the instructions from the video, but right off the bat i ran into the issue of color overlay versus overlay. Somebody might jump right in and tell me an easy way to do what I am about to describe as my solution. If not, I hope this helps someone else who is trying to figure out how to do this as well.
I found this resource on how to achieve the same effect as color overlay in GIMP, but it didn't work exactly like the original example:
gimpforums.com/thread-how-to-a…
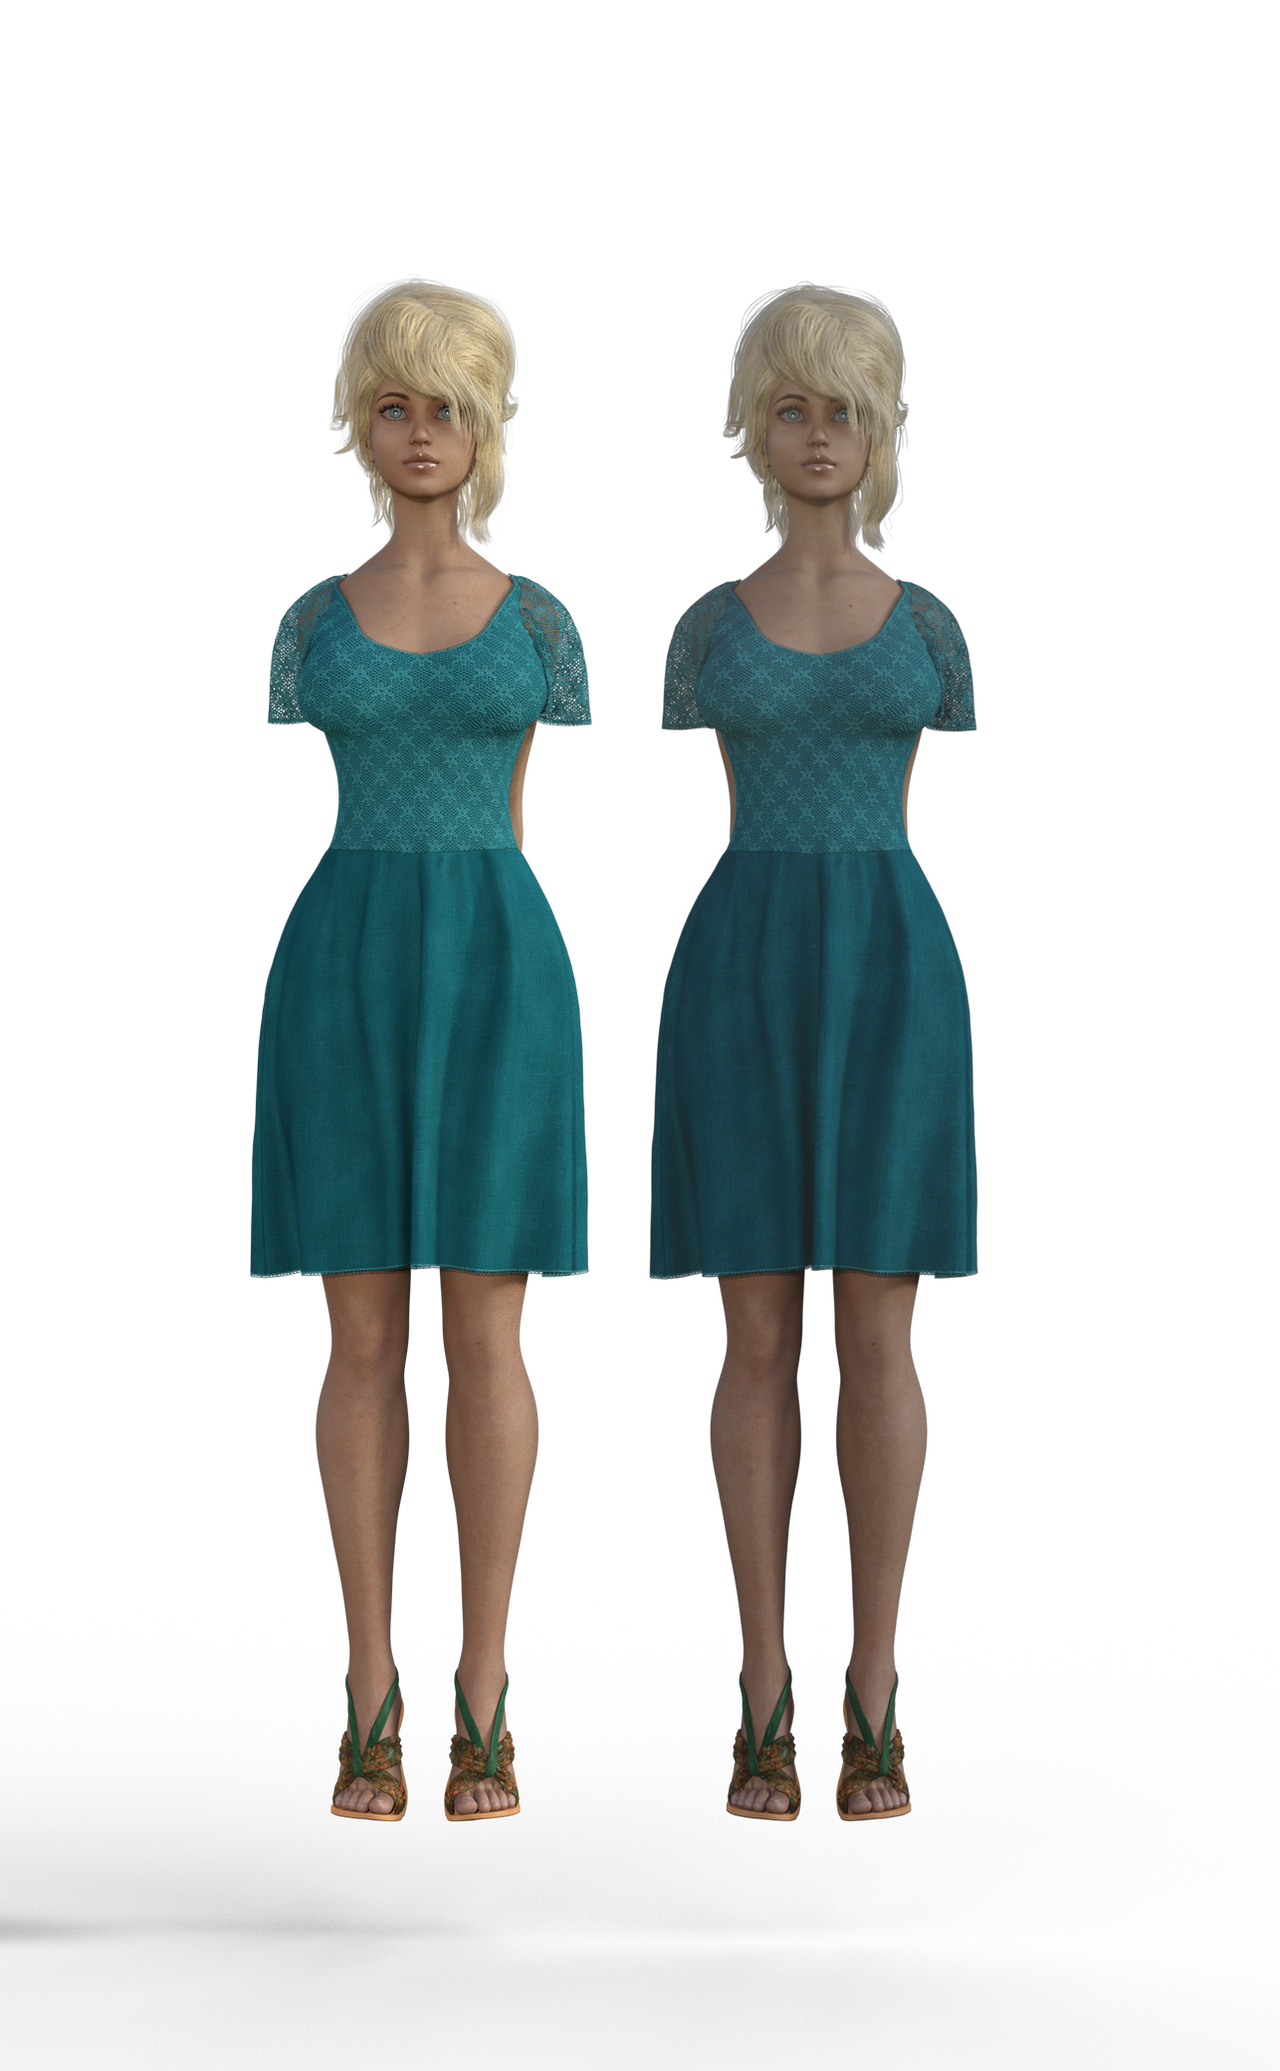
So, I played with the same concept and started off with a render of my character and pose, dome and ground off in your environment settings (check your render settings bottom tab). Then I took that render PNG file and opened it in GIMP, made sure it was selected in the layers window, then ( ) clicked COLORS->Desaturate->Desaturate..., ( ) and chose Lightness (HSL), then clicked OK. Next, Click COLORS->Levels ( ) On the adjust color level pop-up drag the arrow just above 1.0 all the way to the left ( ), click okay. GO TO NEXT PAGE:


