HOME | DD
 mean-kitty — Kind of Irken tutorial?

Published: 2011-04-11 00:30:04 +0000 UTC; Views: 2084; Favourites: 37; Downloads: 17
Redirect to original
Description
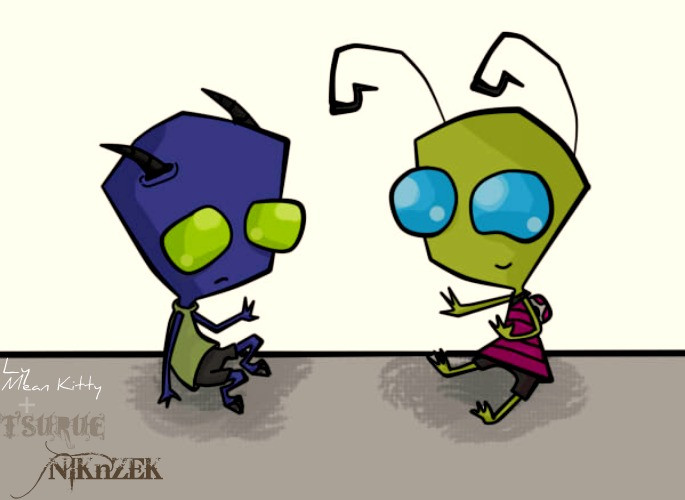
This is the draw --->[link]How draw an irken (snub as mine LOL)
I use PAINT TOOL Sai and am not very good, I hope that it should help you.. the tool of line
1.- Draws any position as you wish , does not import if it looks deformed .
2.-start to marking to where there will direct the face and the position of the hands .
3.-Give quality and form at the closers parts of the body that you will go to work .
4.-Si you need a reference use it, if is hard for you draw the position look another arts (DONT COPY ¬¬)
4.5 - Since you have the base start taking references of your sketch or of the image of of the fanart that youwill do.
5.- keeps giving form to the elements as you are advancing
6.-the antennas... place them when they liked you… yeah when you feel comfortable with the position of them and place them... in this way they can match perfectly with the rest of the image.
7.-Put the Details don’t forget the perspective
8.-Begins to put color… BY LAYERS!! In this way if you dont like how its looks you can delate the layer, and also you have the option to change the saturation and the lighting to each layer.
9.-It continues colored on parts remembers where the shades goes, and it chooses a darker tonality (AVOIDS TO USE THE TOOL TO BLUR) since generally it remains fatal (this depends of the styles of each artist)
10. -put a background behind all the layers so that doesn't cover them.
11.- play editing the image with photoshop or picnik [link]
I am not anybody to give tutorials and I stink in this, nevertheless I want to help
")
© draw belongs to me
© Invader zim belongs to Jhonen Vasquez
-------------------
En español!!!!
Como dibujar un irken (feo como los mios LOL
Yo uso PAINT TOOL Sai y no soy muy buena, espero que les sirva... Yo uso La herramienta de lineas y voy dándole forma.
1.- Dibuja una posición cualquiera, no importa si se ve deforme.
2.-Empieza a marcar hacia donde se dirigirá el rostro y la posición de las manos.
3.-Dale calidad y forma a las partes cercanas del cuerpo que irás a trabajar.
4.-Si necesitas una referencia úsala, si te cuesta trabajo la posición mira otros dibujos ya hechos (NO LOS COPIES ¬¬)
4.5- Ya que tienes la base empieza a tomar referencias de tu sketch o de la imagen de la que harás un fan art.
5.- Sigue dándole forma a los elementos según vayas avanzando.
6.-Las antenas colócalas ya que te gustó como quedó el dibujo, para saber en qué posición colocarlas y queden perfectamente con el resto de la imagen.
7.-Coloca los Detalles tomando en cuenta la perspectiva.
8.- Empieza a colorear POR CAPAS!! Así si no te gusta cómo va quedando eliminas la capa; y también tienes la opción de cambiar la saturación y la iluminación a cada capa.
9.- Sigue coloreando por partes, recuerda donde van las sombras y elige una tonalidad más obscura (EVITA(sobre todas las cosas) USAR LA HERRAMIENTA DIFUMINAR ) ya que generalmente queda fatal (depende del estilo de dibujo que tu propongas)
10.-Coloca un fondo tras todas las capas para que no las tape.
11. Juega a editar la imagen con photoshop o picnik [link]
Se que no soy nadie para dar tutoriales y apesto en esto, aun así quiero ayudar
© dibujo hecho por mi
© Invasor zim pertenece a Jhonen Vasquez