HOME | DD
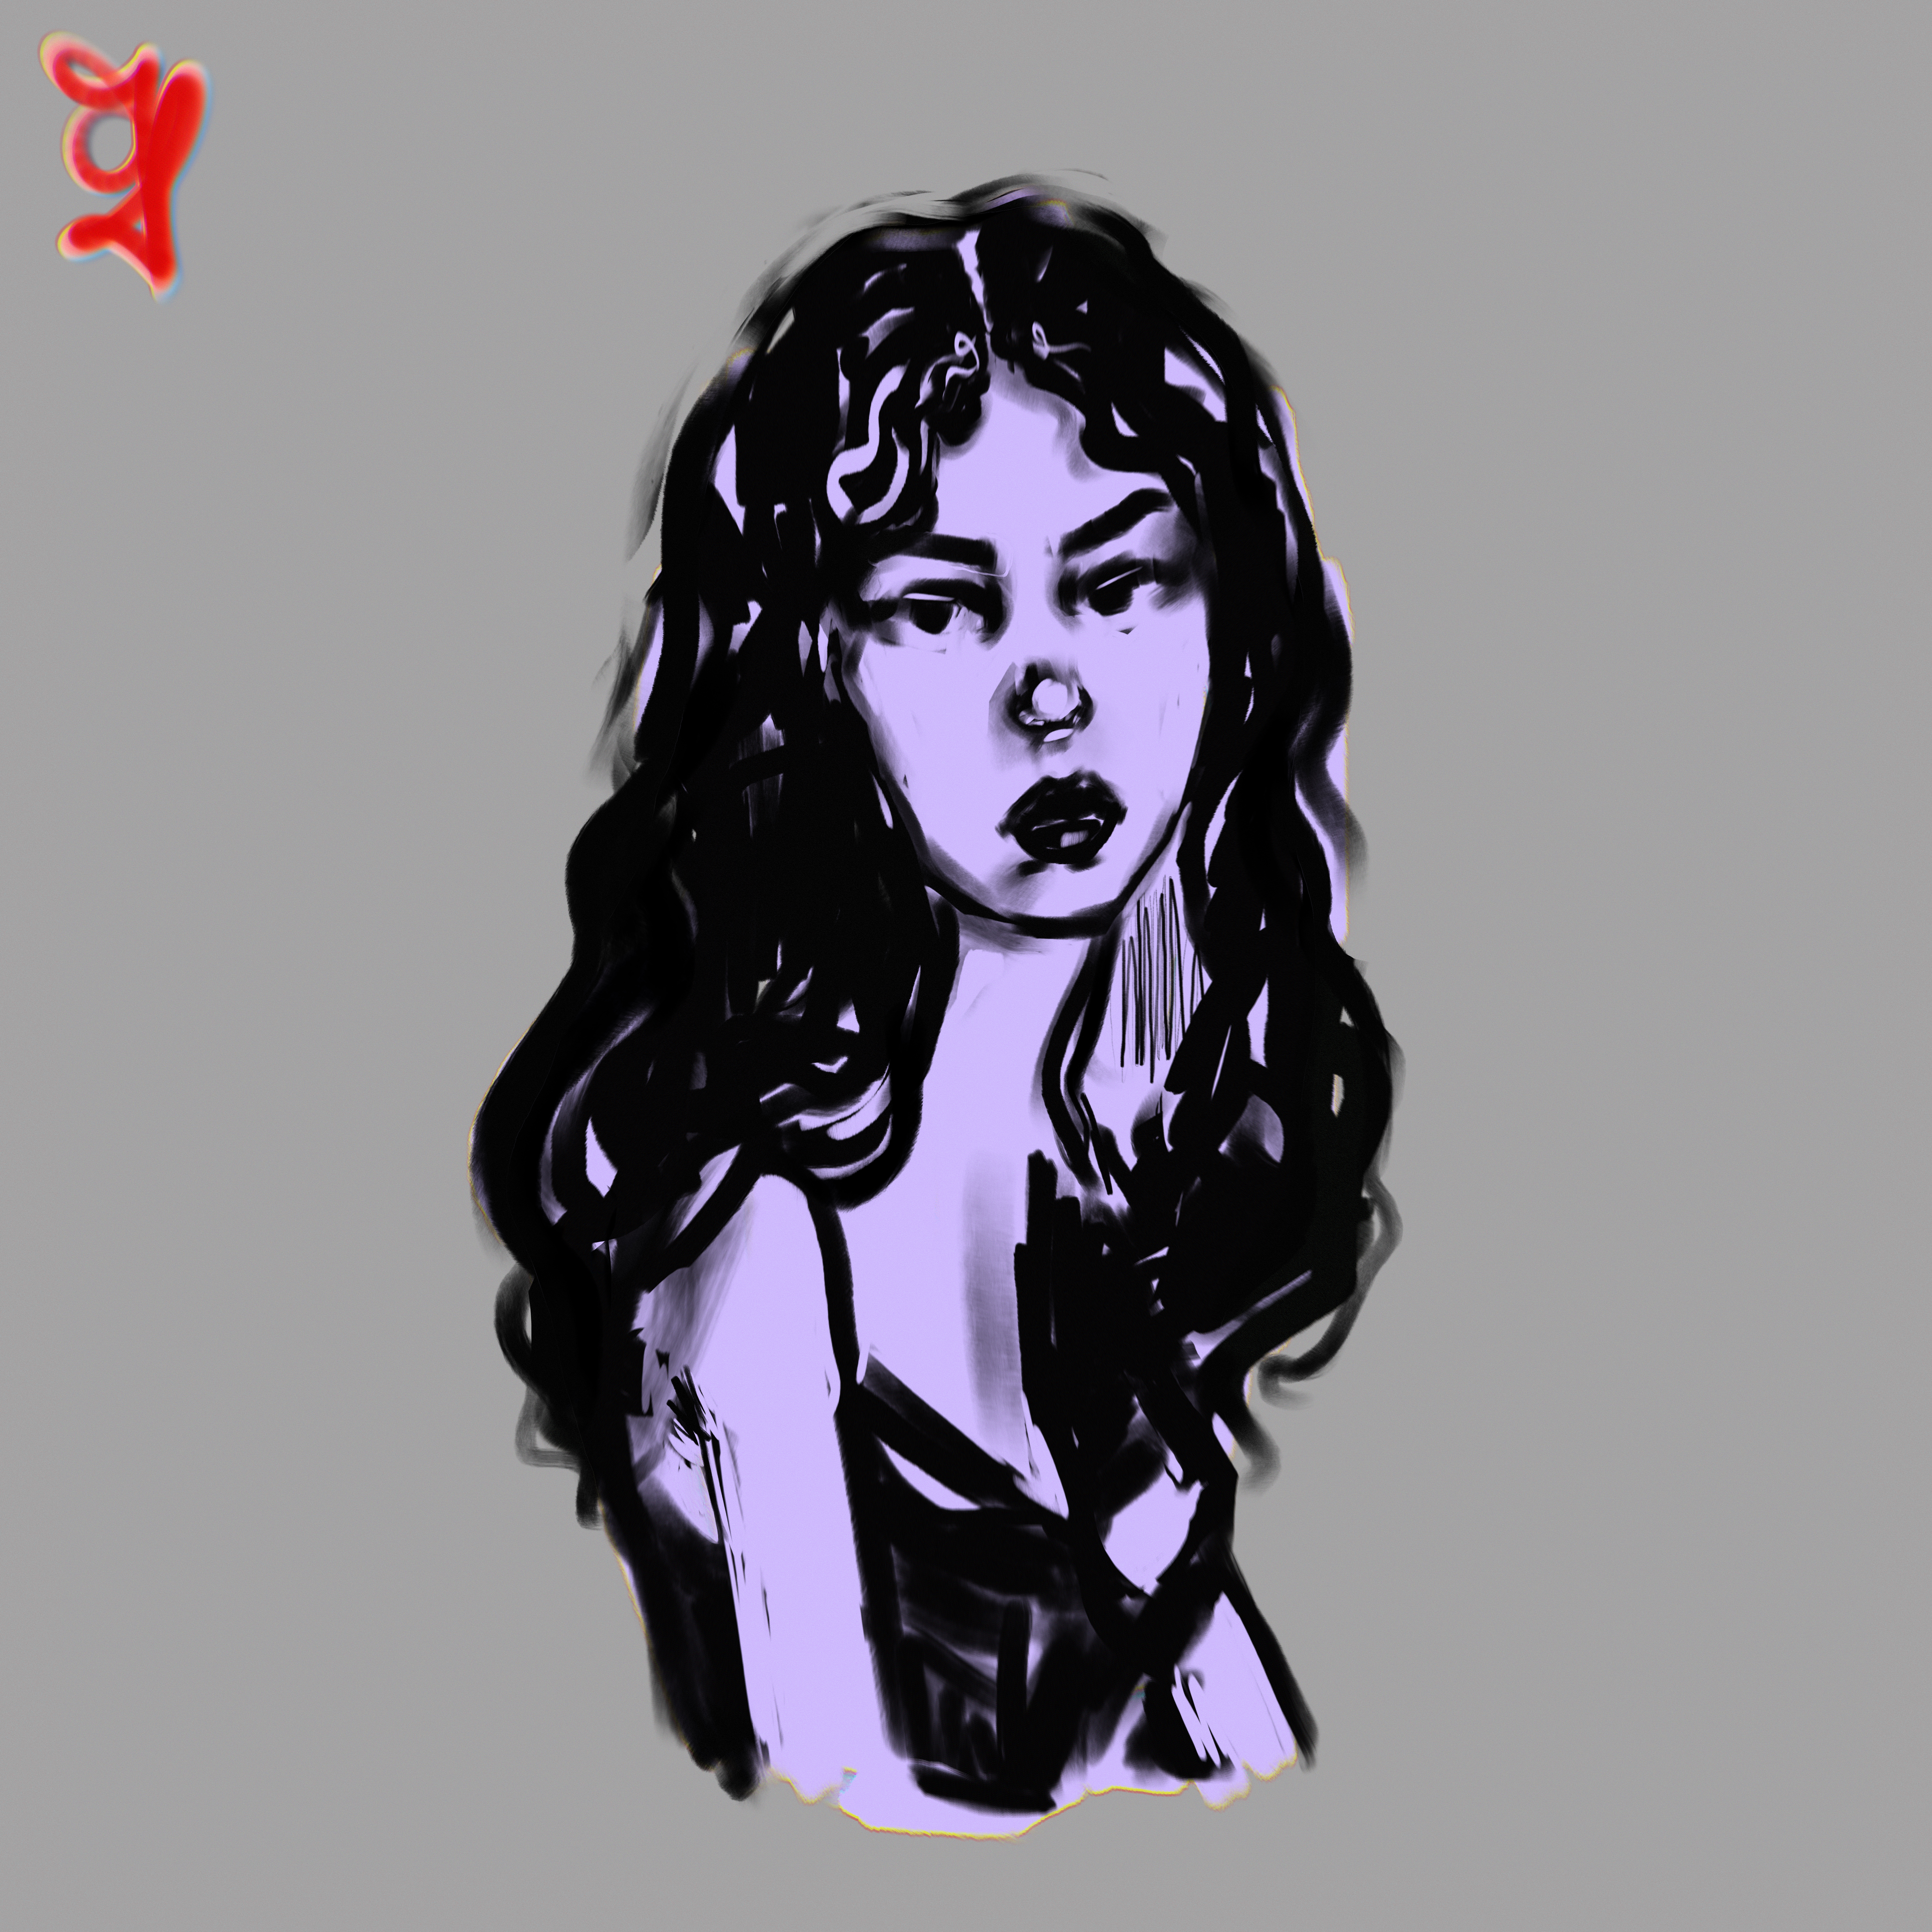
 nailpipe — Face Study Tutorial

Published: 2008-12-31 23:56:03 +0000 UTC; Views: 33913; Favourites: 476; Downloads: 308
Redirect to original
Description
I've had some requests to describe my digital art process, particularly with this old face study that everybody seems to like. [link]") My process varies quite a bit from piece to piece, but generally this is how I do it. (Good thing I had the original .psd file..heh)
My process varies quite a bit from piece to piece, but generally this is how I do it. (Good thing I had the original .psd file..heh)1. For this one my reference was copied right onto the canvas, but nowadays I usually have it in a firefox window on the right... a Mac and a widescreen monitor allow that
 (Wink)") . I start with a sketch to try to get everything where I want it, cutting and rearranging the nose, eyes or whatever if needs be. Oh, and I use a Wacom Intuos 3...
. I start with a sketch to try to get everything where I want it, cutting and rearranging the nose, eyes or whatever if needs be. Oh, and I use a Wacom Intuos 3...2. Next I figure out the main colors and values and block them in on a layer below the line art. I don't color-pick from my reference...nobody in their right mind would, right?
My all time favorite brush is a flat pen with size, opacity and flow set to pen pressure and minimum diameter set to 70%. I've tried others but I always come right back to it.
3. From here on out I begin to flesh out the forms. I will begin to color pick from what I've laid down already and tweak the value, saturation, etc. I may add a few colors for variation but largely stick to my original palette.
I rarely use a soft airbrush on shadow edges/where the form turns, but I'll just color pick then lay down softly between the light and dark, color pick, lay down a little harder, repeat, often amping up the saturation on the mid tone. (If that makes sense...)
4. Finally I'll make another layer above the line art and start cleaning it up a little. Highlights on the lips and hair and other shiny bits and deepening the shadows. Then when I'm tired/happy I'll stop.
I hope someone finds this interesting, educational and/or inspiring. I know I did!
Related content


Comments: 13

Wonderful work ! And many thanks for all those useful informations.
👍: 0 ⏩: 0


Greate example! Are you using an overlay/multiply technique to paint on a layer 'under' your line art? I keep trying that but the colors are always too dark or 'burnished' looking for my taste. Your colors and tones are fantastic on the other hand! I am usually pretty happy with my line work so I need to figure this out-
👍: 0 ⏩: 0


this is really good. im just starting digital painting and this is a good step by step. i like to see the progress of other painters. its very cool to see what theyre doing and how. thank you.
👍: 0 ⏩: 0

 (Smile)")
👍: 0 ⏩: 0


It actually is very helpful. Thank you very much for putting this up
👍: 0 ⏩: 0

I agree. Quite fanciful. I really love this piece.
👍: 0 ⏩: 0

