HOME | DD
 NAVARRE-OF-THE-NORTH — Fur detailing ||Part One||
#wolf #fur_detailing #photomanipulation #photoshoppainting #tutorialphotoshop #wolfcanine #video_tutorial
Published: 2020-01-10 05:10:29 +0000 UTC; Views: 524; Favourites: 17; Downloads: 0
Redirect to original
Description
((PART ONE))
Trying to make more video tutorials for everyone so they can 'actually see' how I do my manipulations first hand. I don't really have any fancy things to record my videos so I'll be using what I have which records in short 5 minute clips. So sorry if they seem unnecessary and short. ><;
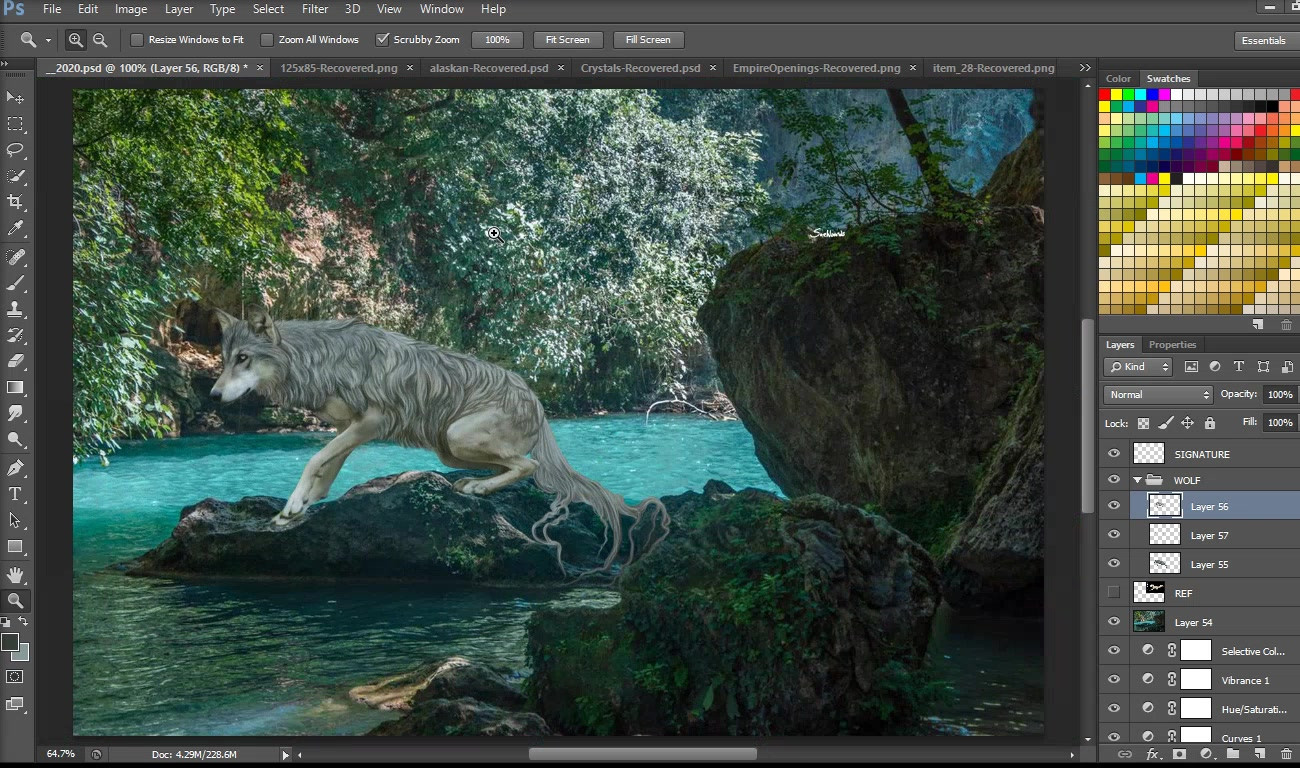
I always start off with a 4px round hard brush. So, make sure that you enable the pressure size/opacity button at the top bar near your brush settings. Then on the layer in which you are doing your set up of fur, do light easy strokes hardly putting pressure on your pen. You want to make them choppy flowy like because this goes UNDER the fur detailing you will be doing later on.
Colors Always start off with color grabbing from DIRECTLY on the image, normally I start this off Before I color my stock to whatever it is the designed character will be. Then once I get the fur repainting done to a degree I like, then I will recolor to the character. But for now in this tutorial I will do it just from the stock itself.
Repainting Repainting will be easier to do if you gently smudge out your stock image. Depending on the subject matter of my commissions/art I will smudge it would until it looks 'soft' or 'glowy' (not a real word I know but what-eves). Then once it looks softish or glowing soft, I will repaint over it with a paint tool brush. You can repaint (sometimes) using the Smudge Tool. I do this with "Finger Painting" on 80% , Hard round brush and gently smudge the areas out.