HOME | DD
 Orvaentadopts — Guide and Seek: Escape Room Puzzle + Solution!
#guide #puzzle #room #seeker #escaperoom #guideandseek #closedspecies
Published: 2021-02-17 05:22:26 +0000 UTC; Views: 4595; Favourites: 51; Downloads: 0
Redirect to original
Description
Thank you to everyone who participated in the Escape Room Event! Here are all the rooms and solutions!
If you want to attempt to solve these for fun, feel free XD
The first room requires a 6 number code (eg.123456)
The second room requires a 5 letter code (eg.ABCDE)
The third room requires a key, a 3 number code (eg.123), and a 6 letter/number code (eg.A1B2C3)
SOLUTIONS
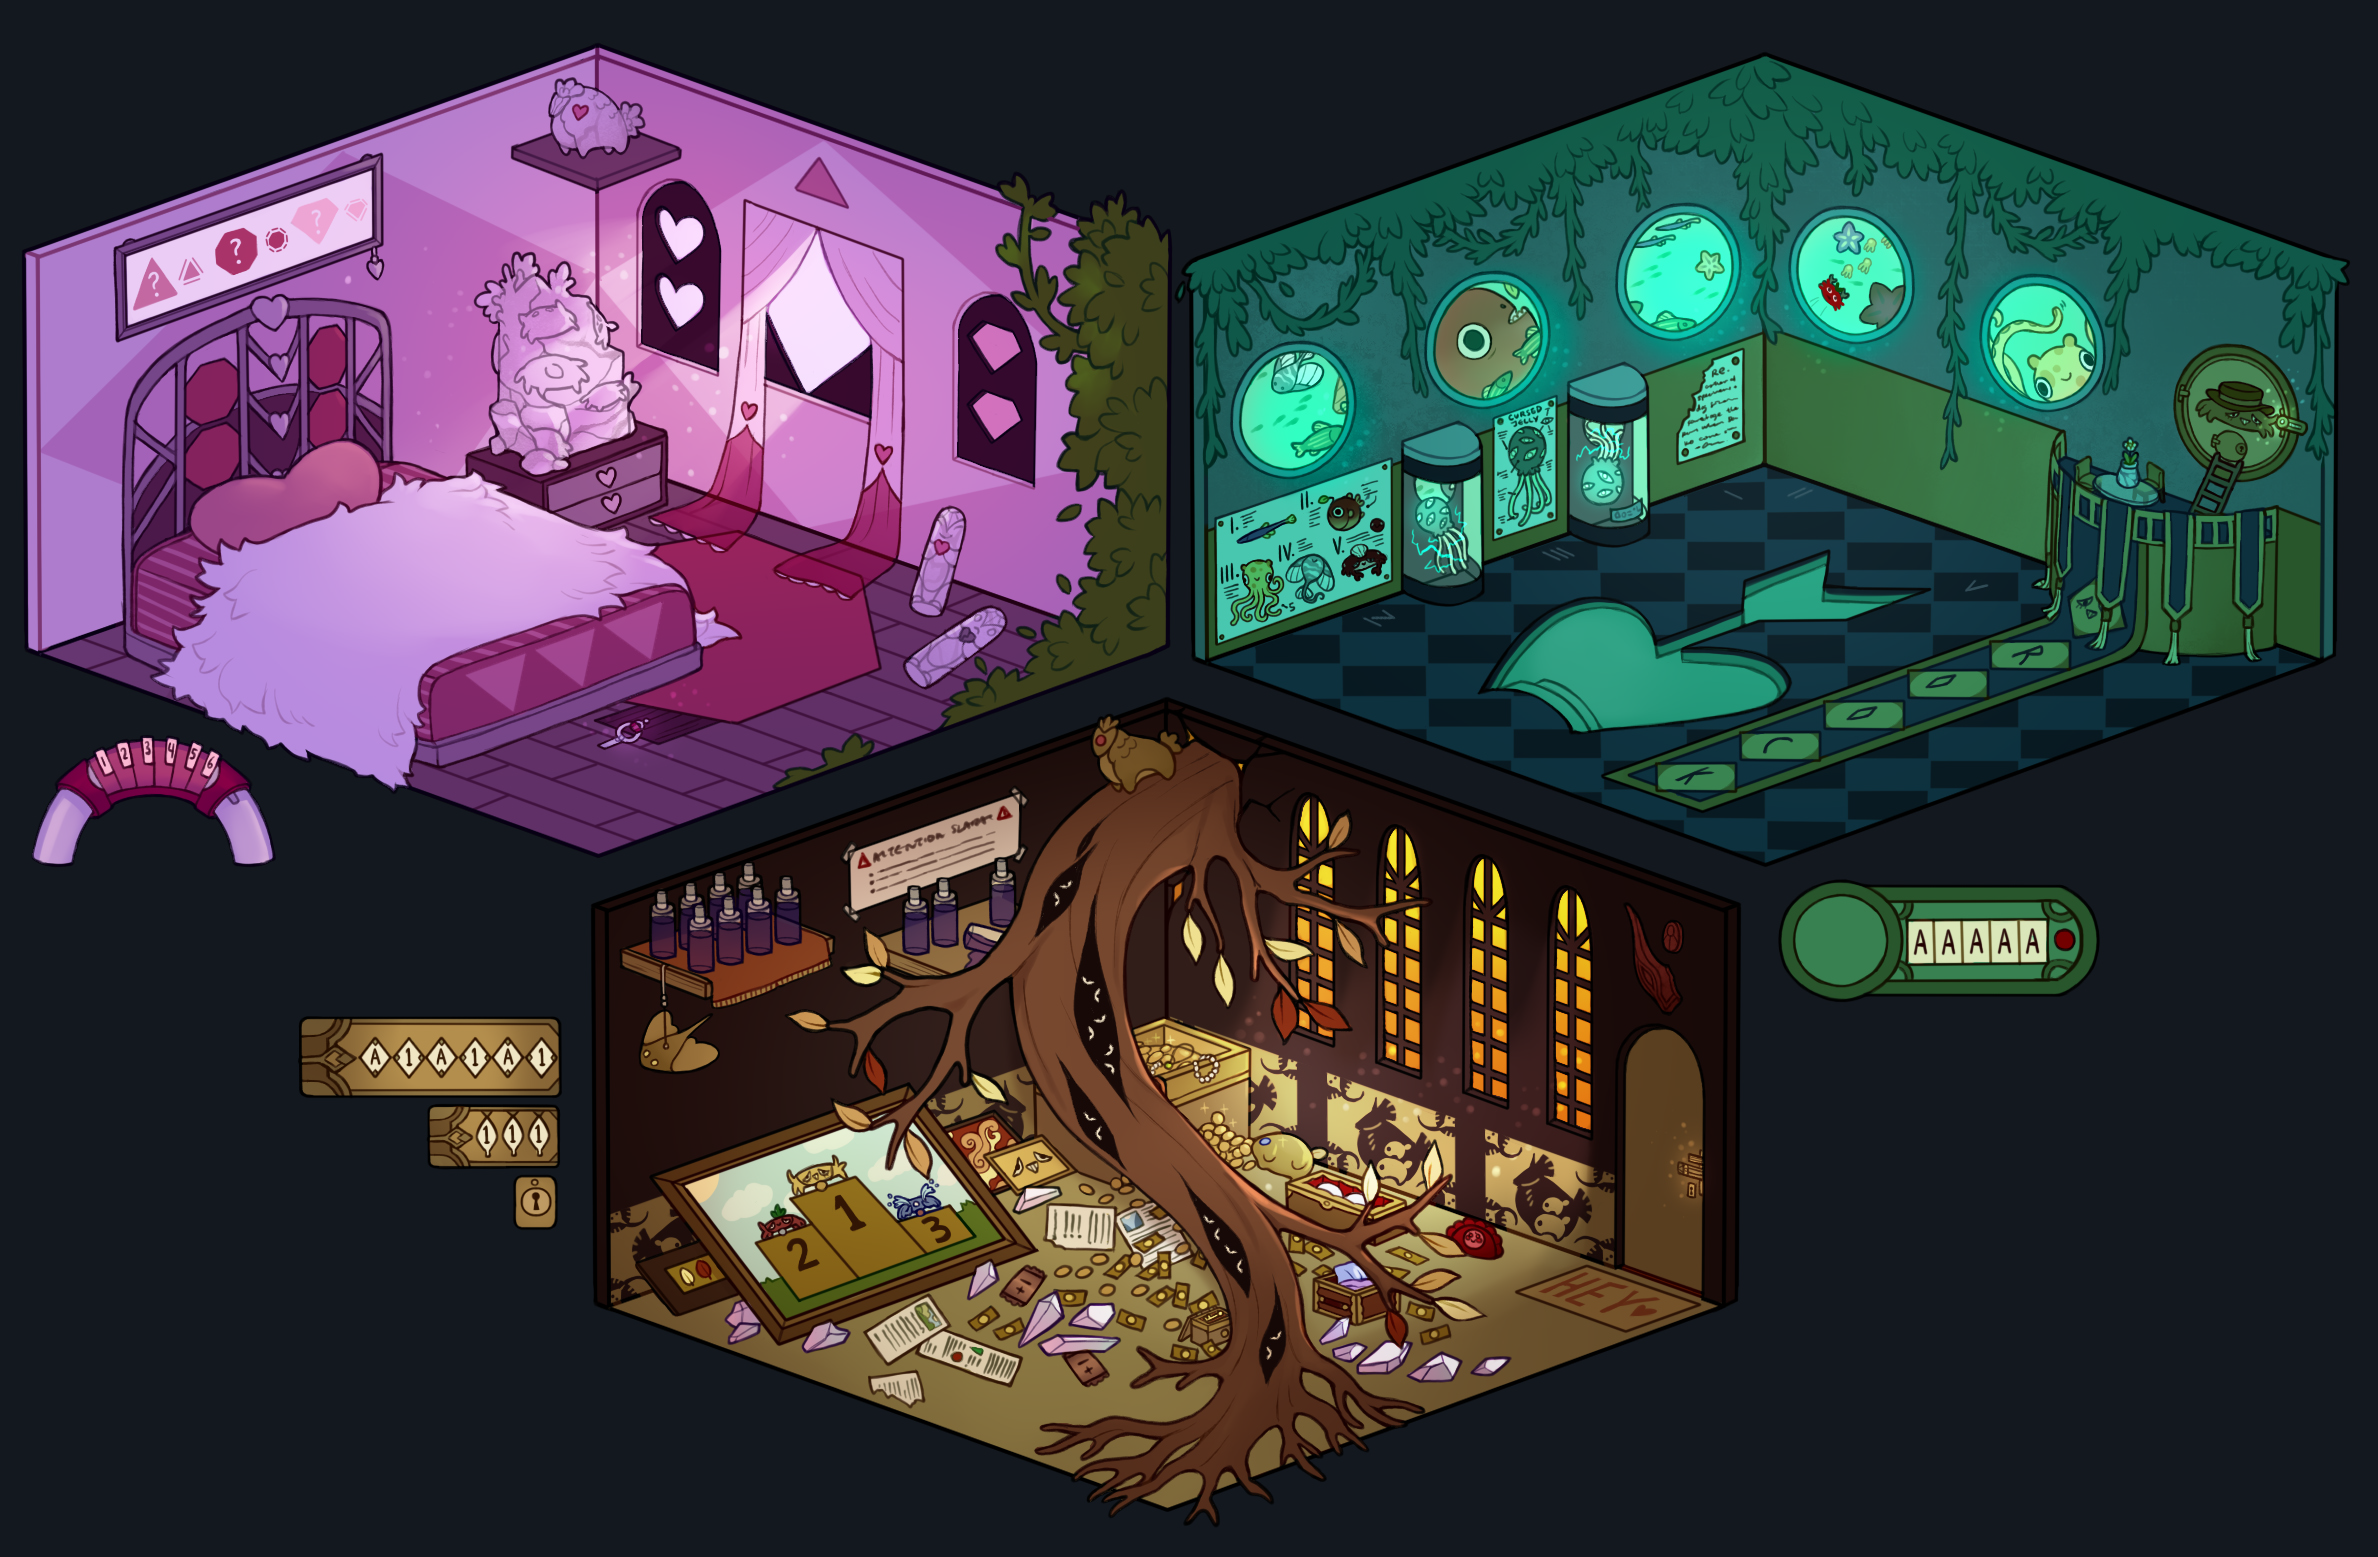
Room 1: The Cupid Room
First, notice the poster on the wall. It depicts 2 triangles, 2 octagons, and 2 diamonds. This will tell you the order of the code, and hints to what numbers each represent.
The first triangle (with the question mark) tells you to look for the number of triangles found in the room. There are 4 (3 on the mattress, 1 on the wall).
The next triangle (with the lines around) tells you to count the number of sides (which is 3)
Following this pattern, the next shape is an octagon. There are 5 in the room (4 on the bed frame, 1 carpet on the floor). An octagon has 8 sides.
There are 2 diamonds in the room (the window on the right), and has 5 sides.
Thus, the code is: 435825
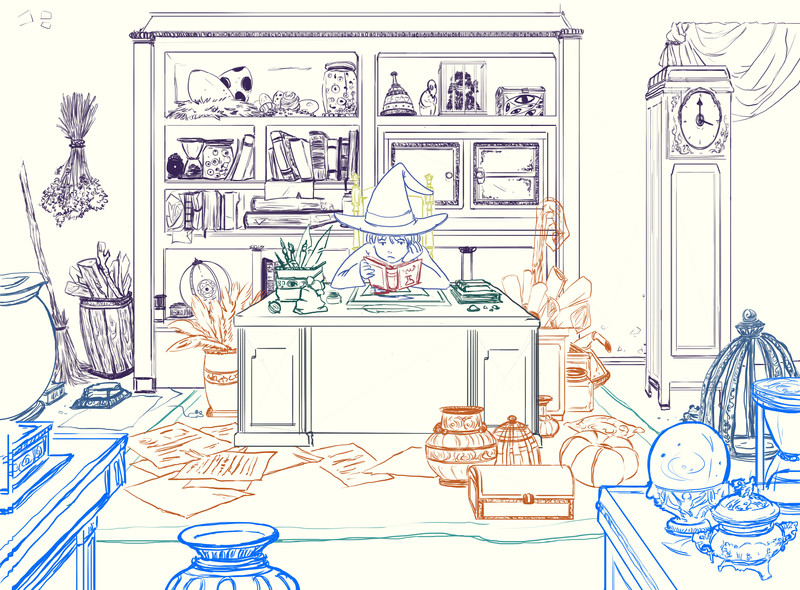
Room 2: The Slaboratory
On the right side of the room is a long carpet, with the letters "ROOCK" on it. The lcok requires 5 letters, so these are it. The key is to find the order of the letters!
There is a poster on the wall depicting fish species and number next to it. This represents the order of the letters that will go on the lock.
Every porthole has a different fish species, and there is a painted roman numeral under each porthole. This number represents the order of the letter on the carpet. Matching the fish species on the poster to the porthole, then the number on the floor to the porthole and then the carpet letters, you will get the correct code.
Letter 1: Fish #1 on the poster is the vegetable stickfish, found in the third porthole. The numeral under that porthole is I, which corresponds to the letter R (the first letter on the carpet). This means that the letter R is the first letter of the code.
Letter 2: Fish #2 on the poster is the red anglerfish, found in the second porthole. The numeral under that porthole is III, which corresponds to the letter O (the third letter on the carpet). This means that the letter O is the second letter of the code.
Letter 3: Fish #3 on the poster is the Hectapus, found in the fifth porthole. The numeral under that porthole is V, which corresponds to the letter K (the fifth letter on the carpet). This means that the letter K is the third letter of the code.
Letter 4: Fish #4 on the poster is the Seafree, found in the first porthole. The numeral under that porthole is IV, which corresponds to the letter C (the fourth letter on the carpet). This means that the letter C is the fourth letter of the code.
Letter 5: Fish #5 on the poster is the Seaslab/Crabster, found in the fourth porthole. The numeral under that porthole is II, which corresponds to the letter O (the second letter on the carpet). This means that the letter O is the fifth and final letter of the code.
So, the code is ROKCO
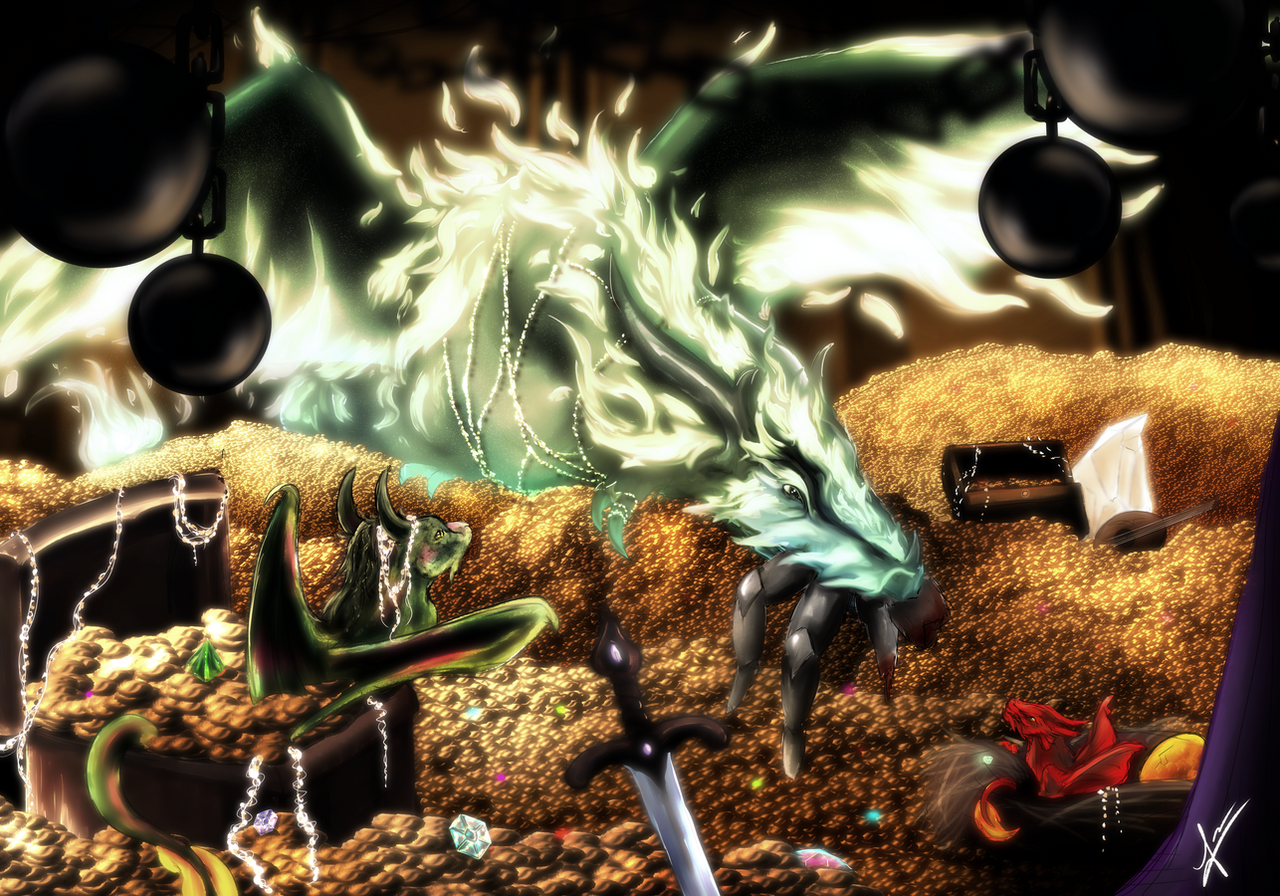
Room 3: The Love-Hoard
Firstly, the key can be found under the branch, near the bottom. It is in a small box.
The three number code can be found by counting the number of multicolored leaves. There are 8 yellow leaves, 8 orange leaves, and 4 red leaves. If you look closely, you will see a small framed picture with 2 leaves (behind the one of the 3 slabsters). This tells you the order of the numbers. Yellow leaf (8) first, red leaf (4) next, and then orange leaf (8, hidden, but there is only orange left) last. Thus, the three number code is 848.
The 6 letter/number code is a bit more complicated. You must first refer to the large painting of three slabsters on a podium. Their placement determines the order of the letters. Notice the colors (red, yellow, and blue slabster). If you look around the room, you will see three gold statuettes - there is a leafree (hanging from one of the shelves) with yellow eyes, a cervabloom (on the top of the protruding branch) with red jewel, and a pebbling (leaning on the wall on the right side of the room, with blue eye). By matching the color on the statuettes to the slabsters, you can determine the order of the letters. #1 is L(yellow slabster - yellow leafree), #2 is C (red slabster - red cervabloom), #3 is P (blue slabster - blue pebbling.
Now in order to figure out the number, take a look at the wallpaper. It is a repeating pattern with 4 leafree, 1 cervabloom, and 2 pebblings. When matched with their corresponding letters, you will get the code: L4C1P2
Final Puzzle (circle all hearts and slabsters)
As a final puzzle for heart points, you were asked to find all hearts and slabsters! Here are their locations. There are 38 in total.
Thank you again to everyone who participated!
>> Discord <<