HOME | DD
 Zairyo — Color Tutorial II

Published: 2008-08-03 01:33:23 +0000 UTC; Views: 2203; Favourites: 22; Downloads: 90
Redirect to original
Description
For details about Character Colors check this [link]OK this is not really a tutorial but then again most of my tutorials aren't really tutorials so I hope these simple steps can help most of you visualize what I did here.
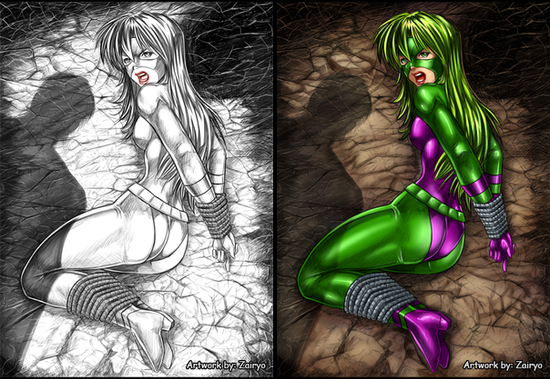
First I cleaned the image that was given to me. Thankfully the way ~ARTGK works is very professional so I didn't have too much trouble. Basically I just increased both the brightness and the contrast of the image, then I used the inverted version of the image to create a mask so I could use the lines and delete the white area. Let me explain better how I did that and why.
Note, I got this is done in Photoshop.
1. Ctrl I = Inverse, it turns blacks to whites and whites to blacks.
2. Click the channels tab and then the selection button.
3. Go back to the layers section and create a new layer and click on the quick mask button.
4. Fill the layer with black or any color you want the outlines to have (you can use a gradient if needed)
5. Apply the mask to the layer and verify that it looks like you want to.
6. If you need to correct anything use the history tab to go back to when you had the mask and edit it to fit your needs.
Why do I go to all that trouble instead of setting the image to multiply? Simple, the image was too big and I had to reduce the stress I put on my PC.
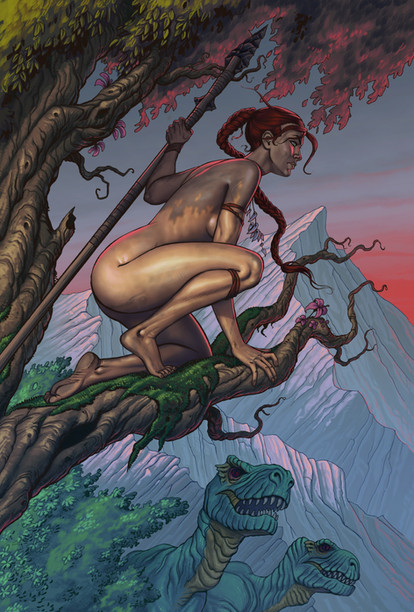
Now I start to separate the elements. Green for the foliage, brown for the trees and the sky was sort of painted in. I've learned that you can't create a convincing sky with a flat base (or at least I can't)
With every element of the pic separated by a base color I can easily create quick masks from then and that helps a lot with the textures step. You can do the textures step with either brushes or actual textures from pictures. I do both but keep in mind that it all depends on the amount of details you need. After the textures are applied I turn off the lineart layer and copy the scene as it is. You do that by selecting an active layer after you turned off the lineart, the you click Shift Ctrl C. Then you paste it as the top layer and desaturize it with Shift Ctrl U. Go to the channels and click the selection then go back to the layers, turn off the newly created layer and turn the lineart back on. Go to the top colored layer (should be a textures one below the character's base color) and create a new layer on top of that. Click the quick mask button. Use a gradient of two or more colors but make sure you have both hots and cold colors. The image will look very odd so now set it to linear dodge and set the opacity as needed. You should also use the same mask to create an overlay layer in the same way you created the lights layer. Apply the masks on both layers and make sure the sky isn't affected by this, unless you wanted to work on it too.
With the background lighted you can put the lights on the character. You don't have to be very careful on this step as this is only a test part. Once you get the lights how you want it you work on the character. After that's done you play with the color balance on the whole image and presto!
Hope that's clear enough and that it helps.
Thanks for your time.


