HOME | DD
 ambient-avalancher — The Intersection - PG13 Edition 1.5

#3d #andrea #anime #asian #asiangirl #awesome #chilean #coolstuff #darkskin #elenita #filipina #latina #loca #manga #nakedfemale #nakedgirl #publicnudity #render #sexy #animemangagirl #artistdigital #digitalphotoshop #latinagirl #ambientavalancher #curvymodel #dazstudioposer #dazstudiopro47 #andreagodoy
Published: 2015-02-04 23:03:36 +0000 UTC; Views: 11168; Favourites: 85; Downloads: 1292
Redirect to original
Description
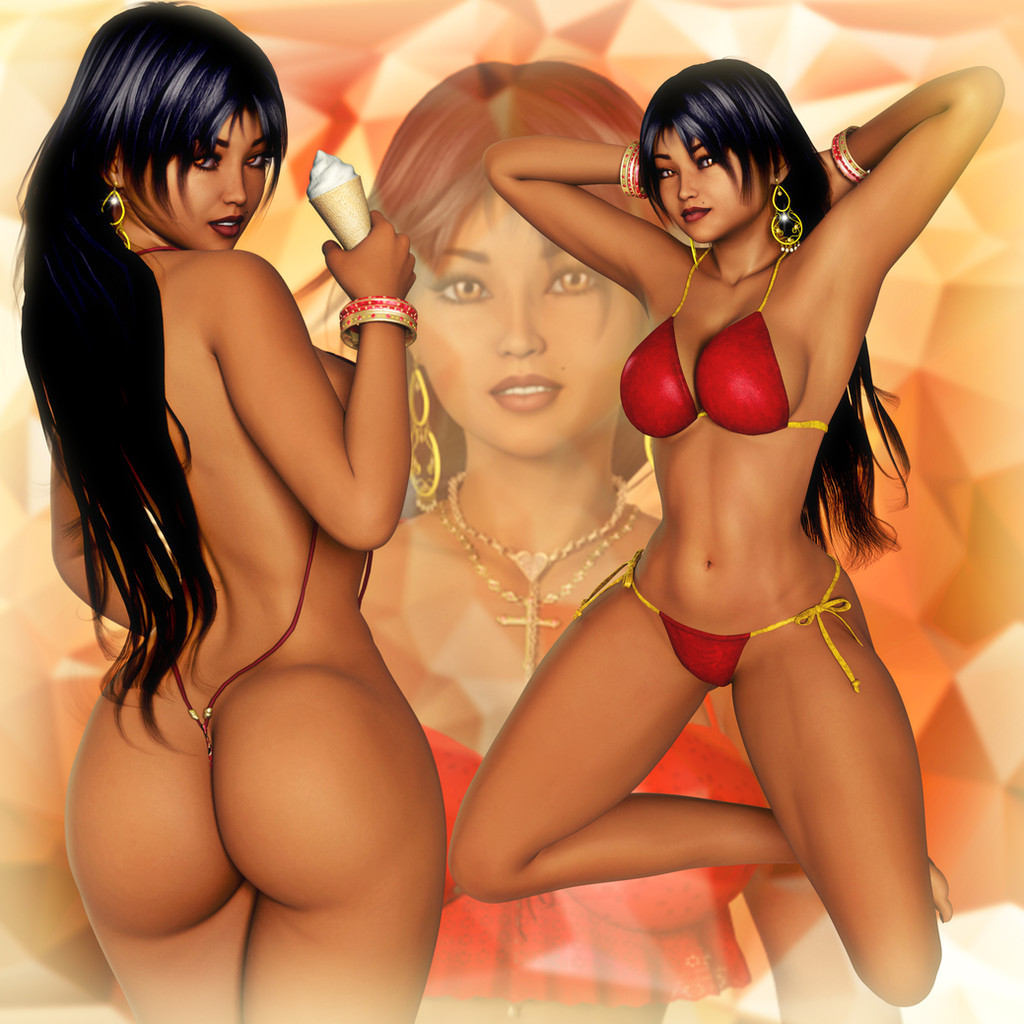
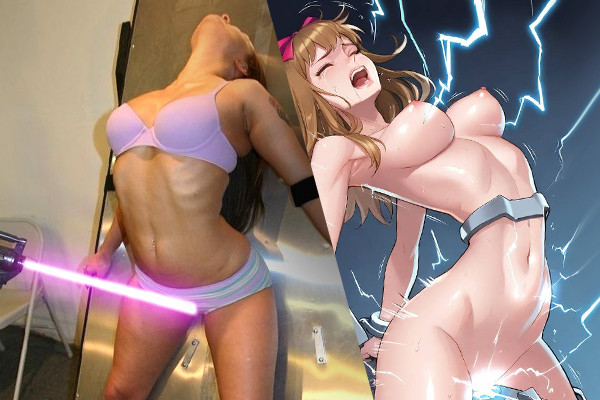
First things first, this is NOT an "Avalancher original" like Kari , Megn , and Cassia Riven . She's a custom character, but not a custom original character. As the name implies, this girl would be an interpretation of what Elenita would look like if she were in 3D....Rendered in DAZ3D 4.7 with my favorite DAZ3D model so far: Genesis 2 Female; "extreme" postwork in Photoshop CS6.
+++++++++++++++++++++
OK, now for the "boring" technical stuff; you non-DAZ and Photoshop people don't have to read this. This is just for my reference, in case I wanna redo this effect in the future.
This was a tough pic, in some ways. I used Urban Sprawl 2 The Big City and its light set. I wanted the pic to have some "shiny sun haze effect" (like what you see on the car's windows and on other light surfaces), but I didn't want the woman to look blurry. So, I had a dilemma: screw the haze effect and make the whole picture look bland, or go with the effect and make the whole pic blurry. I chose neither, LOL!
The main light in Urban Sprawl 2 The Big City is Light 1, and all the other 5 lights are fillers, pretty much. So, without the woman, I rendered Light 1 by itself (as a BMP) and then all the other 5 lights (as BMPs). THEN, I rendered Elenita by herself (meaning no background) with Keshi's light set (as a PNG).
In Photoshop, I set all the light layers to Screen and duplicated Light 1 and Gaussian blurred it (I think somewhere between 50-100) to give it that haze effect. Then, I created a stamp (Ctrl/CMD+Shift+Alt+E). The Amazing Freaky Details , LOL; I forgot if I used Surface blur or Gaussian blur, but I'm pretty sure it was Gaussian blur (probably 50-100), since that gives more haze. I duplicated the details group and set the whole group to Soft Light for a little extra drama. Then, I made another stamp layer; in the lighting effects tool, I used pretty much the same colors as Harlot of Flora 2 ; of course, I toned it down (especially the purple ambiance), since I didn't want this pic to be as vibrant as Harlot of Flora 2 ; I set this stamp to 80% opacity.
THEN, I summoned Elenita in attack mode (for all you Yu-gi-oh people, LOL), duplicated her, put the duplicate Elenita under the original woman layer, made the duplicate black (Lightness to -100), distorted it, and did a little Gaussian blur to "create" a shadow. I duplicated this shadow layer and made it bigger, and masked out parts I didn't want to put a shadow around her feet. Then, I summoned rim lights , to make her stand out a little from the background. After that, I duplicated that colorful stamp layer, clipped it to the woman, set it to Soft Light at 20% opacity.
Then, I created yet another stamp (you gotta get used to it by now) and did another Amazing Freaky Details group (this time, it's Surface blur; both values are 20). Then, I did a curves layer vignette effect (masked it out to make Elenita the only part of the pic it affected) and duplicated it, spreading the effect outward from Elenita a little more. Then, I made another curves layer and did the opposite: I created a vignette with the layer mask, inverted the mask, and set the layer to Multiply at 75% opacity. Afterwards, I finished off the Nude Edition and PG13 Edition by adding a mole (don't make it complicated; just use a black soft brush on a transparent layer, LOL) and highlighting some parts of her jewelry.
For the Nude Edition 1.5 and PG13 Edition 1.5 , I did "the unthinkable," LOL: I tried out the High Contrast Dramatic Pop Color Photoshop tutorial. I stopped after the high pass part. I didn't use the exact same values as the tutorial, as that would screw up these pics...
Stuff Used:
The Prime Denim (for V4) and Cyanide for The Prime Denim
Belly Chains (for V4)
Saucee Outfit (for G2F/V6) (in the surfaces tab, set the diffusion of the white, pok-a-dotted top to red, LOL)
Summer Dress for Genesis (Sandals and earrings)
Piratess for Genesis 2 Female(s) (cross necklace)
Jewels of the Orient (Bracelets)
Mitsu Hair for Genesis


 (Wink)")


