HOME | DD
 Bee1313 — First tutorial!

Published: 2013-09-12 03:55:10 +0000 UTC; Views: 1061; Favourites: 19; Downloads: 0
Redirect to original
Description
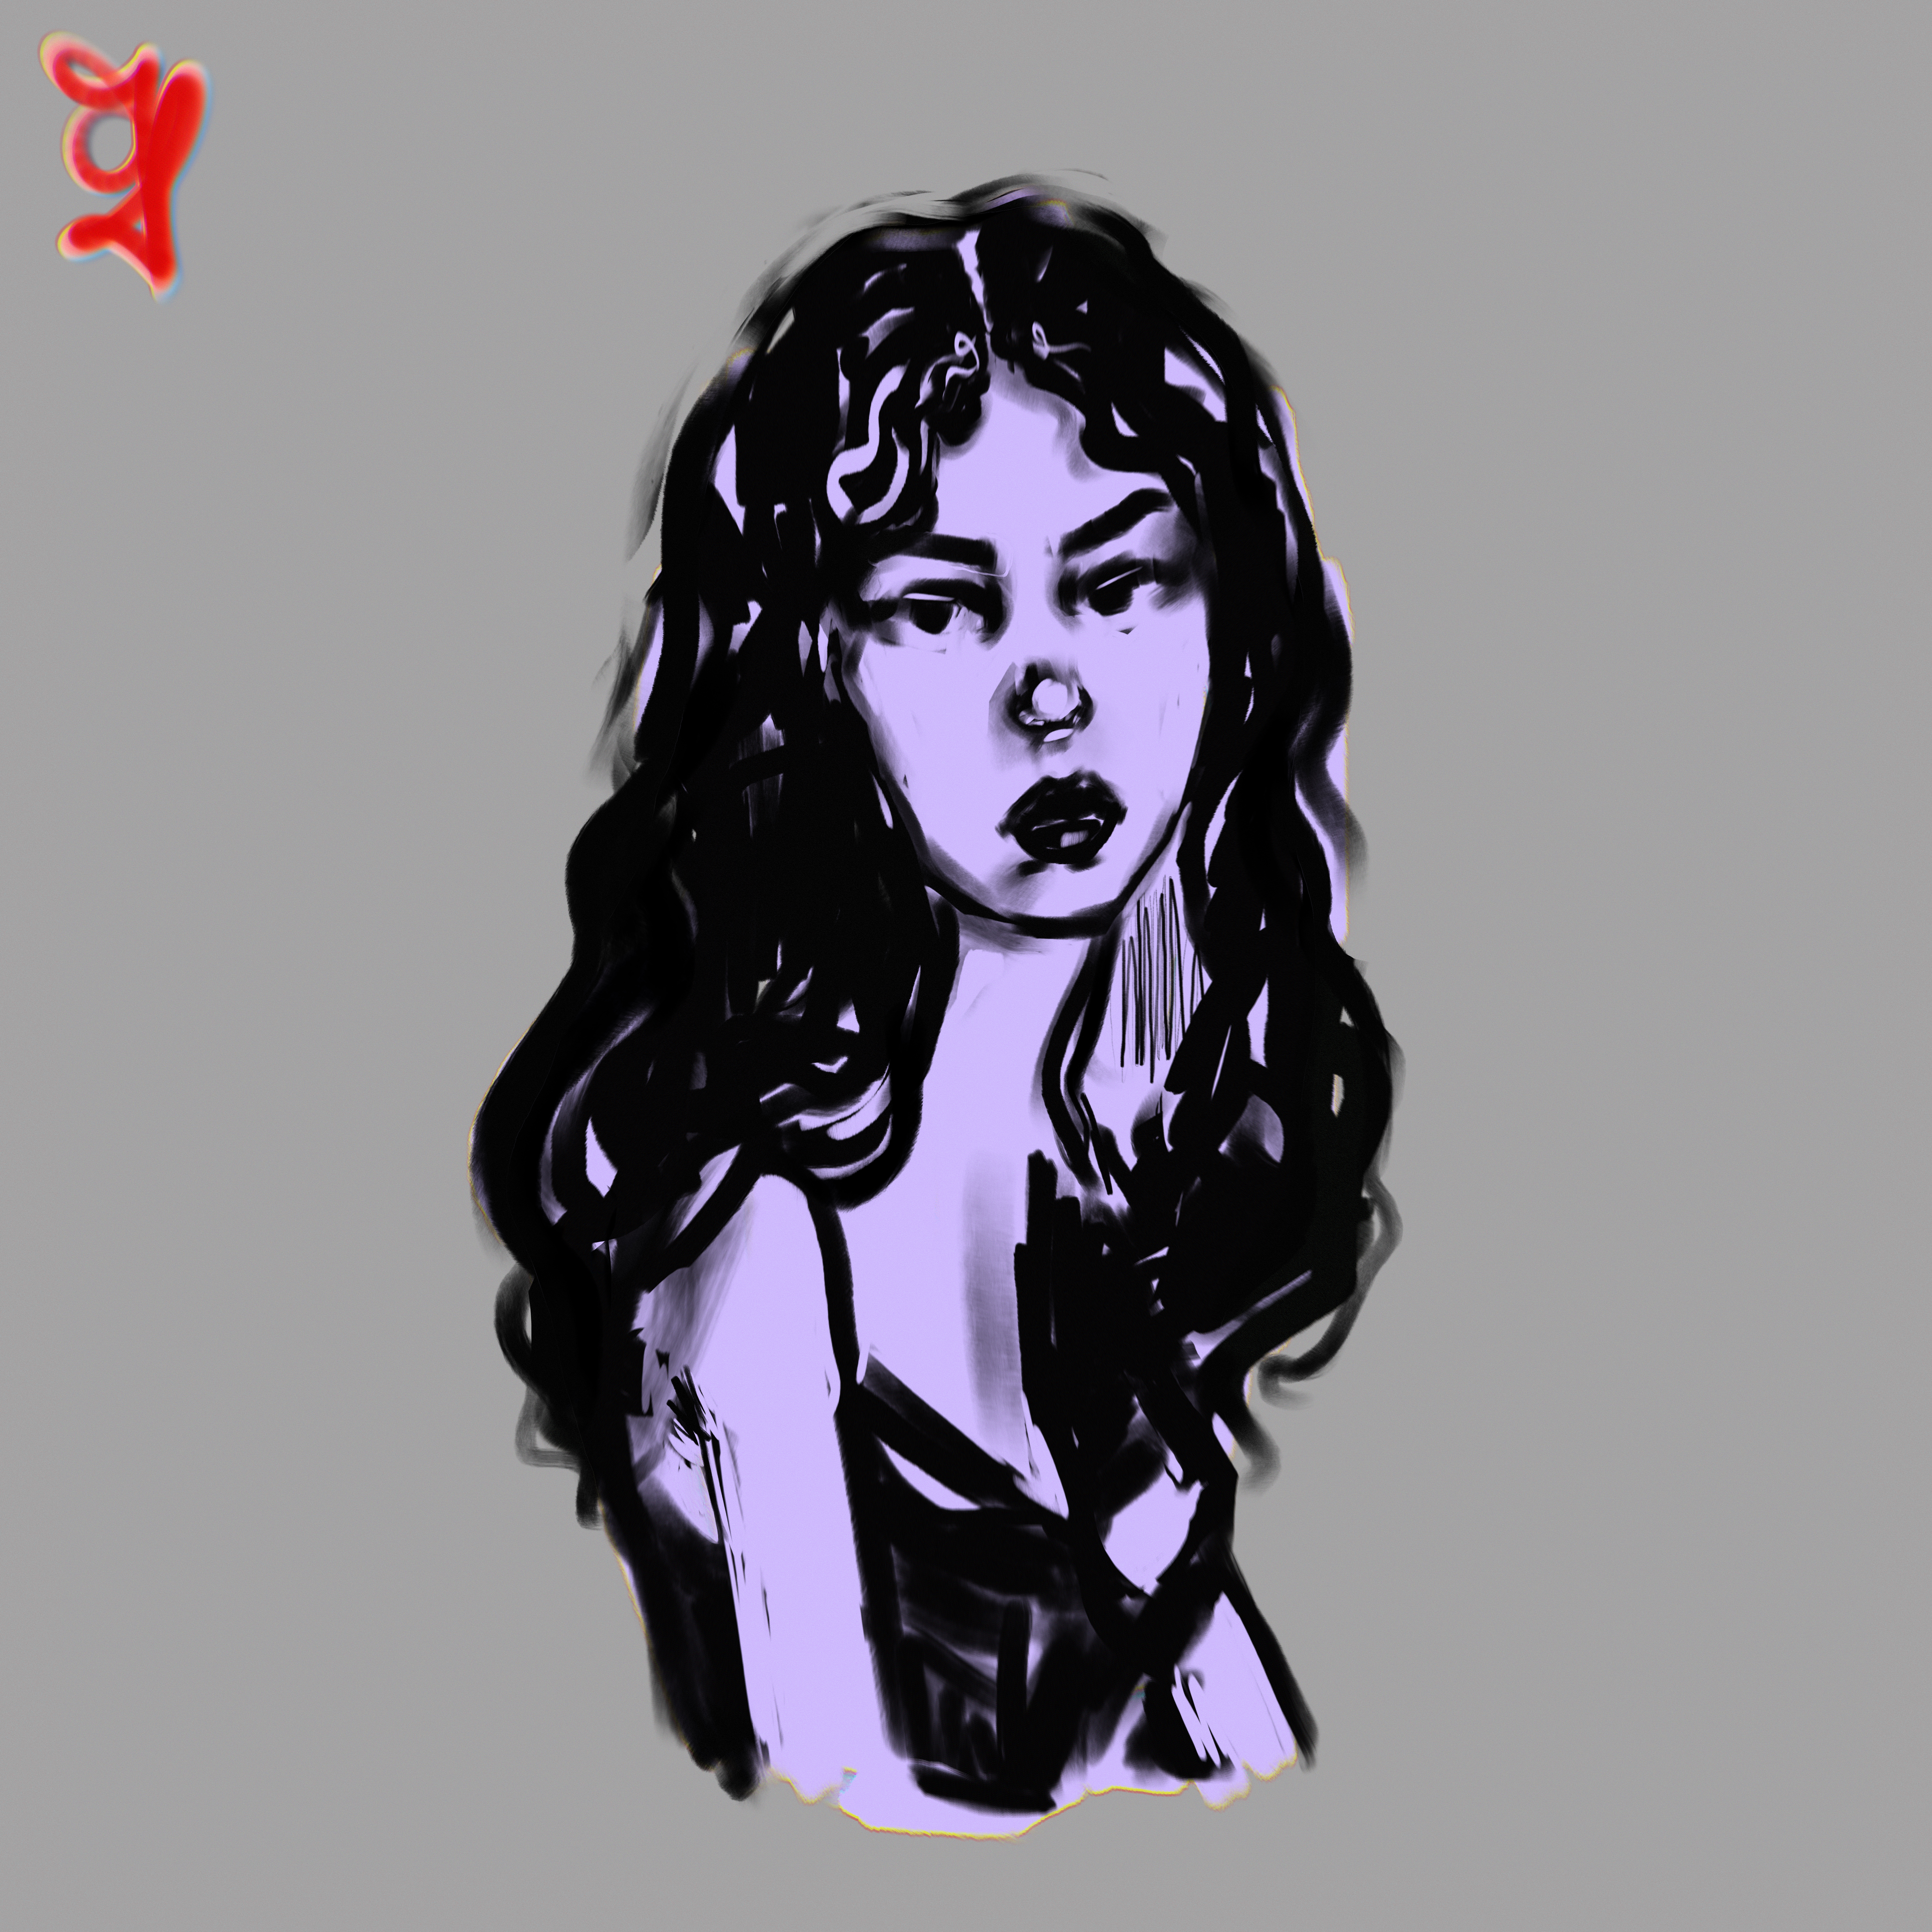
~A Little tutorial~ This is my first so I hope its not too hard to follow!Step below ~1. First I start by opening a new layer, then draw a simple face layout. Usually a light color works best, Next I add another layer and lighten the first layers opacity to about 50%. (By lowering the opacity these lines won't interfere with the next layers lines)
2. Then on this new layer I follow the light lines I drew first and add detail to gain a better layout of the face. (I absolutely hate these lines, Normally I'd correct them...but I want this to be a quick tutorial)
3. On the same layer I start to develop a light source by adding shadows to help guide me when I progress to the coloring stage. Then I completely erase the first layer. When I'm working on the base for a painting I try not to add too much detail to the first stage sketches, otherwise it will get too messy as you begin to add colors.
4. Now I open another new layer and begin adding the basic colors for the shading and value of the skin. NOTE: I Only use different shades of grey, No blacks.
5. Continuing on the same 'shading layer' I finish the shading with the darkest grey. Next I begin to add with the pencil tool, darker areas that the light source does not effect as harshly.
6. Next I use the blur tool, to smooth out the shading and define the shape of the subjects face. Slightly adding more colors for extra value as I go. Also I use the blur tool to help correct the shading by adding more pressure with the stylus and directly adjust as I see fit. NOTE: I do not focus on anything else besides the skin, lips, and nose.
7. Now I open a new layer and (Zoom in) then begin detailing on the eye lid, and eye lashes. I try and pay attention to the skin around it and keep the light direction in mind.
8.Then on that same layer, I add darker greys and a low opacity black along with whites to the surrounding skin. Next I start on the Irsis of the eye.
9. As I continue with the eye, all on this same layer, I darken the edges and mid-point with the smallest sized air brush.
10. I will continue with basic shading as used on the skin until I'm satisfied with each eye.
11. Next I add eye shine with the pencil tool.Again all the while keeping light source direction in mind.
12. Now I open a new layer and clean up the lines from the previous layers and begin to add base color to the roots of the subjects hair. (In addition I add more shading to the skin so the hair isn't too dark against it.
13. Slowly progressing with the hair I continue to use the watercolor tool. Using both dark tones and light tints to start developing value with in the hair.
14. I've now completely covered the area I want to be the hair, Next I use the blur tool to smooth out the colors and melt them together.
15. Now going in with a low opacity air brush with high sensitivity, I continue with defining the hair and each strand.
16. Finishing up with a low opacity pencil, I continue detailing the hair. Trying to give it a messier look, because hair isn't always perfect.
DONE! Whoo that took longer than I thought, Hope this helps someone! (:
Related content


Comments: 7

My gosh this is amazing ")
👍: 0 ⏩: 1

Thank you! It's far from being a photograph..but thank you! ")
👍: 0 ⏩: 1
You're welcome. It turned out beautifully and thank you for sharing how you do it!
👍: 0 ⏩: 0


