HOME | DD
 BuffyandBramble — Shading Tutorial

Published: 2009-12-12 23:26:47 +0000 UTC; Views: 2003; Favourites: 23; Downloads: 13
Redirect to original
Description
Good old MS paint. I did use GIMP a touch for this, but that was only for colour picking and the resize.Originally I was going to follow on from the previous lining tut by shading the crystal, however I happened to be doing this one. After finishing the head, I then had the brain wave "Hey, why not use this as the shading tut?" Hence the head is shaded in the first one. And there’s not text on there cause I figured I could just type it up here.
Right so, numbers go down 1 - 3, then the 2nd row is 4-6 etc. I'm sure you can figure out which I'm referring to!
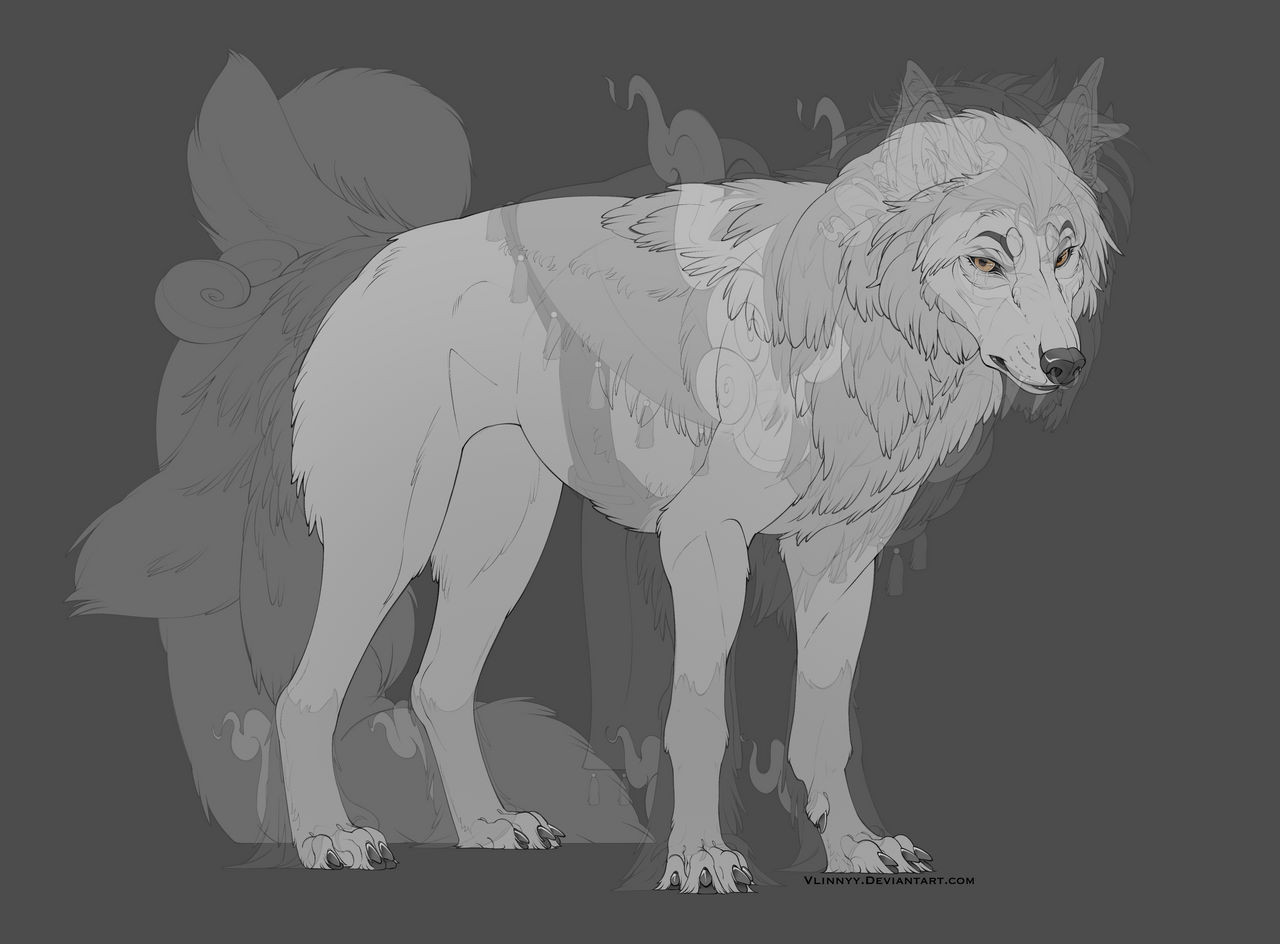
Right so. This is the reindeer (Ish) thingy for Calona at Christmas time.
1. Start off with flood filling your lines. It's normally a good idea to start off with your middle colour from a palette that you should have ready, but it can come down to personal choice. Because I filled with the 2nd darkest I confused myself, so the areas change in size as I progress. XD And the bright red line is a not to me, "This is his back line". I need it to be that obvious. After flood filling, block in your lighter sections. Make sure your light source remains consistent - shove a bright yellow blob in the corner if you think you'll forget. DON'T use a light source that is as if it was pointing at it. Most spriters use a source from the top left corner. Block in your darker areas too using the colour one below your flood fill.
2. Block in your colours further, using the next two shades.
3. Ermmm, continue blocking them in, though you can begin refining it all a little more. Remember, the shading defines the muscling and contours, so be conscious of that.
4. ... As 3 I think?
5. Right, I did something different here. Once I had my shades where I wanted them, I began to dither them. It was a learning curve for me, I don't normally - or if I do it always ends up a mess. This is the first dithered piece I'm happy with. Dithering - I won’t try to explain. I'd love to, but will fail. There's loads of dithering tuts around the place. Lazy DS says go look at one of those DX and save yourself from more of my explaining.
6. I continued dithering, only on the left side of the sprite this time. I also did final touch ups to other areas, and that's the body finished!
7. 7 & 8 are the antlers, and it's a similar method. Only this time I remember to use the middle shade of my palette! That made things so much easier. Basically, it's the same thing as earlier. My shades are just less contrasting.
8. Adding the extra depth to the shading on the antlers using the other shades I had. The all you need to do is delete your colour bars (Unlike me), and hey presto, you're done!
Well, that was all fail. I hate explaining, for the sole purpose I confuse myself as well as those I'm trying to explain something to. Good luck deciphering what I mean. It's better to just look at the sequence really.
I could have gone into more depth on some bits I guess, but there's better tuts around to explain some of the other stuff. Besides, I'm tired and have to go to bed now. =/
And I take no responsibility if you follow this and it ends up awful!
")