HOME | DD
 Built4ever — Perspective Drawing Tutorial: A Cottage Home

Published: 2013-10-03 16:39:18 +0000 UTC; Views: 62777; Favourites: 954; Downloads: 0
Redirect to original
Description
In many ways this is one of the most important drawings that I have ever submitted to this particular site, mostly because I have been asked numerous times over the last few years, either in comments sections or through private "notes," how do I do this, how do I draw perspective, how do I come up with these designs, etc. Make no mistake, it takes years and years of practice to get good at this essentially obsolete and esoteric art form. Hopefully, this rather large file will help illustrate the madness of hand-drawn perspective illustration drawn using my typical methods.Admittedly, it's missing a bit of information on two-point perspective and it's principles. You can simply look that up on the internet. For example, I left out the horizon line, something you might see on Google Sketchup. The idea is to build up a simple geometric shape which represents the "massing" and outlines of the house, based on main exterior walls, floor planes, and fairly complicated roof structure arrangements. It's important for the first outlines to be reasonably accurate or the house will have incorrect or skewed perspective lines. Sometimes later I "tweak" perspective lines a bit to achieve better accuracy.
Once you have the basic shape of the home sketched in, you can start to add details and "wings" to the house like the garage addition and the master suite to the right. All the while, you should have either a rough idea or an actual floor plan in mind as you lay this out. You can start to design a house like this, with no plan at all, and call it a concept sketch, OR, this can be a final rendering of a set of complete floor plans and elevations. I do both!
Getting a feel for perspective angles is very mysterious and difficult for many artists. To understand it, it's a good idea to sketch houses from life (sit on the curb and draw an old house!), draw AND trace from photos of houses, and draw rough perspective sketches of your own designs into a sketchbook. Practice, practice, practice!
Final details look correct when you actually know how a house goes together. For example, it helps to have a clear understanding of porch framing to draw clearly the porch piers, the beams they support, and the corner brackets. Yes, I DO build this stuff, all the time.
Finally, don't neglect landscaping plants. I also personally do gardening and installation of landscape plants on my own property, so I have a working knowledge of basic landscaping plants, trees, flowers, and how to draw them. Usually, on these types of illustrations, a simple tree line behind the house is enough to suggest how the home will actually look on a particular property.
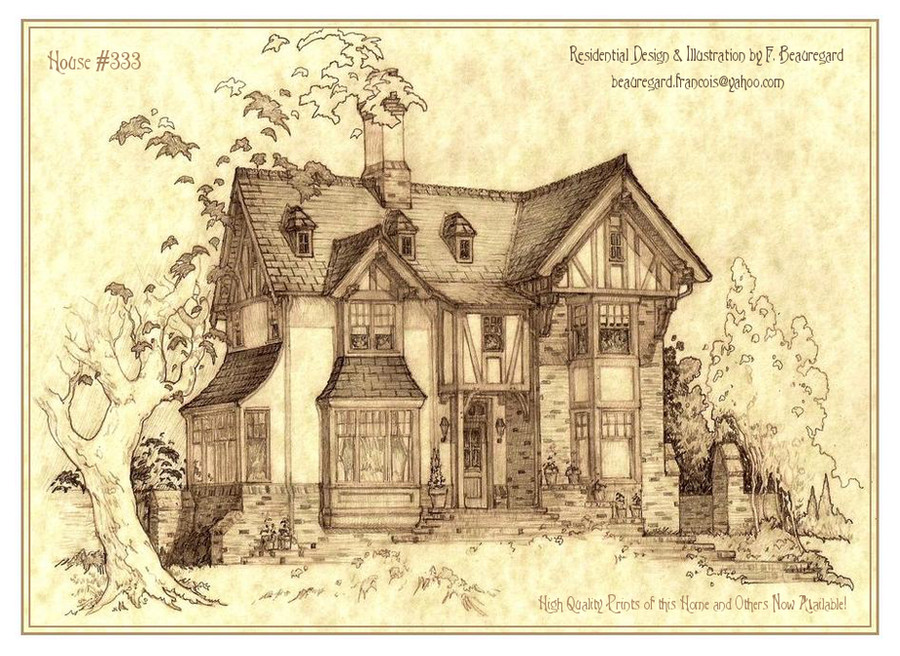
Technical: The six drawings above are pencil drawings executed in sheets of 8 and a half by 11 inch paper, mostly HB, H, and 2H pencils, scanned, assembled, and labeled with software.
Anybody may use this as they please, except for commercial purposes. I may see a lively discussion on this piece in the comments. Feel free to speak your mind, ask more questions, critique, or whatever. You can send me a private "note" too.
Related content


Comments: 76

Wow, this is seriously amazing. Very nice tutorial, thank you!
👍: 0 ⏩: 1

Yup, no problem, glad you like it...
👍: 0 ⏩: 0

Darn nice tutorial!! I'm used to using a big drafting board with a couple of pins for the perspective points..
Many years ago, I picked up some perspective grid sheets that I can tape down, then draw over using tracing paper..
👍: 0 ⏩: 1
Yes, old school fer sure Ed, and you can almost imagine the two pins for this one, where they might be, off the sheet. I tried a completely mechanical means of doing one of these once using a floor plan and plotting points from the plan, totally bonkers and time-consuming, but only way to do a very complex building before the computer age. I can draw them by hand faster.
👍: 0 ⏩: 1
That tutorial is a good asset.. You have to start with good "bones" to make everything look right..
👍: 0 ⏩: 1
Yes, the outlines at the beginning are really the "edges" and corners of framing.
👍: 0 ⏩: 0

Holy cow, thank you so much for this tutorial!
")
👍: 0 ⏩: 1

Thank you VERY much for sharing this! I always have a problem with drawing buildings. I know just because you make it look easy I won't magically learn it by just understanding your process but getting it down to these steps will certainly help me to "build" up my own buildings next time.
 (Smile)")
👍: 0 ⏩: 1
Yes, no problem, glad you like...so this helps you?
👍: 0 ⏩: 1
Yes it defenitely does. Every time someone breaks down a long process to babysteps it makes me actually believe that it is POSSIBLE to do it! And especially YOU, who does these pretty pictures of buildings with so much ease and grace so naturally like you were born with these skills, haha, it kind of seemed "out of reach" for someone like me. This is why it's just really encouraging and also helpful to see how it's done and with this method, with more practice (and knowledge of structure, too of course) I could do it too.
So thank you again for taking your time to do this!
👍: 0 ⏩: 1
No prob, just try to study the intermediate steps, geometric lines like centers, etc. That's key to getting it right.
👍: 0 ⏩: 1


You are most welcome, my good fellow.
👍: 0 ⏩: 0

I also recommend reading up on perspective and/or taking a class. It's tough but gets easier over time and with practice! Thanks for posting this!
👍: 0 ⏩: 1

So do you basically come up with a design and then an architect builds from that? Or do you do all of the nitty-gritty stuff, too? I just love your work.
👍: 0 ⏩: 1
No, I can draw all the floor plans, elevations, details, structure, foundation etc. Architect/CAD draftsman optional to draw plans on computer, and structural specialist/engineer necessary to rubber stamp structural issues such as beam sizes, steel, concrete wall thickness, etc.
👍: 0 ⏩: 1

Thank you for that one, it's very nice to see how you "build" your drawings !
👍: 0 ⏩: 1
Thanks, and that's a great opening comment, quite accurate!
👍: 0 ⏩: 0
<= Prev |