HOME | DD
 dypsomaniart — basics painting and blending
Published: 2006-08-06 06:01:14 +0000 UTC; Views: 31414; Favourites: 326; Downloads: 358
Redirect to original
Description
this is a basic photoshop colouring and shading tutorial, teaching you to block in colour and then smudge to blend. althoughi've used quite a few handy shortcuts here, i've tried to explain it as best as possible and include descriptions aimed at someone new to
photoshop and graphics tablets.
based on photoshop cs2, should be the same from ps7 onwards, i'm not sure about the earlier ones.
preliminary photoshop setup: this is how i set up my work area. in the toolbar at the top you have "file, "edit, etc. open up "window"
and select "brushes, history, layers, options, swatches, tools" to be displayed. after working with ps for a couple of years these are the only windows i
have found it necessary to have open all the time.
when i refer to "layers window" etc, these are the ones i'm talking about. "toolbar" is the main one across the top.
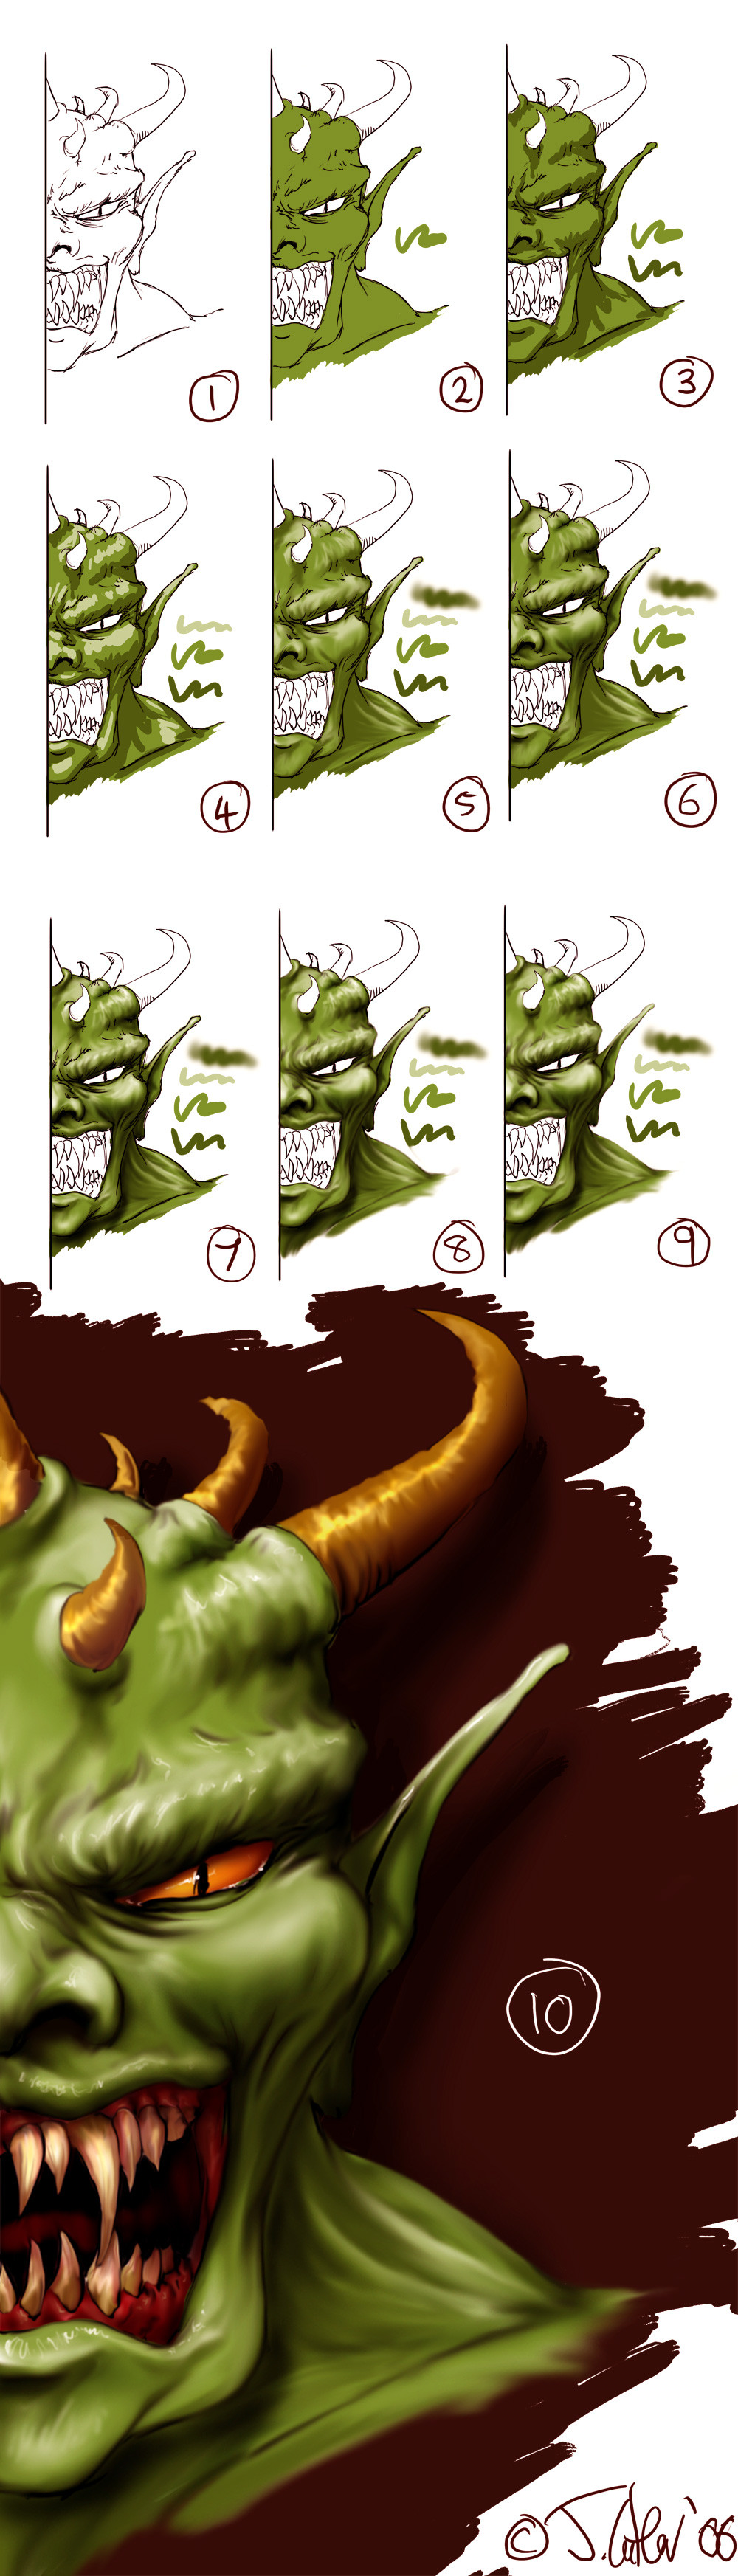
step 1.
open a new document. i tend to start with 3000x3000 pixels at 300dpi, but if this is just a practice image a smaller size will do (the bigger
the image and the higher the dots per inch -dpi-, the more detail you can put in).
create a new layer( toolbar-layer-new)
on this new layer sketch away until you've come up with your character.
then create a new layer over the top, drop the opacity of your sketch layer to 50% (this adjustment is at the top of your open "layers" window)
and on your new layer trace your character using nice clean lines(don't worry about being too neat,you'll be smudging them all in soon!) i just find this easier
than tidying up the sketch.
once your done, select your sketch layer (in the layers window) and delete it (left click over it in the layer window-delete layer).
you should now have a nice clean lineart to work with.
step 2.
create a new layer. at the top of the layer window- next to where you changed the opacity- you'll see this layer's style is set to "normal". change it to "multiply".
when a layer is set to multiply, any colour you put on it will darken any colour on the layers below it, so colours over white will remain the same(you can't darken pure white),
but when you put green (or whatever colour you choose) over your black lineart, it will simply stay black(as it can't be darkened any further).
so, on your new multiply layer, choose a midtone( for your base overall colour) skin colour for your character, and using a hard edged brush (scroll through
your brushes window and you'll find a solid sharp edged brush not too far down) colour in all the skin, then select the eraser and use the same hard brush to tidy up anywhere you went outside the lines
 (Smile)")
step 3.
you should now have a nice clean solid filled base for your skin.
on the same layer, at the top of the layers window, under where you changed the layer style, there are four different locks. select the checkered lock furthest to the left, this locks all the transparent pixels on that layer( so you can only paint where you've already painted- basically masking off the rest of the layer)
then choose a darker shade of your midtone (either from the swatches window or by clicking on the colour square on the tools window and manually changing the tone)
and using the same hard brush, loosely put in all your shaded areas (once again, it'll be smudged soon so just rough them in, and don't worry about going over the edges cos the layer is locked so you cant
step 4.
same as step 3 but putting in highlites of a lighter shade than your midtone.
step 5.
now it's time to select the smuge tool from the tool window(it may be a pointy triangle icon which is the sharpen tool, hold your pen down on this and drag across to open the sub-window and change to the finger smudger).
slect a soft edged airbrush from the brushes window(example of this is above the three colour squiggles i drew next to his head)
and with the strength set to 100% (experiment with lower % if this is too much for newbies) (this adjustment is at the top of the screen below the toolbar)
start smudging your colours together and smearing them around to get the desired shape.
(this technique can take some getting used to, if you blend in your highlites or something too much you can always grab the paintbrush tool again and re-establish them)
step 6.
once your happy with yor smudging, and everything is looking as smoothly blended as you want it, select the burn tool from the tool window (to the right, next to the smudge tool, looks like a half closed hand)
at the top under the toolbar the burn tools settings should be on midtone, with exposure around 35%
use the burn tool with the soft airbrush to darken up and areas you want darker, to give more depth to the shadows.
step 7.
now hold down your pen on the burn tool in the tool window to open the sub-menu and change to the dodge tool (looks like a black magnifying glass).
the settings (at the top under the toolbar) should again be midtones set to about 35% exposure.
use the dodge tool with the soft airbrush to add highlites to your lighter areas to give shine and more depth to the skintone.
step 8.
if your going for a comic book style then skip these next two steps. this is just blending in the lineart.
merge your two layers ( toolbar-layers-merge layers, this will drop whichever layer your on- in this case, the top layer- onto the next one down)
now, with all your work on the one layer, select the smudge tool again with the soft airbrush and blend in your lines.
step 9.
select the eraser, and with the soft airbrush (or a hard bush, depending how sharp you want your silhouette) set to a small diameter for a sharper edge, carefully clean up your outline.
remember the history window, if you erase too much just go back a couple of brush strokes using the history window.
step 10.
now do the rest! as far as the skin we've been working on, i've added a few sharper highlites and details and also a few sharper lines in the creases that i'd smudged too much.
if you create a new layer and drag it underneath the main layer with everything on it, you can fill in the gaps without having to worry about going over the edges.
just use the same technique on the layer behind- but this time you don't need to change the layer style to multiply because it's behind the lineart-
fill in the solid midtone colour.
lock the layers transparent pixels.
add your shadow tone and highlite tone.
blend them all together with the smudge tool.
use burn and dodge to finish off shadows and bring out a few highlites.
merge the top layer down onto it.
use the smudge tool to finish blending in the linework.
add any last minute details (reflections in the eye etc) with the soft airbrush, varying the size depending how sharp you need it.
once you've filled in all the details, use the dodge and burn tools to unify all the highlites and shadows over the whole image, just to bring it all together.
that's about it i think?!?
this is just one technique of the infinite ways of tackling photoshop, it also -i hope- will give people new to photoshop and graphics tablets a few ideas and a bit of experience using some of the tools and tricks they may not normally have used.
hope it helps a few people out there.
jesse.
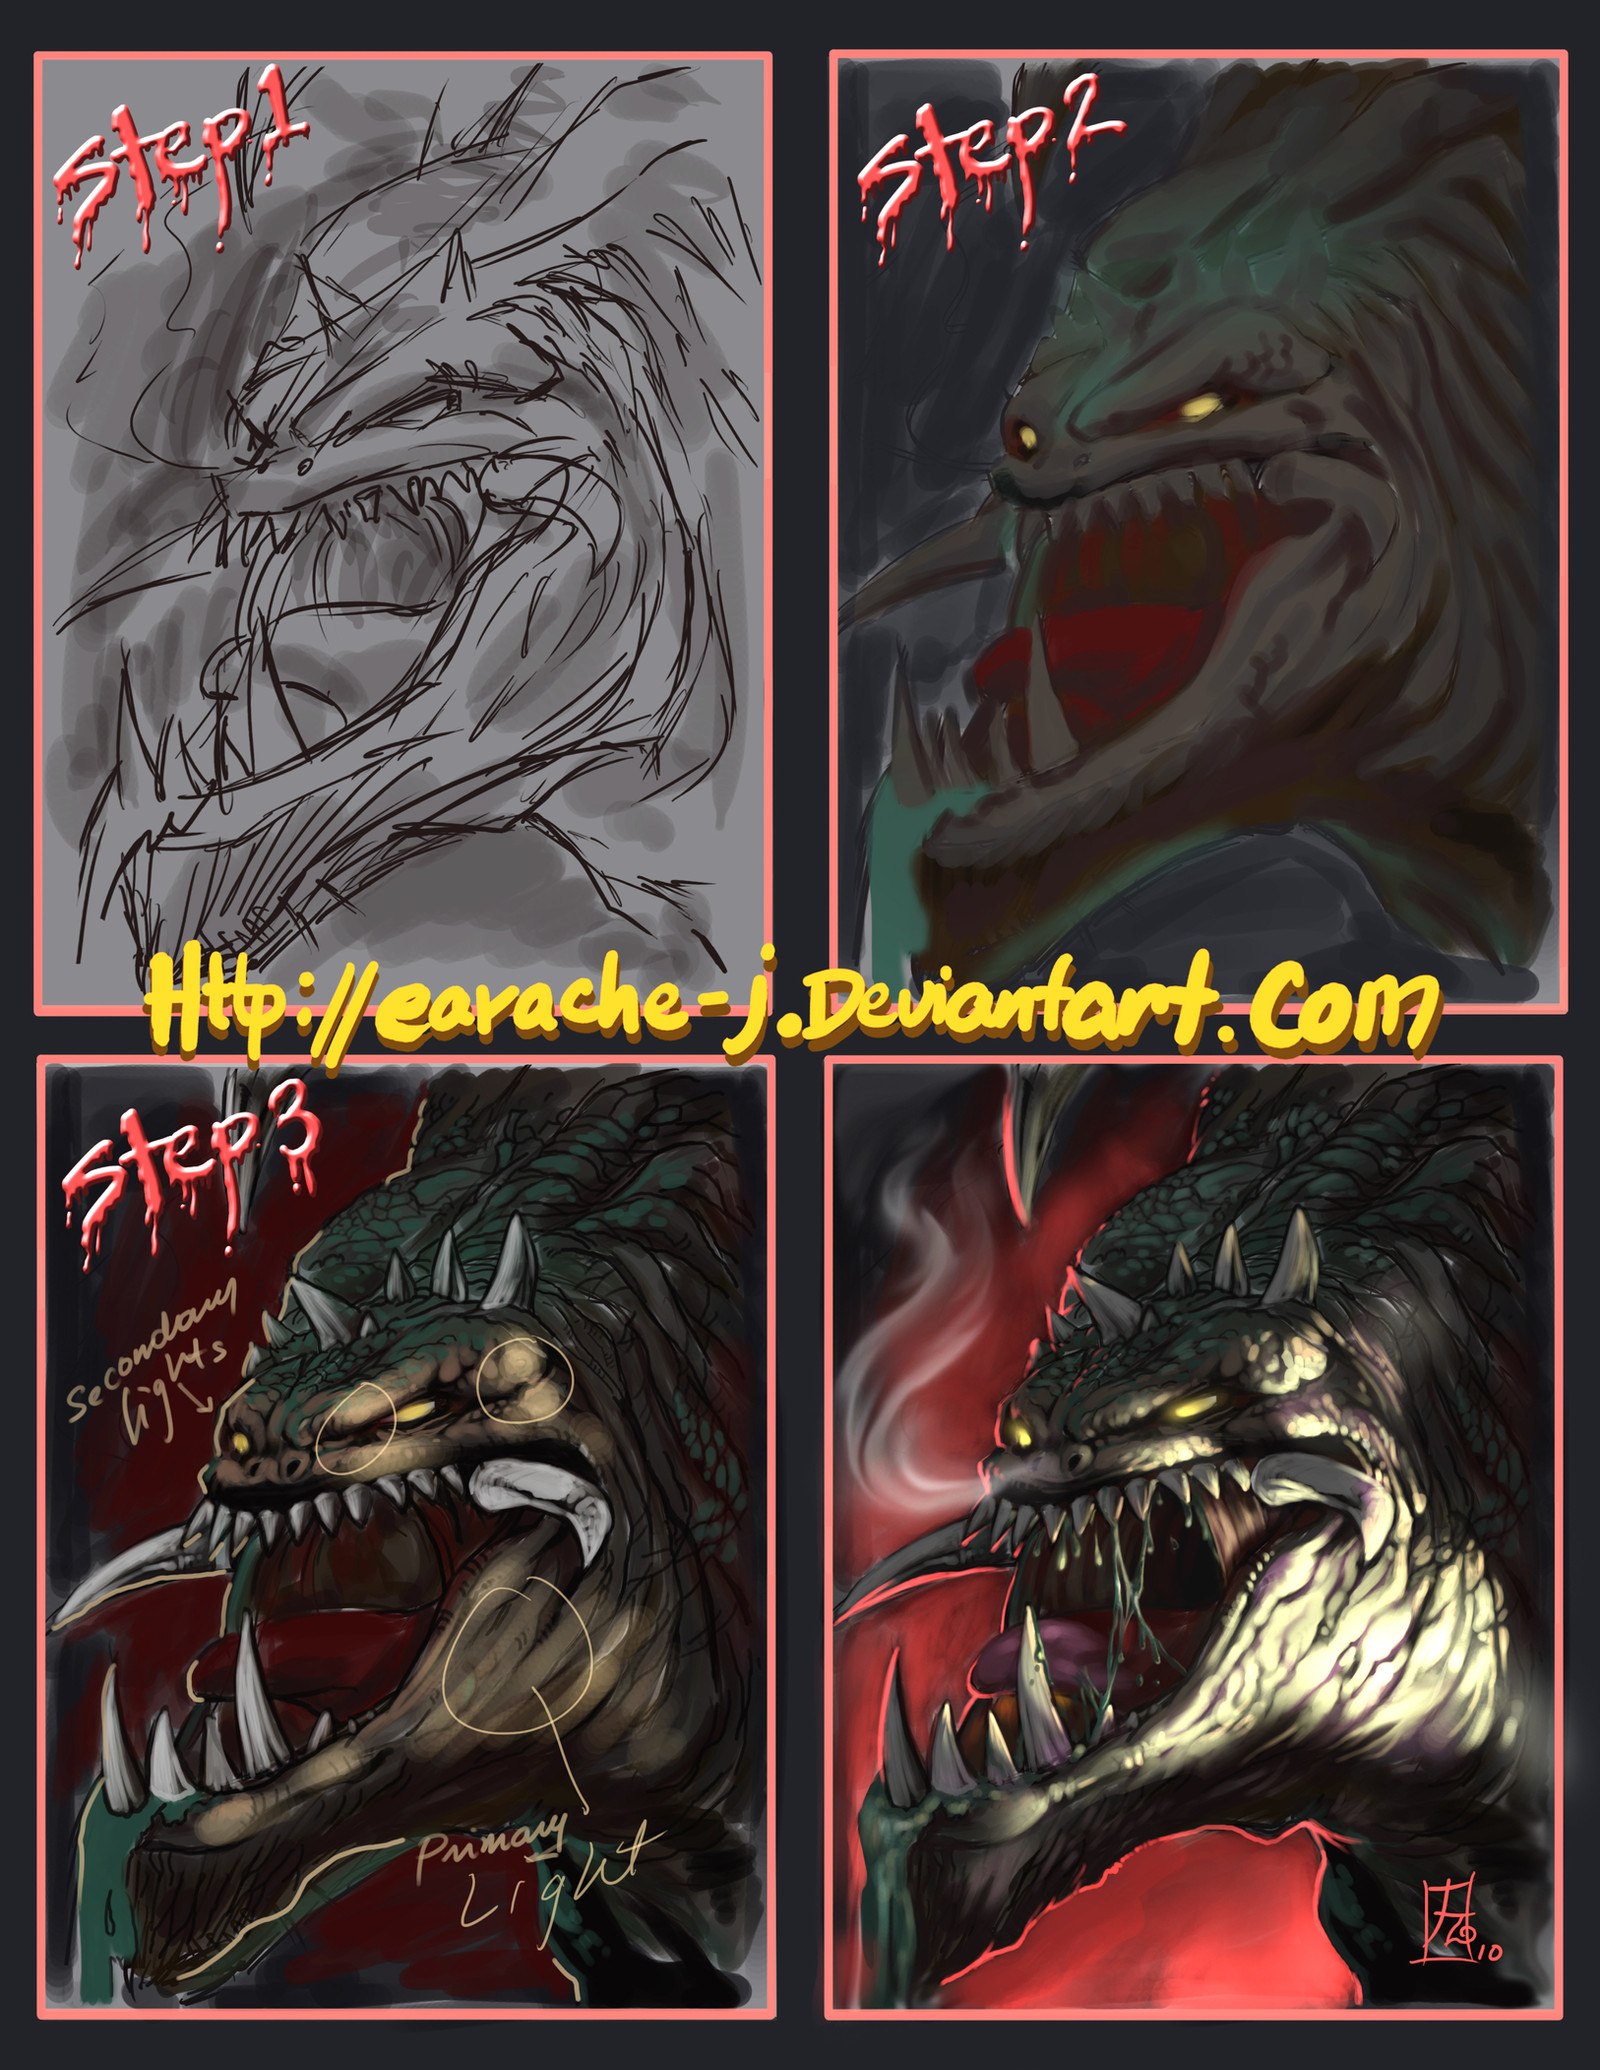
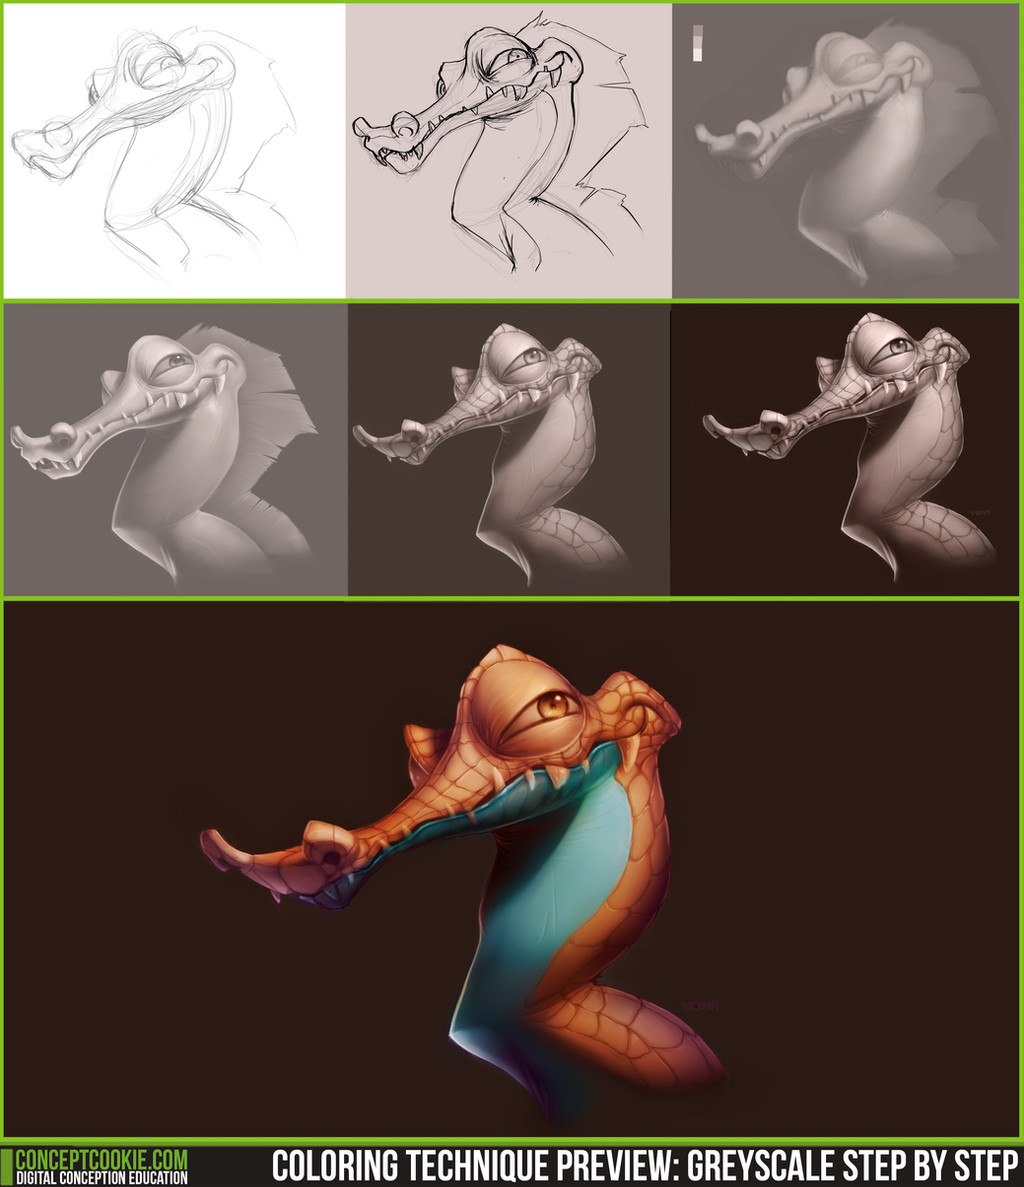
Related content


Comments: 70


glad to help
👍: 0 ⏩: 0

Ohhhhh! That makes sense... Well, more sense than the way I was tackling things!
Sheesh - just goes to show how little I know about these things.... Will have to give it a try!
Thanks Jesse - you just saved me ripping all my hair out
👍: 0 ⏩: 1
there's so many different ways of doing things in photoshop, i've just found this to be a fairly straight forward approach, that gives consistent results, but i still seem to draw each picture differently, and mix up all sorts of techniques. just play around with it and experiment, and have fun. obviously this technique won't work best for everything and everyone, but it should give you a good starting point and a bit of an understanding of the practical application of some of what photoshop has to offer
👍: 0 ⏩: 0

Awesome , you'll have me painting like a pro in no time ")
The final picture compared to what you started with looks really great , he seems like a friendly chap too ..
 (Wink)")
👍: 0 ⏩: 1
thanks mate
👍: 0 ⏩: 0

Thank you so much, this is very, very useful!
Great tutorial, very well described. Good job
👍: 0 ⏩: 1
glad to be of service
👍: 0 ⏩: 0

hmmm, sorry, pushed the button too many times

👍: 0 ⏩: 0
no worries mate
👍: 0 ⏩: 0
no worries mate
👍: 0 ⏩: 0
no worries mate
👍: 0 ⏩: 0
no worries mate
👍: 0 ⏩: 0


Great tutorial 
👍: 0 ⏩: 1
no probs mate
👍: 0 ⏩: 0

all i can say is... omg.... 
LK1
👍: 0 ⏩: 1
cheers mate
👍: 0 ⏩: 0
<= Prev |