HOME | DD
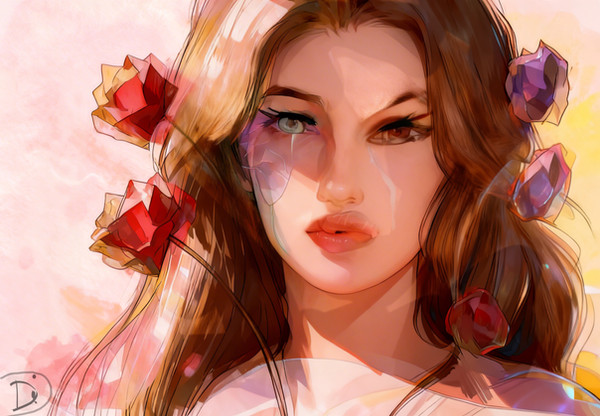
 Equinya — Tutorial 'Clean and Gothic'

Published: 2007-02-16 06:04:53 +0000 UTC; Views: 15870; Favourites: 263; Downloads: 796
Redirect to original
Description
I hope this is usefull.This is for jasc paint shop pro.
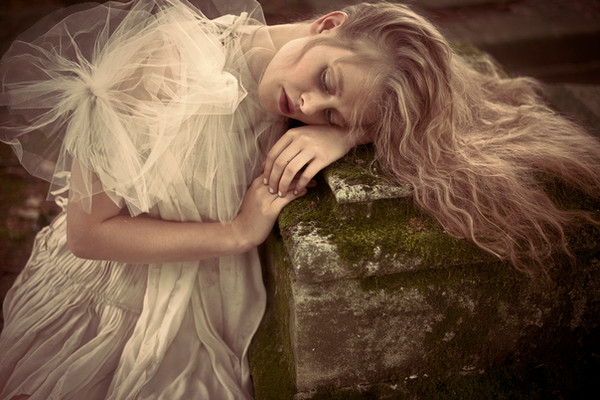
the photo I used was by LadyBelar [link]
this is the image that was used [link]
The next tutorial I'm doing is the "painted over photo" look
Related content


Comments: 21


I tried using this tutorial but i have no idea where or what the scratch tool is or the continous that you're talking about whne it comes to painting the skin. I'm very confused.
👍: 0 ⏩: 1

this tutorial is for jasc paint pro v. 9
👍: 0 ⏩: 1
That would explain it.....but hey i did manage to figure parts of the skin out via photoshop. Thanks
[link]
👍: 0 ⏩: 0

you should make it into a photoshop action = ]
👍: 0 ⏩: 1
It's not photoshop. It's paintshop and I don't plan on switching over.
👍: 0 ⏩: 0

Such a great tutorital ^_^ I'll try to use it. <3
👍: 0 ⏩: 0
the 5th step doesn't always work, if you bring the contrast and light a little closer to zero, it might help
👍: 0 ⏩: 1

hm thanks, well as i told you i tried to do something...and this is the result: [link] It isn't exactly what i pretended at first but...
👍: 0 ⏩: 1
It's not bad for a first shot at this method.
What I can suggest though is:
For the teeth:
To add a few raster layers with white over the teeth and set them to soft light, you can either Gaussian blur the layer slightly, or use the soften brush.
If it leaves a strange colour, merge the layers flat and add another raster layer, with white, and set it to colour, you may want to reduce the occupancy of the layer to make it look more natural.
For the skin:
It's very smooth, but I can still see some blotches in the skin. what you can do is take the scratch remover and make it larger than usual and clear over the areas, then use the soften brush to even it out.
It's not that big of a deal, but I'm a perfectionist.
If you have any questions or requests for new tutorials, or collaborative work, feel free to ask.
👍: 0 ⏩: 0

hey hey! I used this awesome tutorial here [link] !
Thanks!
👍: 0 ⏩: 0

Thankyou so much for making this as well as the other tutorial! It helps so much! <333333333
👍: 0 ⏩: 0


Whew, this is really awesome, too bad that it seems to be hardly noticed by people here on deviantArt.
")
👍: 0 ⏩: 0

wow! awesome! im so using this!! ive been testing it out following the instructions, its fucking magnificent!
")
👍: 0 ⏩: 1
If you have any questions, about directions or other effects, feel free to ask
👍: 0 ⏩: 1

Very nice tutorial! Gothifying is fun!! 
👍: 0 ⏩: 0


I love the outcome, especially the skin..very nice!
👍: 0 ⏩: 0