HOME | DD
 FleetingEmber — Cat Step by Step

#cat #step #tutorial #photoshoppainting
Published: 2018-12-16 12:13:29 +0000 UTC; Views: 17484; Favourites: 1025; Downloads: 0
Redirect to original
Description
Been so busy this week - apologies for the absence! Definitely a busy time of year, I hope everyone is looking forward to a lovely holiday time
So, to the steps -
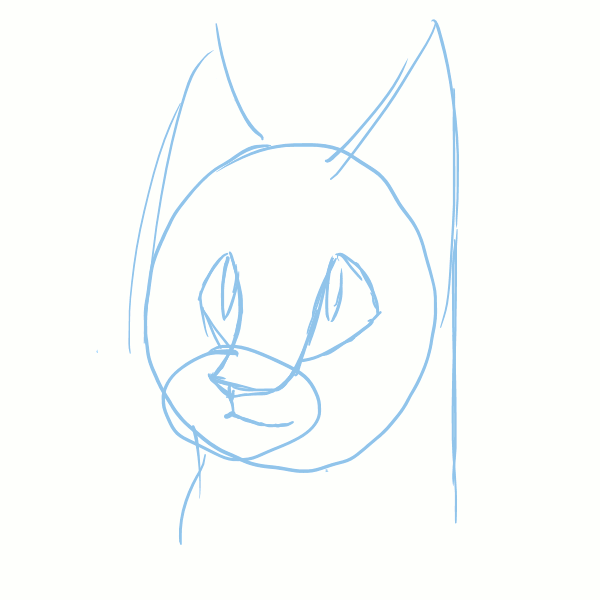
1 - Simple sketch on separate layer to a purple background
2 - Deciding on a light source - I thought I'd go with a central source coming from behind. Trying to stick with a limited palette so I chose pale purples to just rough it down. Starting with my darks this time for the cat so just chucking something down with the sketch layer ontop.
3 - Again, sticking with just purples, I start to rough out some shape and lighting onto the cat, making sure to vary the saturation.
4 - Start to work on top of the sketch now. Block in an eye shape and start using a fuzzier texture brush with a hue jitter to add a bit more life - I can colour pick from these slight hue shifts later. I think I played with a bit of canvas texturing here as well.
5 - I hid the sketch layer on this step - it's really no longer needed. Most of this was using a basic fur brush for a base, and then go over individual strokes to add more life. Dark bits, like above the eyes look great with a few light strokes showing through
6 - Blended the background a bit more - went for something a bit different than normal. Continued to detail - added whiskers on a layer above everything. This is handy if you need to go back and fix stuff so you don't mess them up.
7 - Final detailing - more of the same.
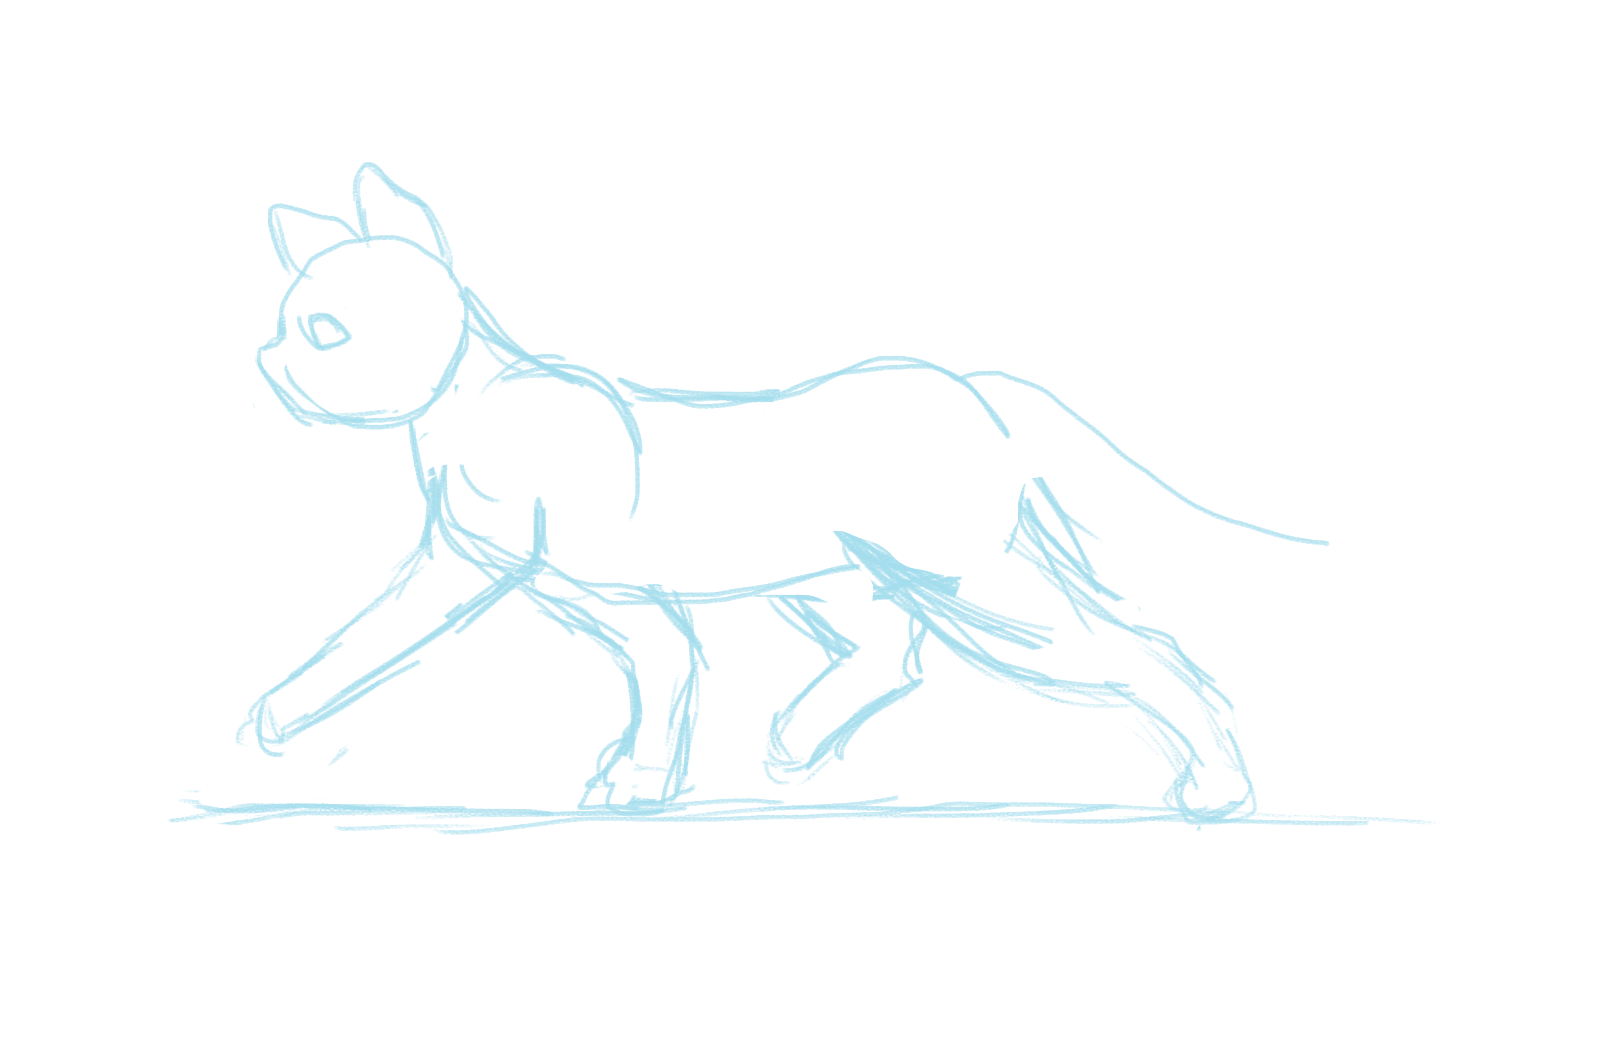
You can see all stages here -
Finished piece -
-----------------------
Follow me on Instagram - www.instagram.com/fleeting_emb…
Related content


Comments: 41

👍: 0 ⏩: 0


Thank you so much for adding a separated static step-by-step image! <3
👍: 0 ⏩: 0


I love seeing the creative process of artworks, gives a real sense of how much effort goes in to things like this. Really nice work, I wish I could be that detailed!
👍: 0 ⏩: 0


 (Smile)")


...Inch by Inch. (Seriously though, this is incredible.)
👍: 0 ⏩: 0

Enjoyed reading and watching, thanks for sharing whole process)
👍: 0 ⏩: 0


Haha that was super rough!
👍: 0 ⏩: 1

what can I say? I think it looked perfect and overall spontaneous! Leaves lots of mystery and roughness-just the way I like it. 10/10 drawing all the way.
👍: 0 ⏩: 0

Nice. Funny since my cat is laying next to me as I watch this.
👍: 0 ⏩: 0


The guide looks like "do-it-beautiful-button". Seriously, I don't see any settings of textures, brushes etc. And I still don't know the form of brushstrokes. What is the goal of these gifs? I don't know...
👍: 0 ⏩: 2
They're little process stages I save through my painting process. It's really helpful for me to look back and see how I achieved certain things, and I know a lot of people like to see the process behind images - how certain things were approached, detail built up, stuff like that, and they can use these for reference. I always talk about what happened for each stage and try and include little revelations or such I had whilst painting, things I wish I'd known earlier. I'm also here to answer any questions anyone might have!
👍: 0 ⏩: 0

The goal is pretty much to just show the progress
👍: 0 ⏩: 0

wonderful eyes. thx for the step by step, it's stunning
👍: 0 ⏩: 0


This is very interesting to see")
👍: 0 ⏩: 1

