HOME | DD
 gravureboxing — XNA to DAZ Figure using FaceShop/FaceGen/etc
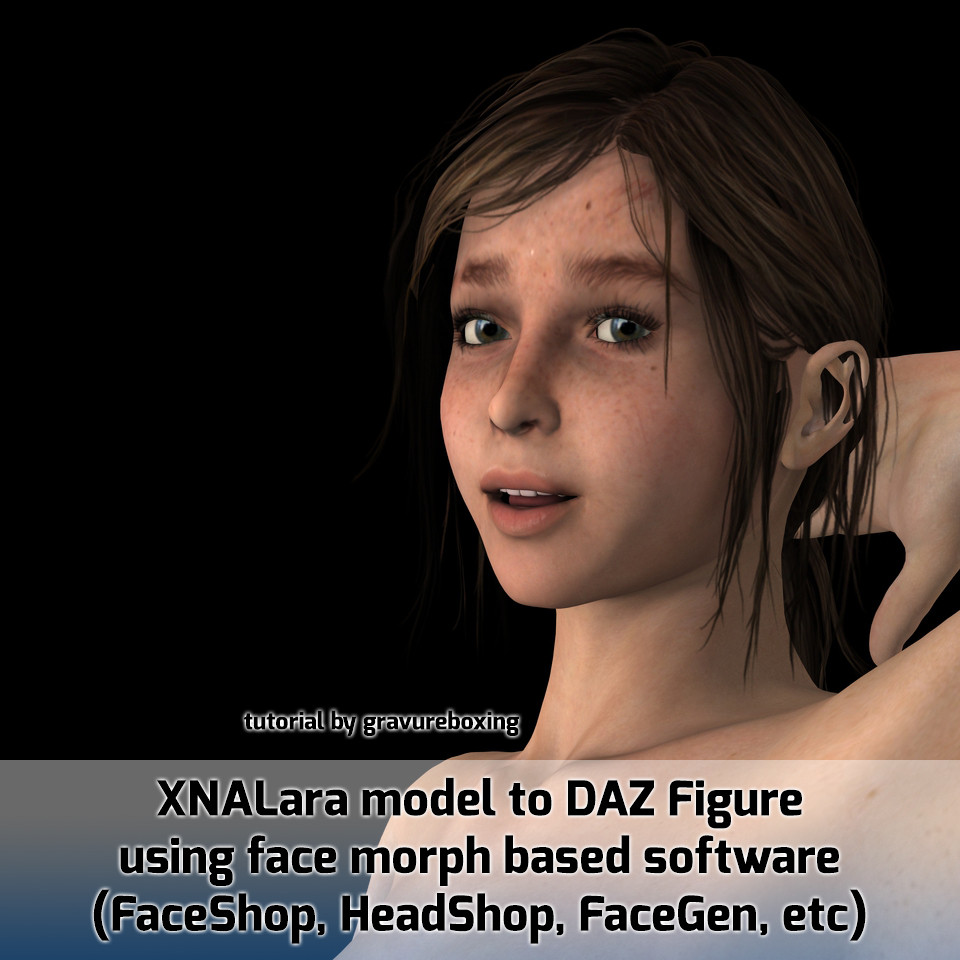
#3d #dazstudio #face #morph #poser #tutorial #xnalara #thelastofus #facilamorph #ellie #model #tlou #victoria4_2
Published: 2015-10-29 23:07:19 +0000 UTC; Views: 41566; Favourites: 168; Downloads: 0
Redirect to original
Description
**** THIS TUTORIAL IS BASED ON FOLLOWING PREREQUISITE SKILLS. PLEASE LEARN THESM IF YOU DON'T UNDERSTAND WHAT THEY MEAN.**** PLEASE DO NOT ASK ANYTHING THAT HAS TO DO WITH THESE PREQUISITE SKILLS. THERE ARE LOT OF MATERIALS ONLINE (AND EASY) THAT YOU CAN FOLLOW IN MINUTES.
XNALara
- Download and importing models into scene
DAZ Studio / Poser
- Finding figure's default texture and a template map for it
- Applying figure morph (eg. Victoria 4.2++ morph)
In Image Editor (Photoshop, Gimp, etc)
- Creating layer mask based on transparency
- Separating mask into separate layer
I'm no good teacher by any means.... lol
But tried my best to explain things flawlessly. Hope everything sounds clear. This method however, involves a acquisition of paid software.
Step 1. Load model into XNaLara Posing Studio (we'll just call it XPS from here now on) - one you would like to adapt into DAZ Figure (like Genesis, Victoria 4...)
sta.sh/0s2qkohmrf9
Step 2. We'll need to hide parts that aren't necessary to be exported - clothings, accessories, etc. Since I want to export hair also, we'll see what we can do about that. Click 'Options - Make items optional' at XPS
sta.sh/02ff7a96wow5
Step 3. We'll need to hide parts on this new window. However, you can't tell which ones are essential and not. Sometimes model can have mixed up mesh, that you can't separate. For example, this Ellie model has mouth and shoes tied together. Weird, right? Well, that's just how it came out. Do the best you can. We can handle them later.
sta.sh/024vkomoea57
Step 4. Click 'Modify - Export scene as .obj' and save obj file to the folder of your choice. We can close XPS if you want. Open up DAZ Studio, and import that obj file you just exported. I used Poser preset on this step. It comes with white all over hair and lash tetures. Let's take care of them first before we go any further. Launch either Photoshop, Gimp, or any image editor that is capable of handling transparency channel.
sta.sh/03ymx2qy8c0
Step 5. Load all textures belong to model you extracted. Close ones that don't have transparency map. You can tell it by presence of checker pattern in the background.
sta.sh/0237caf2aomy
Step 6. In Photoshop, you can separate transparency map from image. Follow menu guide above, then it will give you a layer with layer mask right beside it. Isolate them into separate textures and then save as separate file also. We will not be using original .png file that came while exporting from XNALara. Repeat this process for eyelash, hair, anything that has transparency.
sta.sh/0do2rccpxt8
Step 7. Apply new textures (make sure you apply both new diffuse map and transparency map as well). Then, use 'Geometry Editor' under Tool Settings pane, hide everything that has nothing to do with Face. This time, this includes Hair.
sta.sh/09208kqwm89
Step 8. This is what it should look like
sta.sh/0ftfmyuucra
Step 9. Light scene, and render at high resolution. Higher the better, but since most games use low resolution textures, anything higher than 2048x2048 may not be necessary. Save as jpg.
sta.sh/01vz2qg54s00
Step 10. Now, this is where real thing begins. I'm using old FaceShop by Abalonellc, which is unfortunately no longer available. They recently released HeadShop 9, which is upgraded version and use Genesis 2 figures as base model. You can also look after FaceGen by Singular Inversions as well. Follow their instructions and carefully mark spots on face we've rendered.
sta.sh/0wk8804dl9w
Step 11. Either software should give us a result close to THIS.
sta.sh/01krf7dscdav
Step 12. Now, a face should look either fine or weird. Ignore it for now, we'll need to fix a shape anyways later. Look for a face texture generated by either software. Bring it into image editor, along with face texture and template map of figure you are using. We'll fix spots where Software generated face texture is off the spot compared to the template. If you are using Photoshop, a Liquify command is really useful in these situations. (Watermark present for uploading V4 texture map as whole)
sta.sh/08of0w1r9xn
Step 13. After hours of work, I ended up here. Save this face texture. (Watermark present for uploading V4 texture map as whole)
sta.sh/01hdpminwz7n
Step 14. Apply new face texture. Now, bring that obj file back, and place it right beside our figure. We'll shape the head after it.
sta.sh/09l00ewbh5y
Step 15. Repeat until it's close. No shortcuts here
")
sta.sh/0ao8cx3ccu9
Step 16. DONE. There are little things I can fix here and there, but it's pretty close enough to me. I brought back hair from original model, fitted it using D-Form (Magnet in Poser) and voilà!
sta.sh/0ipunz2ngud
Related content


Comments: 8

👍: 0 ⏩: 0

Hi and thank you so much for the tutorial.  (Smile)")
I had a question about step 9 ..when I render do I render the "Front perspective " view or the Front view?
Thanks again!
👍: 0 ⏩: 1

Either should be fine I believe!
👍: 0 ⏩: 1

hello! thanks for the tutorial. but i am having problems with exporting the xna model into the obj format. when im trying to export the model the result is a bottomless torso, and i cant get the pants to show up after exporting, how do i deal with this issue?
👍: 0 ⏩: 1
Sorry - since results may vary upon character models and XNALara versions - I can't really give you a solution. Check if it's happening with all models or certain models
If it's all models, your version of XNALara is not making great exports. Try downloading newer or even older deploys.
If it's some models, that model maybe not made well. Check if someone else deployed same character, and if not - try different version of XNALara.
👍: 0 ⏩: 0

