HOME | DD
 JassyCoCo — Coco Process+Small Tutorial
Published: 2014-03-26 08:08:19 +0000 UTC; Views: 6360; Favourites: 127; Downloads: 143
Redirect to original
Description
Hey this will be small and easy so bear with me if you don't really understand SAI or want to color and shade beautifully. I would have done this in Flash but there is no way....STEP 1
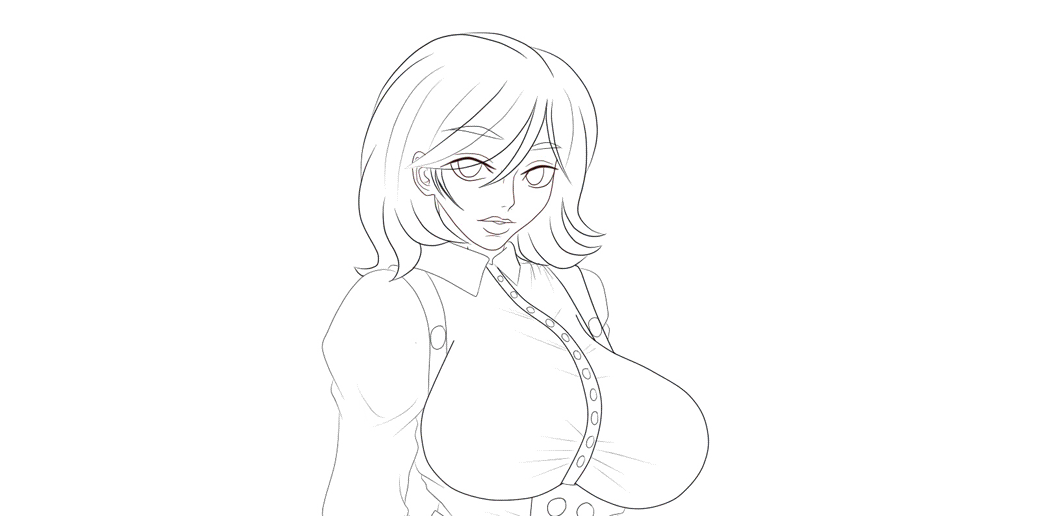
First I start inking after a few minutes of coming up with different poses. I use a regular layer for rough sketching because I can manipulate as much as I want with the rough sketch or just try to freehand the pose I'm going for. You can use refs or tutorials on learning to draw different standing poses.
 (Smile)")
Then I start the inking process with a Line art layer. Its really helpful and easy to clean and manipulate. Its vector base and its good for all your inking needs. Using the pen tool on a regular layer is also helpful, but its also a drag if you keep messing up. You have to either erase really closely while zoomed in and make really fine lines or just apply a Line Art layer next to New Layer and New Folder. It'll save you a lot of time. It takes me about 20 minutes to manipulate and clean lines and also lowering the weight of the stroke which is also in the control panel. On various drawings, my settings change constantly so I usually lower the weight to 1.5 pt or 3 pt. Nothing bigger unless I'm going for comic art and strong lines. Once that's completed, I can move on to coloring.
STEP 2
Before I start coloring, I make sure my lines are connected so when I select the magic wand tool, I can easily select the parts I want colored. Now, there are ways other artists do it, but this is how I do it. After checking to see if the gaps are closed, I choose the bases for the skin, clothes, and hair. Each layer all have Preserve Opacity checked. I put all the layers in their own folders and label them...these things can save your life! Use them. So once I pick the lightest of colors, I move on to shadows.
STEP 3
Now, shadowing is a process in itself because you have to determine light sources and where the shadows will hit. I usually do the shadows first because they're the easiest and the fastest way to know where to add highlights and details. I use a combination of airbrush, brush and water tool to get different types of results. Each brush are on different settings because you want to play around to see what fits you best. I start on the skin and work my way up until I'm finished on the clothes. Its important to not use too many shadows unless you're doing a pitch black setting... I make sure its all looking good and on to highlights.
STEP 4
I add highlights last because like I said the shadows will be the fastest and easiest way to add them. Now, it can be difficult sometimes especially if you're not used to light sources. I choose light oranges for her skin, bright red on her hair, all white lighting on her clothes and finer details into her eyes. I put much detail in the eyes because its the first thing I want people to see about my characters. Now adding too much light can be a good or bad thing...its how you use it. I use Marker tool on a good density setting and nice sized soft brush to add my highlights. Sometimes I use the blender tool to blend in carefully so it won't be too solid. I lower the opacity and set all my highlight layers to either Luminosity or Screen, and even Luminosity and Shade (Avail on certain versions of SAI).
FINAL STEP
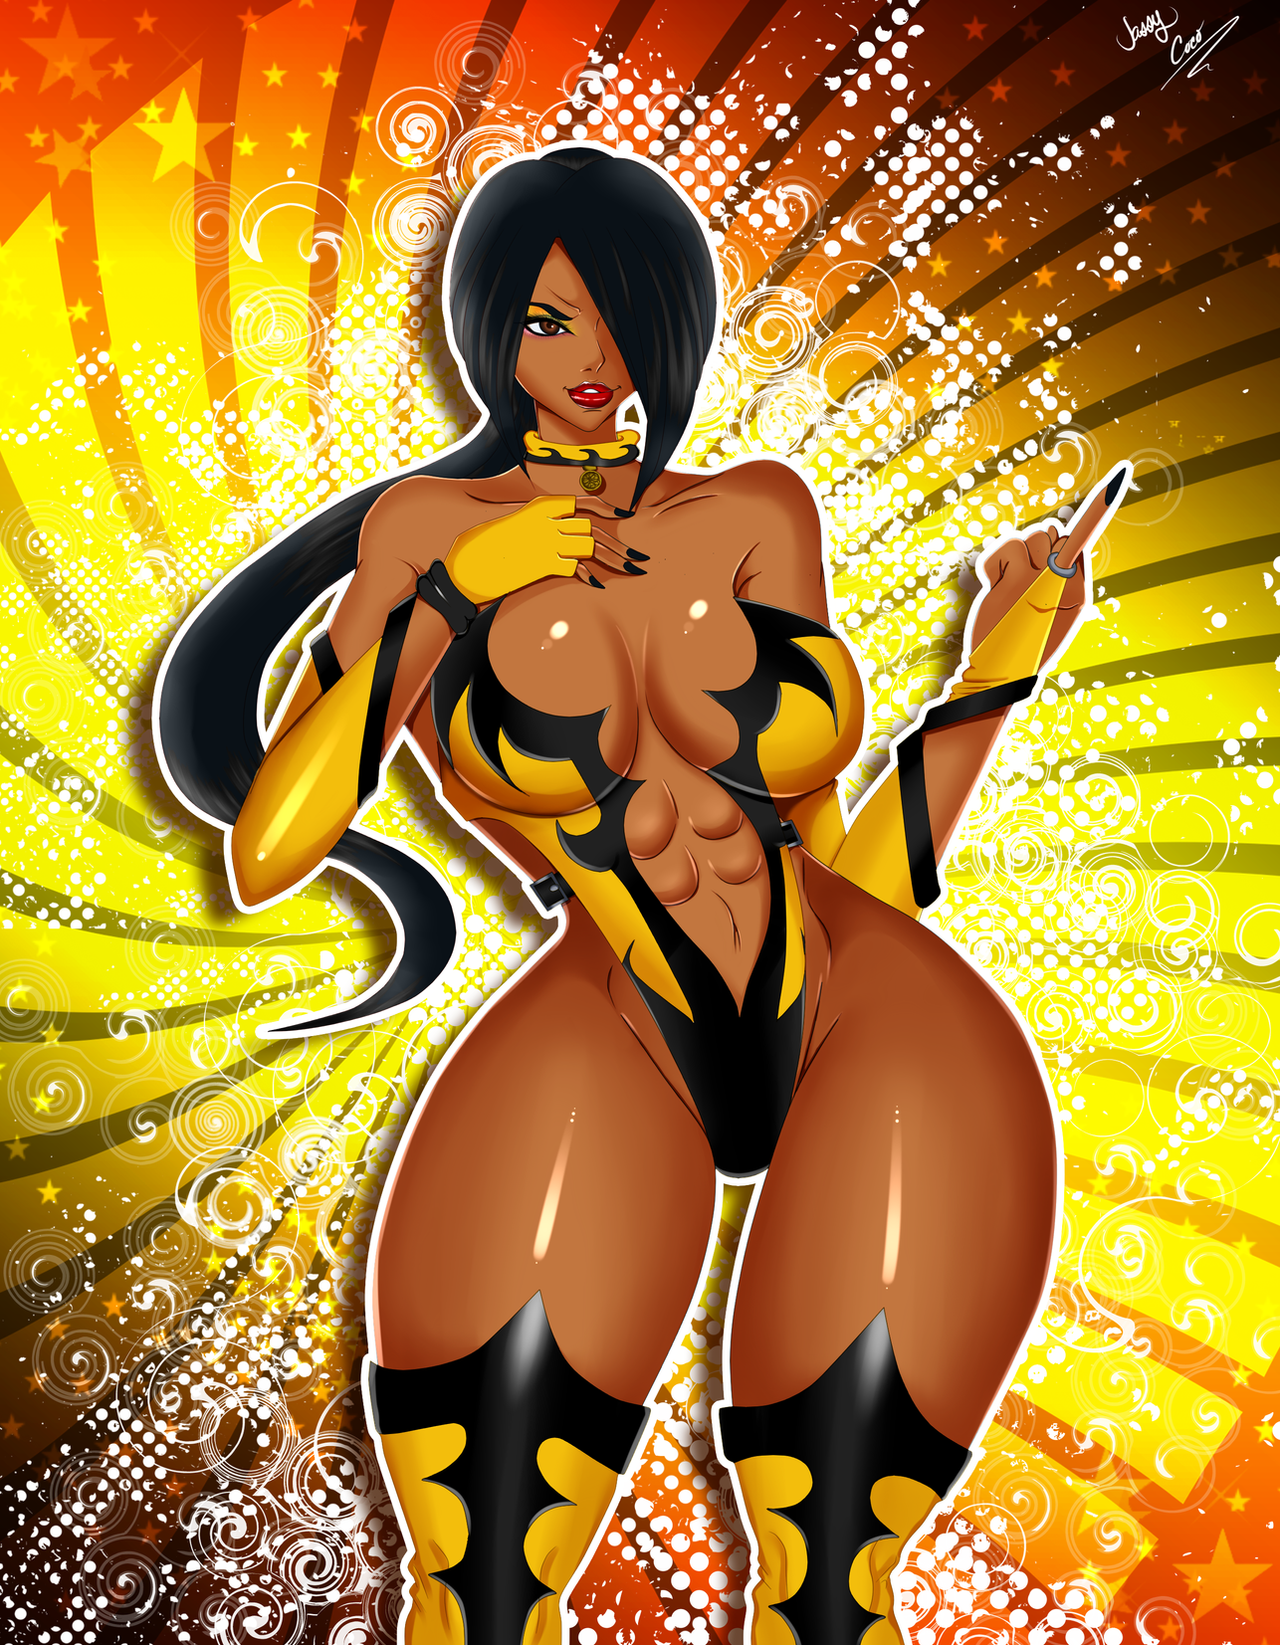
Okay this will be quick, now there are ways to pull off a great drawing and that is doing a fantastic background. BGs can be hard to do but I used a customized BG I made for this picture. Blues and purples go well together and they won't take away the focus of Coco. Reason for this is because I used lots of bright colors on Coco but kept it in harmony. The highlights stand out on her face and eyes as well as her clothes. The BG is just a distraction. I add more details and change the line art color some more to get a more refined look. Once I finish adding all the details I want, its finished. The original picture took 135 layers or more (I forget). It gets really exciting to try new things, but remember the main character in the picture will always pop out if use see your techniques right. It took me a minute to learn this and so can you.
If you got any questions, comment below and I can help further if you're stuck or curious about something. Also plan your drawings out! Colors and using them well is also important!
Finished piece:
Related content


Comments: 29


 (Wink)")


Heh, I get that all the time. lol
👍: 0 ⏩: 0

your welcome. your default pic is cute n at the same time it distracts me lol
👍: 0 ⏩: 1

Np, I hope I can make a more in-depth tutorial in the near future.
")
👍: 0 ⏩: 0

Nice. Good job with this one. And thanks for making this it will be highly helpful for all of us who need it.
👍: 0 ⏩: 1
Hey no problem. I hope to make PDF versions of tutorials. I can script and code in flash but its tedious work...
👍: 0 ⏩: 1
Tedious work tends to be the most wroth it though,
👍: 0 ⏩: 1
Yeah when you have time, which I lack in.
👍: 0 ⏩: 0

Nice tutorial....now to see if I ever get time to draw again
")
👍: 0 ⏩: 0

I'm so silly! While I was watching this and reading it, I literally said: "Lines, color, shadow, light, extra light!". XD I need help....ahahaha!
👍: 0 ⏩: 1
I could have went in depth but girl I was up late again
👍: 0 ⏩: 1
Ahaha! XD I know what that means!
👍: 0 ⏩: 0

Lol I dont flash anymore.
👍: 0 ⏩: 1

Nice tutorial.
Nicely done but unfortunately, I don`t have Paint tool Sai I use MSPaint which comes out archaic no matter how much I try to get it to look good.
👍: 0 ⏩: 1
You can adapt the same info into Ms Paint but simply improvising.
👍: 0 ⏩: 1