HOME | DD
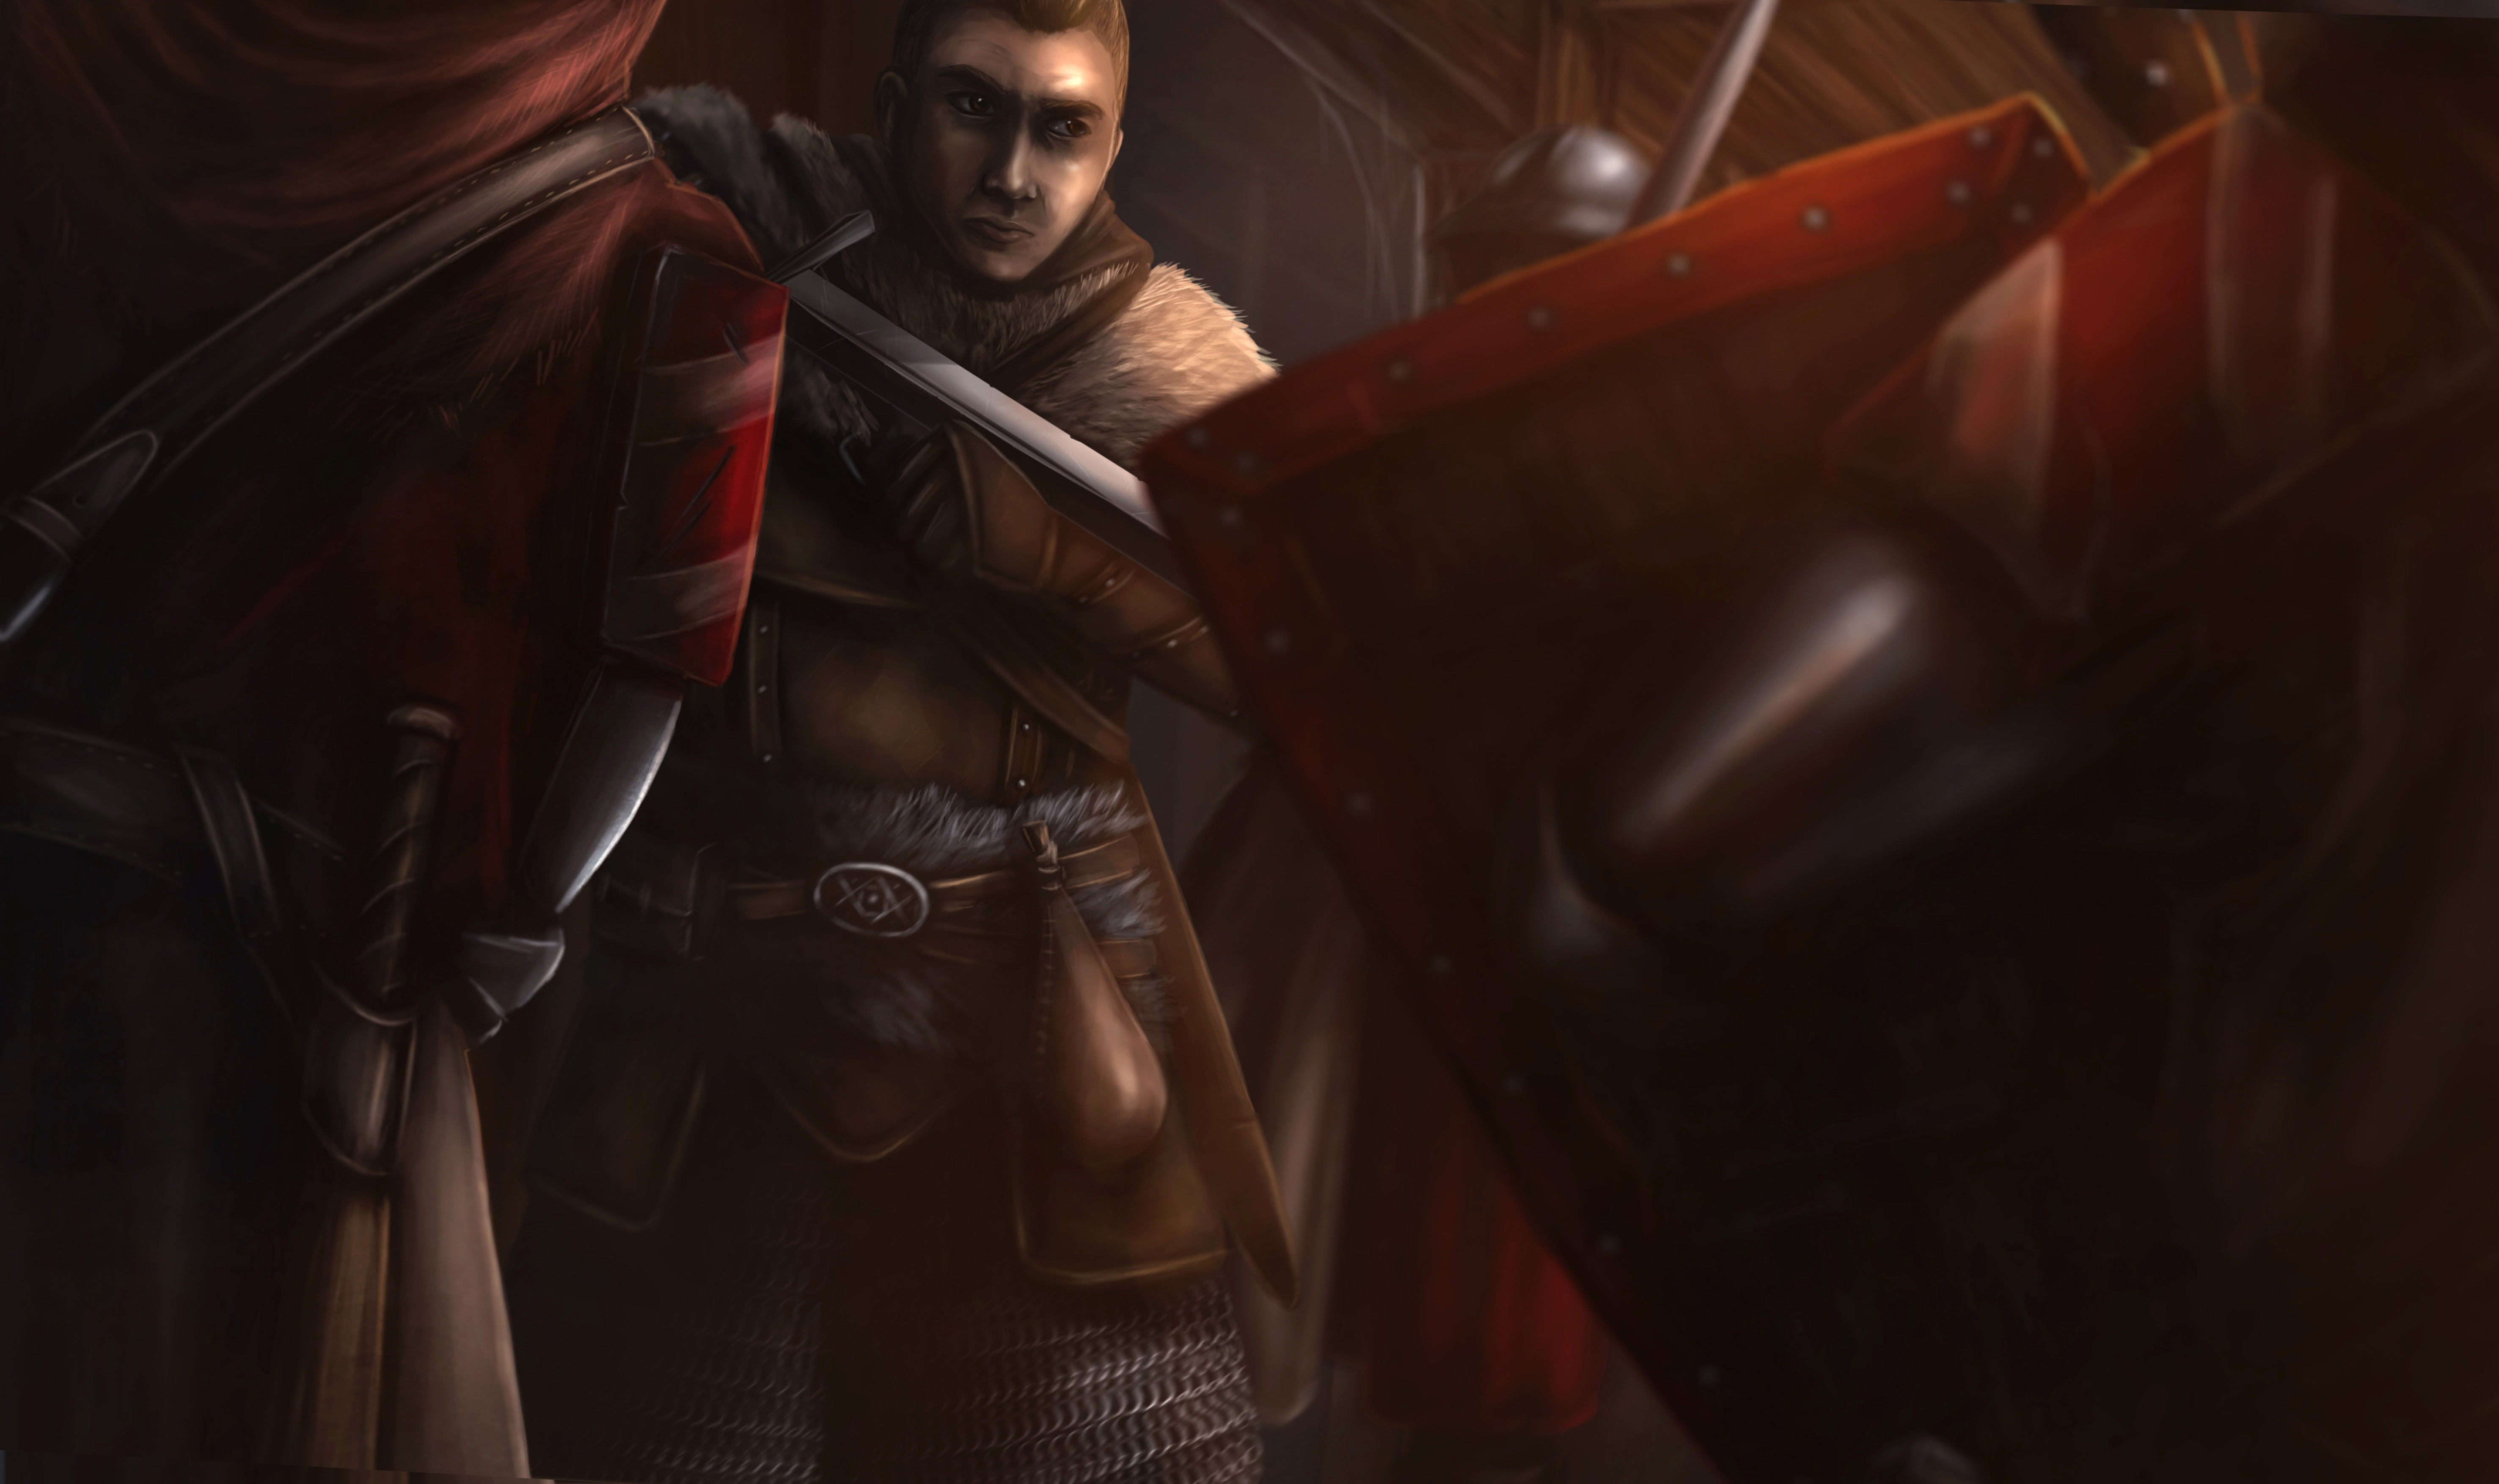
 Kimberly-SC — Tutorial: Medieval soldier (info in description)

Published: 2017-02-15 00:20:46 +0000 UTC; Views: 945; Favourites: 19; Downloads: 5
Redirect to original
Description
HAPPY VALENTINE'S DAY EVERYONE!!!!! Feel hugged from me (muahaha, looooove!!!)
I always wanted to make a little tutorial and now I have done it
 (Smile)")
Hope you can find some useful information
")
A description is following for the people, who want to know, how I did this little tutorial.

I have used Photoshop CS2, but this step by step should also work for other drawing programs, like GIMP, Corel or Artweaver
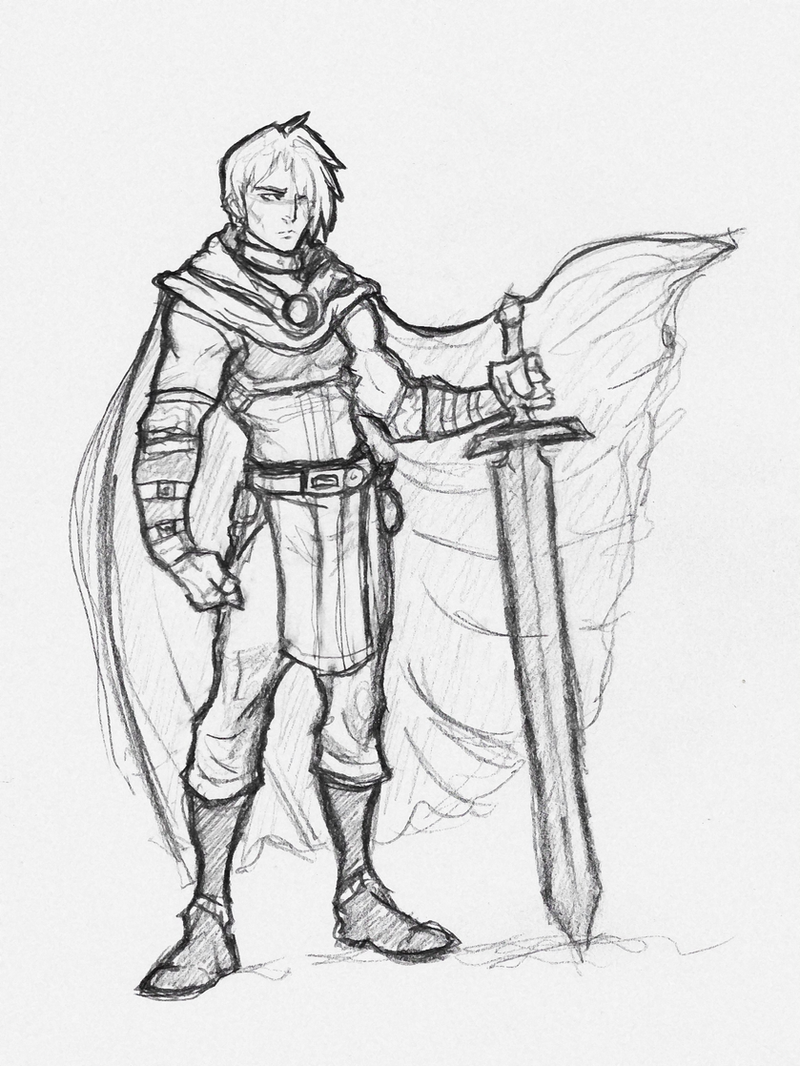
1. Rough scetch
Firstly I have just drawn a rough scetch, the head, the throat and a part of the shoulders. I have also parted the face with a few lines, because a human face has two halves:
-lower part: eyes, nose mouth, cheeks, ears
-upper part: forehead, hair
For this part, I have made an layer, called "rough scetch".
2. Rough scetch B
Now I have added the places where I want to have the eyes, ears, nose, mouth and the hair. Yup, this guy looks totally creepy XD
For this part, I have made the opacity of the first layer on 50% and the second layer "rough scetch B" (the nose/yes/mouth thingy) is on 100%.
3. Scetch 1
Now I have started to give my creepy human face some personality with real eyes, a real nose and also first details, like the fur on his shoulders or the helmet
The first two layers just have a opacity of roughly 30%, so I can put all my concentration of the details here.
4. Optimized scetch
As the headline seays it, I have just put more details in the scetch, like beard stubbles, a fur texture, scars/wounds and yes, these lines shall show a chain mail ._.
Now I could disable my first two "rough scetch"-layers, so I wouldn't get too confused.
5. Flat colours
Now I put ythe "scetch layer" on top and made a new layer called "colours" and put it under the scetch.
Then I gave the man some colours and I never use a pure white for eyes, just a very, very light grey
6. Rough shadows
In this step I made the opacity of the "scetch-layer" on 50%, to put all my concentration on the shadows, I have also made another layer for the shadows, called "shadows"
The first shadows shall show, where your light sourse is and gives your character a more realistic look
The shadow layer is still under the "scetch-layer".
7. Fine shadows and details
This step needed the most work, since I drew a lot of details and all the shading and textures, like in the fur and the chain mail.
And yes, this chain mail is hand drawn, not the self-made brush I usually use XD
Also here I made a new layer (details A) and this time, it is the first layer, which is above the "scetch layer".
8. Last details
The end is near...the last details are done very fast, I just made some scratched on the helmet of the guy, a few more light-effects in the face.
The face got a little bit red, because without it, the man would look sick and dead, so some make-up and red cheeks
I have also made the fur a little bit fluffier, I just used a light brown and drew fine lines. At the end I used some white and now the fur looks fluffy
I hope this little tutorial could help a bit, if you want more tutorials or if something is wrong in this one (anatomy?), just share your thoughts, thanks!
Related content


Comments: 2

Fantastic tutorial! Especially the colouring, I suck so hard at colouring but you make it look damn good
👍: 0 ⏩: 1

Thanks you so much
The first attempts with colouring are always hard, but with a little bit of training it isn't hard anymore
Thanks again
👍: 0 ⏩: 0