HOME | DD
 LightningHoof-YT — All about Vector and Raster layers

Published: 2023-09-24 00:28:52 +0000 UTC; Views: 306; Favourites: 0; Downloads: 0
Redirect to original
Description
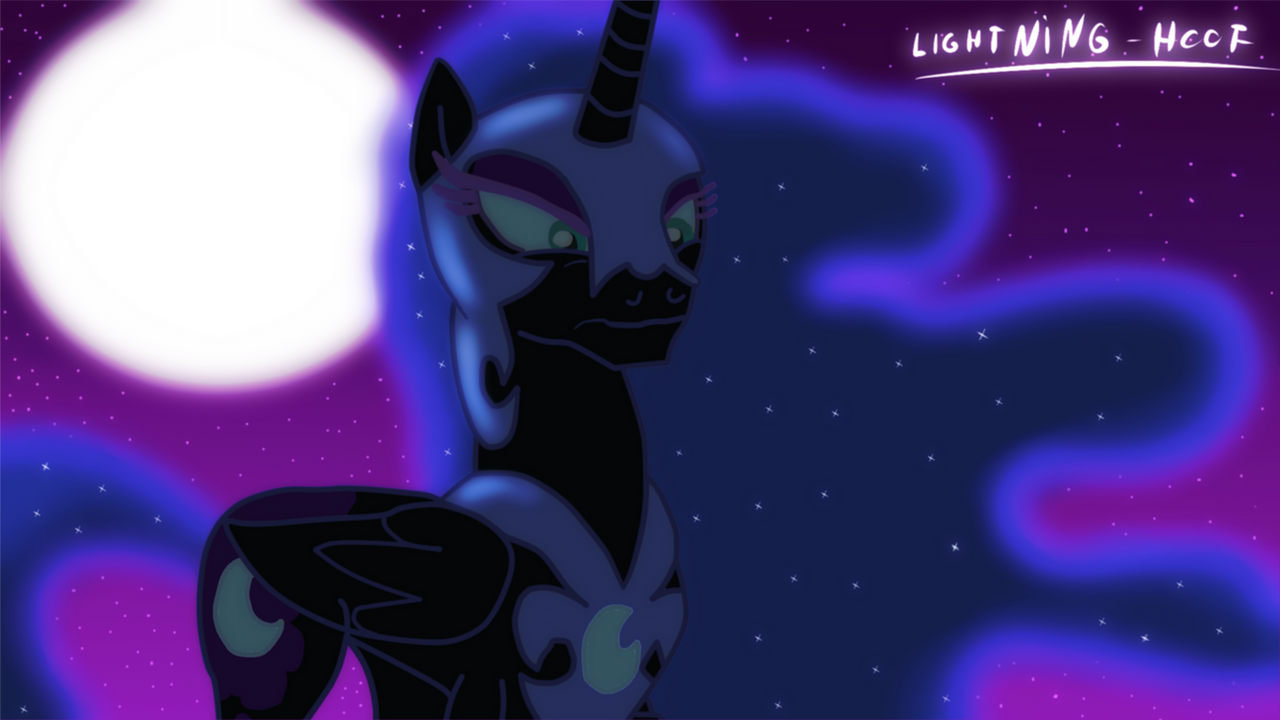
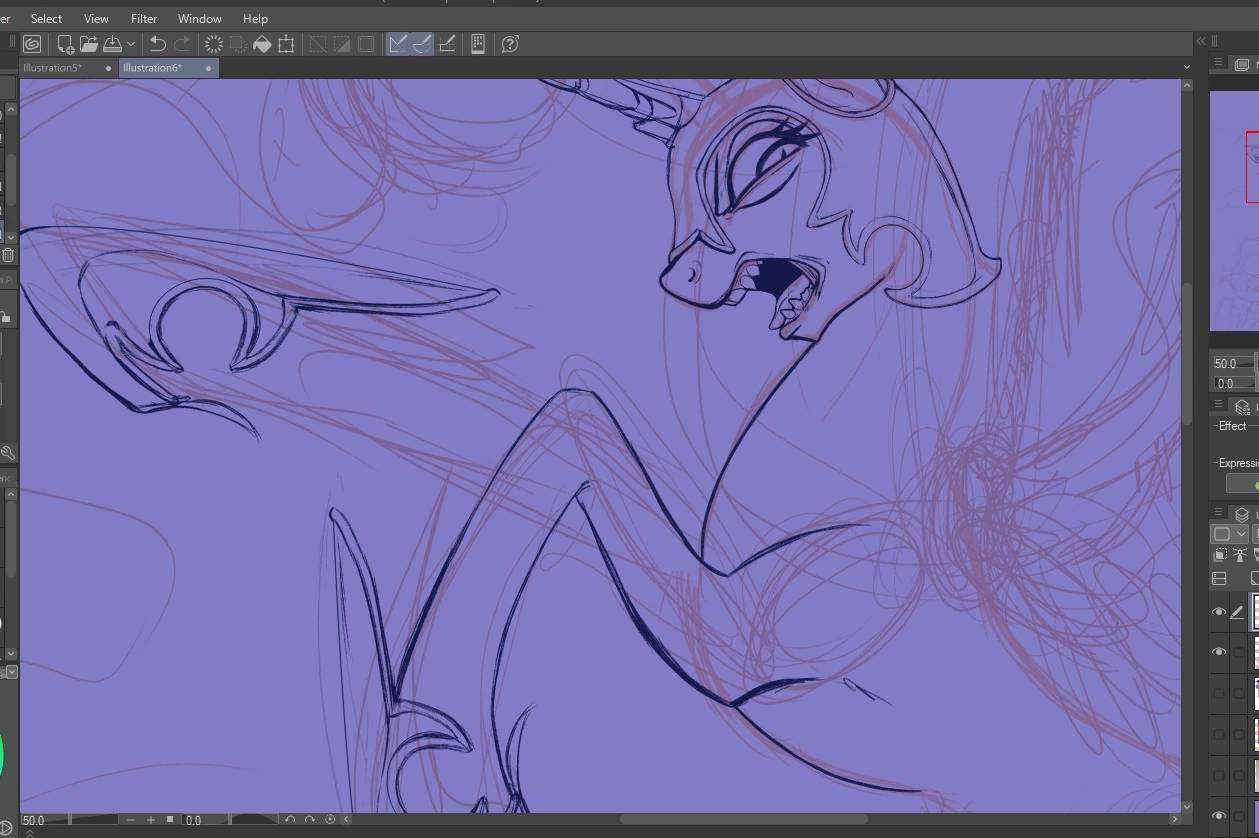
Vectoring is an essential part of bringing our beloved ponies to life. In Clip Studio Paint, we use the Narrow tool feature to precisely control the width of our lines. This is crucial for achieving that signature MLP look. With this tool, you can vary the line thickness to emphasize details and create dynamic outlines.
Now, let's dive into continuous curve vector layers. These are the heart of vector-based art. They allow us to create smooth and crisp lines by placing control points strategically. These control points help us shape the lines exactly as we want them, ensuring that our characters' outlines are show-accurate.
But what about the skin and colors? Raster layers come to the rescue for that. You can think of raster layers as your canvas for adding colors and shading. The magic wand tool is incredibly handy here. It helps you select specific areas for painting, like a pony's coat, mane, or tail. Once selected, you can use the bucket tool to fill those areas with the perfect color, ensuring that everypony looks just right.
Don't forget about manual painting for those finer details. Sometimes, there are little caps or stray marks left behind. With manual painting, you can touch up these areas and make sure your artwork is flawless.
In summary, vectoring in Clip Studio Paint involves using the Narrow tool for precise line width control on continuous curve vector layers. These layers use control points to shape the lines to perfection. For coloring and skin layers, raster layers are your go-to, and the magic wand and bucket tools help you paint within the lines. And if you need to, don't hesitate to do some manual touch-ups.
Keep practicing, and your MLP art will be show-accurate and simply magical!