HOME | DD
 mandydax — Inkscape Vector Art Tutorial
by-nc
mandydax — Inkscape Vector Art Tutorial
by-nc

Published: 2011-11-04 13:01:07 +0000 UTC; Views: 52648; Favourites: 881; Downloads: 1206
Redirect to original
Description
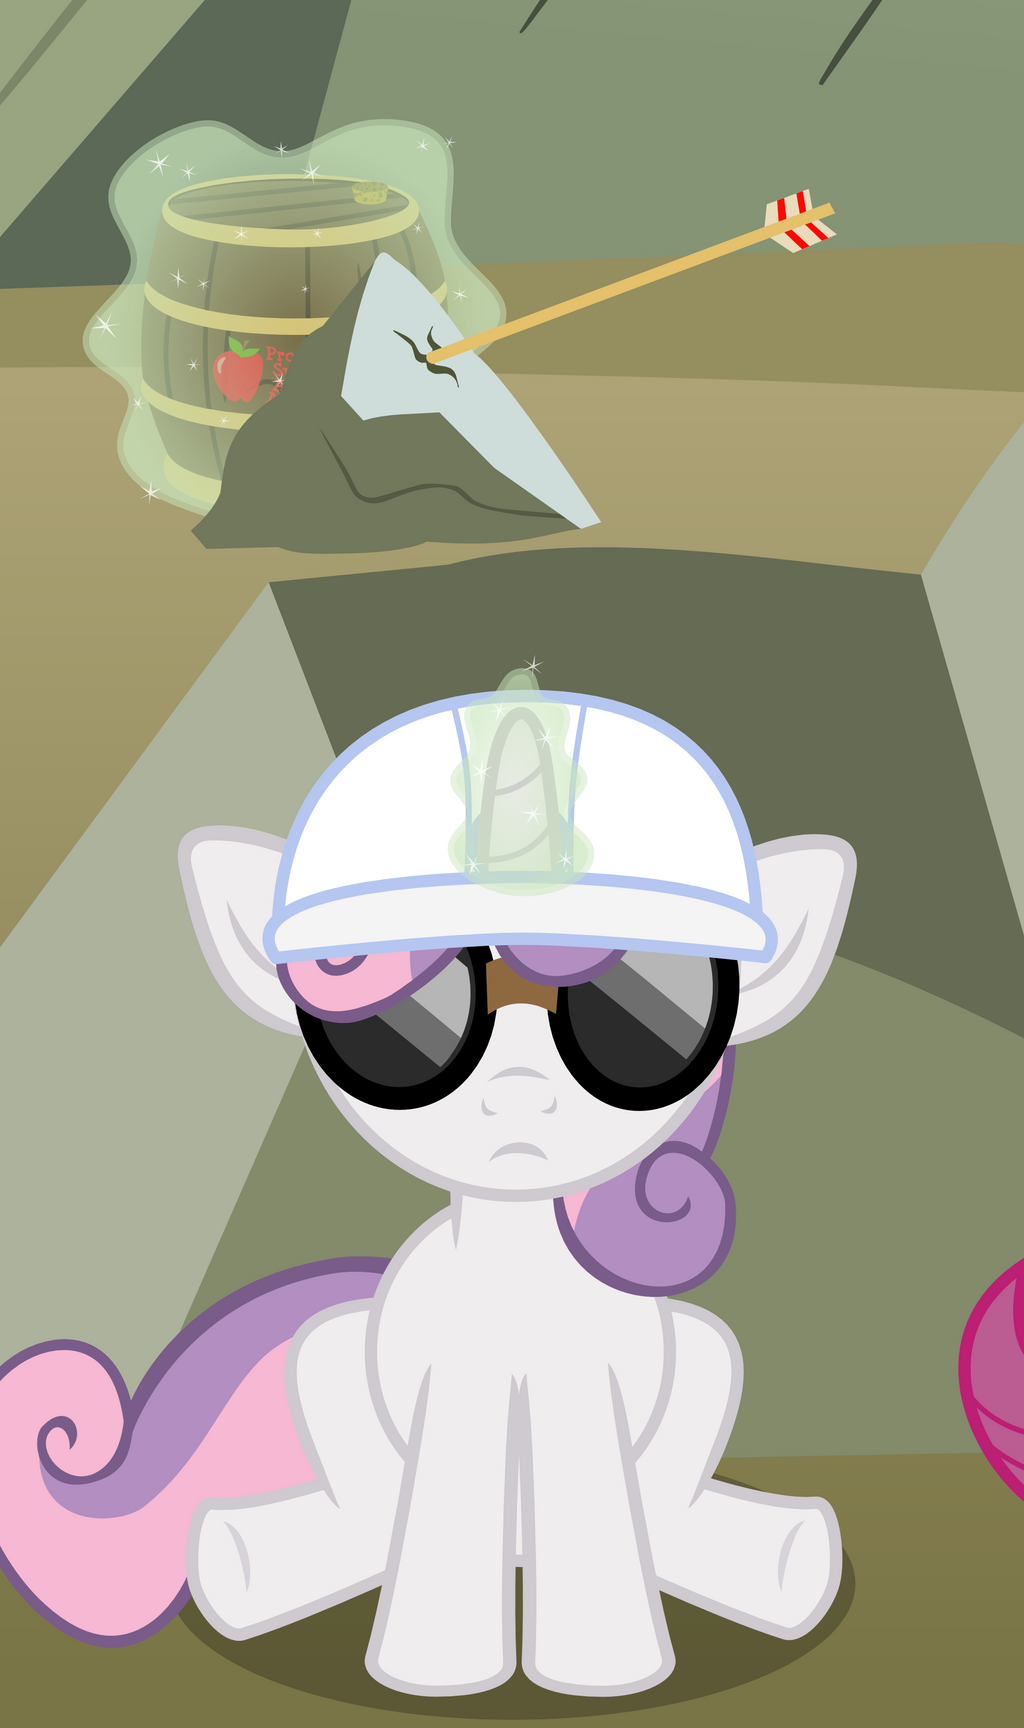
Get Inkscape here: [link]Here's a tutorial on how to use Inkscape to make pony vectors! [link] is the final product of what I was demonstrating.
.txt file of the text in this tutorial here: [link]
Anyone who wants to translate can do so. Please leave a link in the comments and I'll add it here.
[link] (translated by )
SVG version of this tutorial is at [link]
Questions? Suggestions? Leave them in the comments here.
Hope it helps.
Related content


Comments: 424

uh... where IS everything? 
👍: 0 ⏩: 1

Right under the first picture in the tutorial, I wrote how to open the dialogs that you're missing.
👍: 0 ⏩: 1
It's okay, it's a lot of text.

👍: 0 ⏩: 1
it is, but you helped me alot with that, thank you~! have another question though.. when i zoom in a bit to draw, i use the shape ellipse when doing the drawing thingy with the pencil, but it turns ut HUGE when i upload it. when i zoom in more, to as close as possible, it sorta fills up the screen :T anyway to make that smaller?
👍: 0 ⏩: 1
I went in to try it out and I see what you mean. I haven't found a good solution. There is a way to do it, but it is tedious. As far as I can tell, you have to edit the path effect for each path individually. Open the Path Effect Editor dialog (Shift+Ctrl+7). Select the path to edit, and in the Effect list should be Pattern Along Path. Make sure it's selected, and under Current effect will be the Width attribute. That's where you can change it. I wish I had a better answer, but it may be that the devs haven't made that feature as user-friendly as other parts of the program.
👍: 0 ⏩: 1
o: okie~! thanks for trying to help~!
👍: 0 ⏩: 0

You didn't explain how to make a layer
👍: 0 ⏩: 2
I did. It's right below the first picture. New Layer is (Shift+Ctrl+N)
👍: 0 ⏩: 0
Scratch that, you did, I missed it.
👍: 0 ⏩: 0

Ok awesome tutorial here for starters. Everything is so easy to understand. Going to try a trixie vector now.
There is just one little thing that I'm still trying to figure out that this and the manual doesn't explain.
How do you make the lines pointy (for example the mouth and the inside of the ear line)?
Other than that great job!
👍: 0 ⏩: 1
Thanks and good luck.
To draw those tapered lines like the fold of the ear, I just use the Bezier pen tool (B) to draw a point and another point and then connect back to the first point. This makes a closed path with two nodes. Set the stroke to none and the fill to the color you use for the outlines. Then switch to the node tool and drag the segments into the shape you want.
Alternatively, you can use the same technique shown after figure 6 to create a Stroke-to-Path, and then edit the nodes to form a point. Inkscape doesn't have an easier way of doing that, but I understand a taper function is slated for the next update, but who knows how long that will be.
has made a couple of quick tutorials on tapering [link] and [link] that shows it, and those also have links to videos in the description.
👍: 0 ⏩: 2
")

Thank you so much for the tutorial.
I'm still learning to do eyes, but this is what came out of it.
[link]
👍: 0 ⏩: 1
Yeah, eyes are tough. That gradient thing took me a while to figure out.
👍: 0 ⏩: 0

can you give me the download kink of inkspace? please?
👍: 0 ⏩: 1
Yeah, [link]
Thanks for asking, because I should have put that in the description. I'll add it now.
👍: 0 ⏩: 2

Granny Smith: STOP YOUR YELLIN APPLEJACK!
👍: 0 ⏩: 0

I made this using this tutorial! [link]
That's SO much for the help!!!
👍: 0 ⏩: 2
Whoops, ment to say THANKS so much for the help...
👍: 0 ⏩: 0

Just one last question: I'm not quite sure how to make the hair on this pony. [link]
Since her mane goes behind her and the line disconnects from behind the hair, I don't know how I'm supposed to color it in.
👍: 0 ⏩: 1
I can't tell quite what layers you're using, but if you're talking about the hair going behind the ear, then here's my suggestion.
Create layers for the following in this order top-to-bottom:
Ear
Hair in front of horn
Horn
Hair across neck (crest)
Head
Neck and Body
Hair hanging down side
Make sure that each object tucks in behind the objects in the layers above it, like the end points of her hair need to at the ear.
Hope that's what you were after. Giving you an example vector file to work from might help illustrate what I'm talking about. Download this [link] and open the Sweetie Belle layers. I have three different layers for the hair around her head. You can hide/show each layer to see which parts are which.
👍: 0 ⏩: 0

hehe thank you!! Ive just started [link] and this tutorial has helped a lot
THANK YOU
👍: 0 ⏩: 1
Good for you! Glad it helped, and I see the final product turned out pretty nicely.
👍: 0 ⏩: 0
Just one question: How do you use the eraser?
But this is a very nice tutorial, I just downloaded inkscape today and this is extremely helpful!
👍: 0 ⏩: 1
I don't really use the eraser. I know there are some situations where it can be really useful, but I didn't think it was very user friendly. I suggest looking at the online manual's section on it to learn about it. I really don't know that much off the top of my head.
👍: 0 ⏩: 0

To rephrase my question below, the horn won't go UNDER the Duped Purple segment. I can just see through it no matter WHAT i do.
👍: 0 ⏩: 2
I'm really not sure if I'm clear on what's happening. It sounds like you might have the layer set to some opacity other than 100% or the dropdown set to Screen or Lighten. I see that I said to lower the opacity of the layer at one point, but maybe if you didn't raise it back up, you're seeing through it.
👍: 0 ⏩: 0

I'd suggest: check that your horn and clipping mask (duplicate purple shape) are both in the same layer, then make sure that the clipping mask is highest in z order. It helps to lock the layers you're not using too to make sure that you're always drawing in the one you expect to be
If you're still stuck send a link to your SVG and I'll see if I can find out where you're going wrong.
👍: 0 ⏩: 1
Nevermind, it's been 2 weeks, the problem just disappeared into thin air. I'm vectoring with no problem. Thanks for the tutorial, I got EVERYTHING i need now.
👍: 0 ⏩: 1
Well, its not my tutorial, I just spotted your comment when recommending it to somepony else
👍: 0 ⏩: 1
Bah, i got confused. But thanks for caring.
👍: 0 ⏩: 0
I'm on the part where I'm trying to get the horn into the hair. The only problem is, when i Ctrl+D and Shift+PgUp, the overlapping purple segment i made it changing the colors it overlaps. Making it a bit brighter so to speak. How do i get rid of this problem?
👍: 0 ⏩: 0

But wait, we're taking an real image? we're not creating it?
👍: 0 ⏩: 1
We're taking a bitmap image for the show and vectoring it. This is a kind of starting guide, and using an existing image to trace is an easy way to show the techniques. You can try making an original image if you want. I do it in my comics, as well as tracing different reference images and piecing them together into a new pose or even a new pony.
👍: 0 ⏩: 1

👍: 0 ⏩: 1
Keep trying. Maybe watch someone's livestream, too. It might help you pick up some ideas.
👍: 0 ⏩: 0

I recently uploaded my first vector image, which would have been immensely more difficult to create without the help of this tutorial. Thank you very much for creating this!
👍: 0 ⏩: 1
You're welcome! And good job.
👍: 0 ⏩: 1


Good starter point, i need to learn vectoring as i feel pencil colours in my work are just not cutting it  (Smile)")
👍: 0 ⏩: 1
It's good to try different formats.
👍: 0 ⏩: 0
<= Prev | | Next =>