HOME | DD
 mangaka7 — Lost In Thought - Progress Sheet and Tutorial

Published: 2011-11-14 13:05:42 +0000 UTC; Views: 449; Favourites: 3; Downloads: 13
Redirect to original
Description
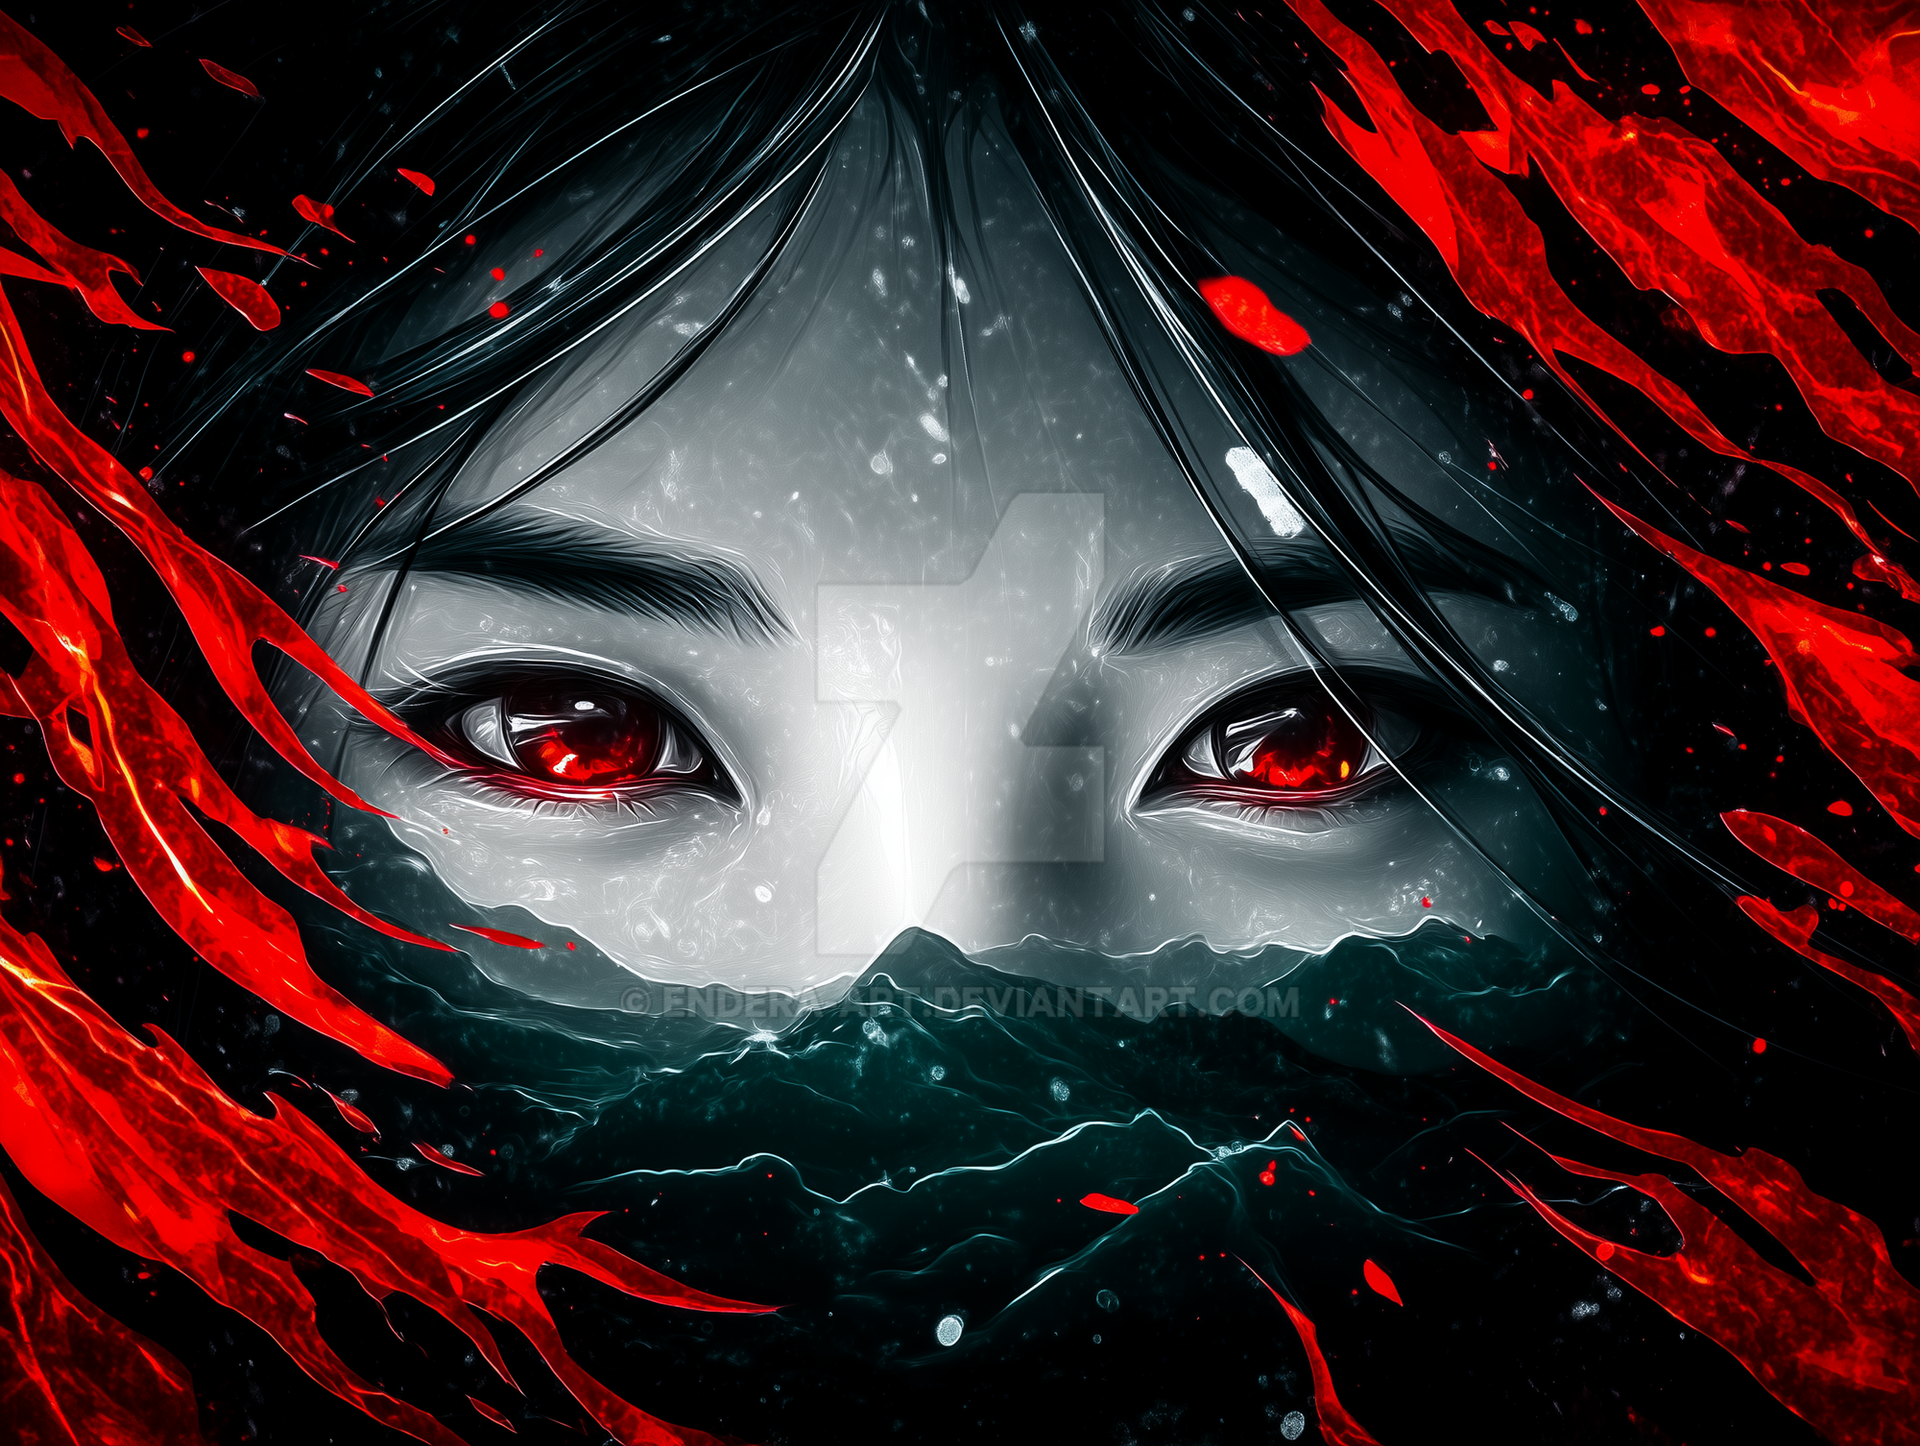
This is a quick process sheet and tutorial for Lost In Thought , a piece I did recently. It shows some of the major steps and techniques of this work. I didn't go into full details on everything since this isn't a full tutorial.I did this for ~ShadowBT because he requested it.
This is the second time that I have done a tutorial so I don't know how good I'm doing. Please read this and tell me what you think. Do you find it helpful?
© ~mangaka7
Related content


Comments: 9


To "Solidify" the lines, do you use the Pen tool or you draw it manually with the pencil tool again?
👍: 0 ⏩: 1

I don't use the pen tool. After I finish sketching, I erase the lines that I don't want to keep, then I clean the lines and fix them by going over them with the brush tool. Many times, I just redraw the lines because I make mistakes.
My way of inking is all over the place becuase I'm actively changing things as I go. It works for me, but I don't recommend it to others. There are many ways to ink. Some people use the pen tool and others make their sketch light and ink over it by using another layer.
👍: 0 ⏩: 1

This must have taken forever to write!
Some quick questions of intrest:
How do you shade? What brushes and setting do you use? How do you decide on colors that you will use for shades?
Why do you chose to use gaussian blurr instead of an airbrush?
👍: 0 ⏩: 1
It took about 4-5 hours to do this, which is way too long.
I base my shades on the ambient lighting of the enviornment. For this piece, the lighting is white so I tried to pick colors that were appropriate and stood out. For example, I chooe a grayish yellow to shade her clothing. For her skin, I chose orange-red to show her warmth. It may be a bit intense, but I feel that it's needed to make her stand out.
Now that I think about it, I shouldn't have made the lighting white.
I use a round brush with blurred edges with varying opacity strengths. I usually use 35% or less to blend. I increase the strength if I need to lay down darker colors. I rely on the eyedropper tool heavily while I blend. Sometimes, I use the smudge tool at 50% strength to soften the colors.
I use gaussian blur because it's quick and gives me the desired effect. I can achieve the same effect with the airbrush, but it would take more time.
👍: 0 ⏩: 1
Oh, heres a quick tip for you and others who might be reading, you can click at one point with any brush and then hold down the shift key and press at another point and it will draw a line between those point. This is very handy for such things as making rays or well, just about any straight lines without having to use any line tool and it's settings. It also work with the eraser tool, and probably some of the others.
Cheers~
👍: 0 ⏩: 0

Hey 7, this is of great help to me I’ve never even used the clipping mask option so this helps me understand it better XD I’m also not so good at making backgrounds in photoshop so this gave me a fare idea on how to start I’ll be sure to look at this next time I’m painting some thing thanks a lot!!
👍: 0 ⏩: 1
You're welcome. Let me know if you have any questions.
👍: 0 ⏩: 0