HOME | DD
 MecchaSesk — My Stable Diffusion Workflow

#howto #stepschart #digitalpainting #process #workflow #affinitydesigner #kritaartwork #aiartwork #stablediffusion
Published: 2023-11-20 18:56:26 +0000 UTC; Views: 2412; Favourites: 18; Downloads: 5
Redirect to original
Description
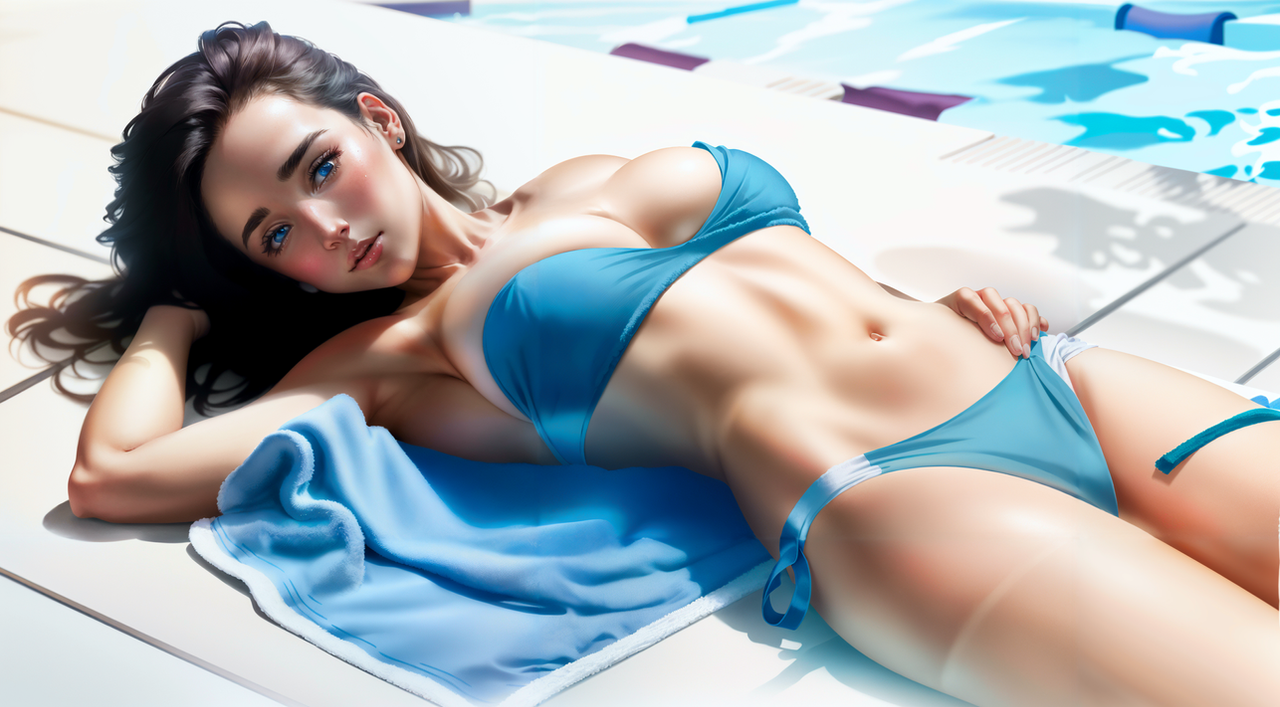
These represent the stages in my workflow with stable diffusion. As technology progresses, I may adjust some steps to better suit my needs. They are not set in stone, so feel free to use this chart as an example for your own workflow or enhance it with your own steps that align with your preferences. Wishing you a joyful experience in creating AI art!My SD Workflow
1. Quick Sketch
A rough sketch outlining the idea or composition serves as input for ControlNet in Automatic1111.
Preprocessor: Canny, Lineart or SoftEdge works the best.
Control Mode: My prompt is more important.
2. Text to Image
I create several images and select the ones that closely align with my concept.
SD Model: Darksun v4.1
Sampling Method: Restart
Sampling Steps: 20
Dimensions: 512 by 768 (same as the sketch)
CFG Scale: 6 or 7
Highres Fix Model: Aniverse v1.5
Upscaler: 4x UltraSharp
Highres Steps: 40
Denoising: 0.5
Sampling Method: Euler A
ControlNet: Quick sketch as input
3. Manual Paint
In Krita or any other drawing software, I refine the closest image to match my idea. Perfection is not necessary at this stage; a loose painting suffices.
4. Image to Image
Using the same prompt employed in the Text to Image generation, I enhance and refine the generated image.
Model: Darksun or Aniverse
Sampling Method: Euler A
Sampling steps: 100
CFG Scale: 6 or 7
Dimensions: 1024 by 1536
Denoising Strengh: 0.30 or less
I iterate between steps 3 and 4 as needed, moving both forward and backward in the process to refine and adjust until the desired result is achieved.
5. Crop & Upscale
I upscale the image generated in the previous step by three times using 4x UltraSharp. Following this, I crop the image and regenerate the cropped section to enhance the level of detail. I repeat this process as needed, focusing on specific areas such as the face to ensure finer details are captured. Subsequently, I utilize Krita to merge the images into a single composition, employing layers and masks for seamless integration.
6. Final Manual Paint
From this point onward, there is no further AI generation involved. At this stage, the image is nearly complete, and I manually paint finer details on specific elements such as the fingernails, lips, teeth, nose, eyes, eyebrows, and any other parts that require additional attention.
7. FX & CC
In the final steps, I apply FX and Color Correction to bring all elements of the image together. I use a noise filter to impart a grainy aesthetic and add a vignette effect if necessary. During the color correction phase, I fine-tune the Hue, Luminance, and Saturation to enhance the overall appearance of the image.
Chart in PDF format here: drive.google.com/file/d/1YkhfK…
Related content


Comments: 11

👍: 0 ⏩: 1

👍: 1 ⏩: 0

👍: 1 ⏩: 1
👍: 1 ⏩: 0

👍: 1 ⏩: 1
👍: 1 ⏩: 1
👍: 0 ⏩: 1
👍: 0 ⏩: 0

👍: 1 ⏩: 1
👍: 0 ⏩: 1
👍: 1 ⏩: 0