HOME | DD
 Mudora — Brayden and Natalia Process

Published: 2009-08-09 18:12:54 +0000 UTC; Views: 3253; Favourites: 30; Downloads: 25
Redirect to original
Description
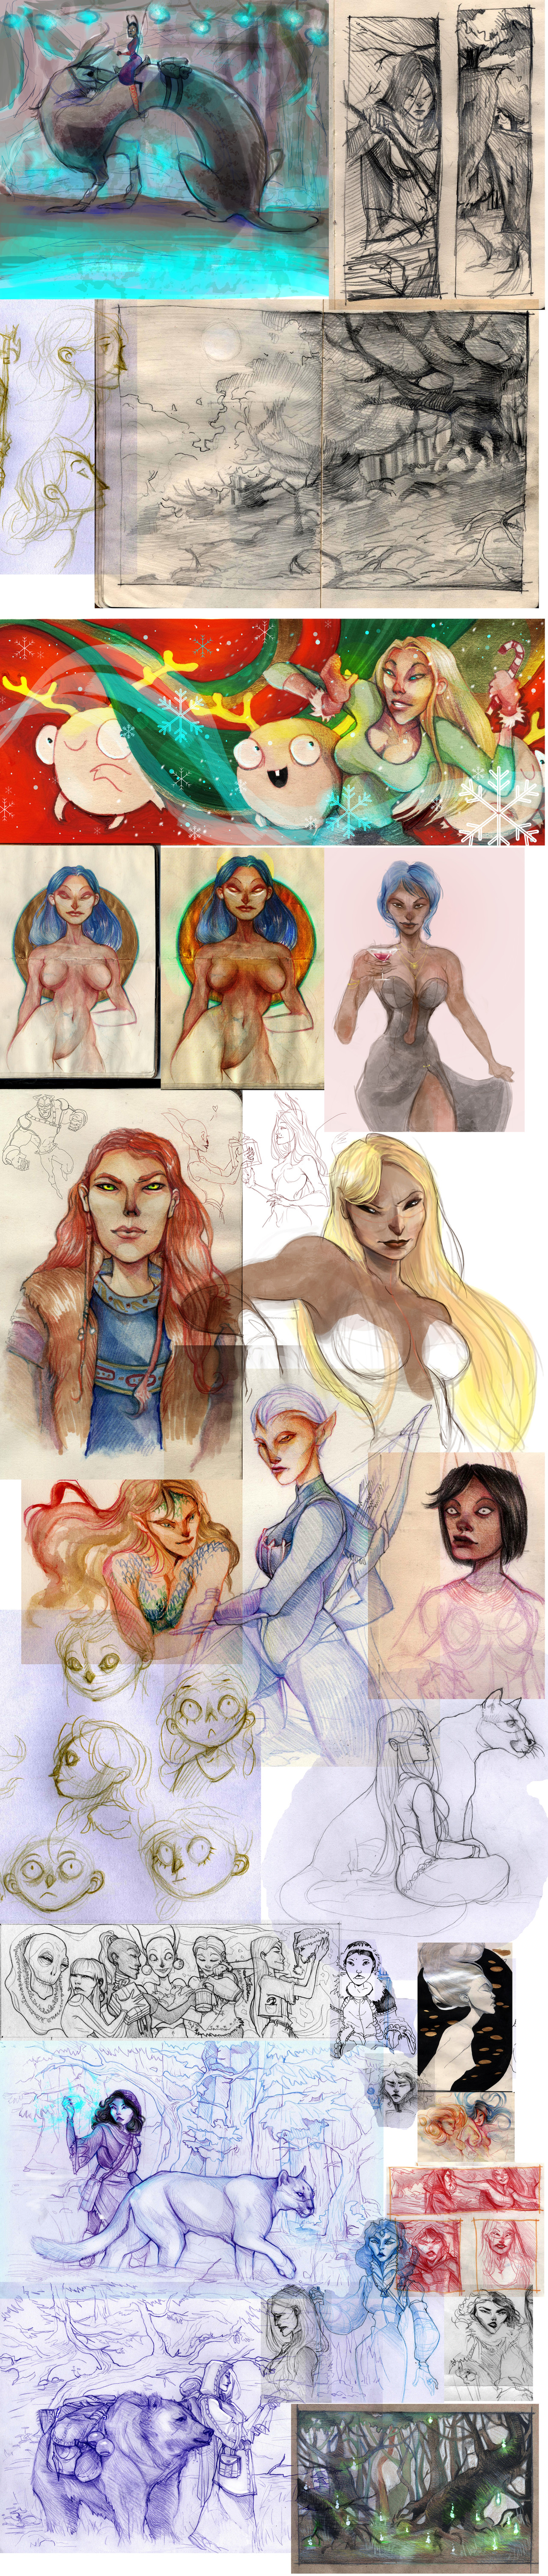
The step by step of Brayden and Natalia. *Luna-Kitsune-Blu requested that I make on of these, so I did. XDPeople have been requesting a more detailed account of how I did this... so here it is:
1. First and foremost, I wanted to preserve the essence of the other artist's line art. She did a very good job on it, and I think it wouldn't do the picture justice if I just colored all over it without the original style in mind (kind of the point of a trade.) In order to keep the general line art, I first changed the format of the picture from RBG to Grey Scale. This changed the red pencil into a nice dark color, after some adjusting with the brightness and contrast tool. After that, I double clicked the background layer, turning it into layer 0. Then, I went into the selection menu and clicked Load Selection, then Inverse which selected all of the lines. I made two fill layers, one black, the other white, putting the black layer over the white one, preserving the line art. I then deleted layer 0, then made layer 1 in between. Thus, I could color easily within the lines of the piece, without messing up the lines. As for the color, I changed the format back to RBG, NOT flattening the image. I then proceeded to color the base of the skin, clothing and hair.
TIP: Skin is not brown,peach,or tan in retrospect. Skin has more than just a basic color and shadow. There's all sorts of color in your skin - blues, greens, and purples that the eye can't see. Using these kind of cold colors as a base, and placing a warm color like red, orange, or even a warmer purple can make your paintings more dynamic and less flat. This is why I don't like the burn tool. It encourages people to be lazy in their digital art. The burn tool is a "finishing Touch" kind of thing. Though it's not like the burn tool doesn't have it's place. Either way, the idea of building from the ground up in painting is the way I took here.
2. Began to add initial color to skin and clothes. Also added a texture for effect.
TIP: Adding textures is an intermediate level idea for the digital painter, but really is quite easy if you know what you're doing. In this instance I found a texture I liked, made a new layer and put it into overlay. Opacity was probably 20 or 30 percent. It also made the picture look warmer, but I also painted over the textures later.
3. Added more highlights to skin and clothes along with wound and scar emphasis.
4.More highlights and a little bit of back lighting. Added details to the hair. I basically blotch in my hair, adding highlights mid-tones and shadows all at the same time and use the smudge too at varying levels to create the illusion of individual strands. This can be good or bad, depending on the hair style... XD
5. Added finishing touches with the dodge tool (not over all bloom just a touch here and there in the hair). Finished shading the clothes. Gave Brayden a nice little cut on his back.
6. In the end, the picture didn't have dynamic enough lighting. Plus Natalia's skin wasn't dark enough. So, I took my lasso tool, and drew the areas I needed to darken. I used the brightness contrast tool in order to darken selected areas. I also added textures to the clothes in this same way to Brayden's shirt, and Natalia's clothes. Added some more finishing touches, and finally decided I was done. XD
Hope that helps with anybody who asked how I did this.
Related content


Comments: 12

bullshit Pic - Ass pic - Not bad pic - Nice pic - good pic - AWESOME pic - Bestpicever pic
👍: 0 ⏩: 0


That's absolutely beautiful love!! I love her hair ha ha
👍: 0 ⏩: 0

Do you color burn the shadow layer? How do you do that? I think it is a very interesting technique. ^w^
👍: 0 ⏩: 1

No, I don't color burn. Color burning is a nono in most cases unless it's hair. It has it's places, but as of major areas like skin? It makes it look cheap most of the time. I painted the shadows myself with a darker color on a multiply layer. Editing took place after I started to paint on normal layers, but for the most part, it's just a regular brush.
👍: 0 ⏩: 1
Gotcha, gotcha. That's cool ^w^ You should make a more detailed tutorial sometime.
👍: 0 ⏩: 0

WHOA! That method...starting with the shading colors as the base? Wow!!! That's so revolutionizing my world @.o
👍: 0 ⏩: 1
Did you want me to write down how I do it or no? XD
👍: 0 ⏩: 1

That's awesome ")
Hey, you know something I just noticed? Take a look right below Natalia's necklace. There's a gray spot there, right? Wasn't that supposed to be her necklace jewel, therefore red?
👍: 0 ⏩: 1
