HOME | DD
 OracleX7 — Color Like Me - A Tutorial

Published: 2009-05-26 08:47:49 +0000 UTC; Views: 2414; Favourites: 15; Downloads: 57
Redirect to original
Description
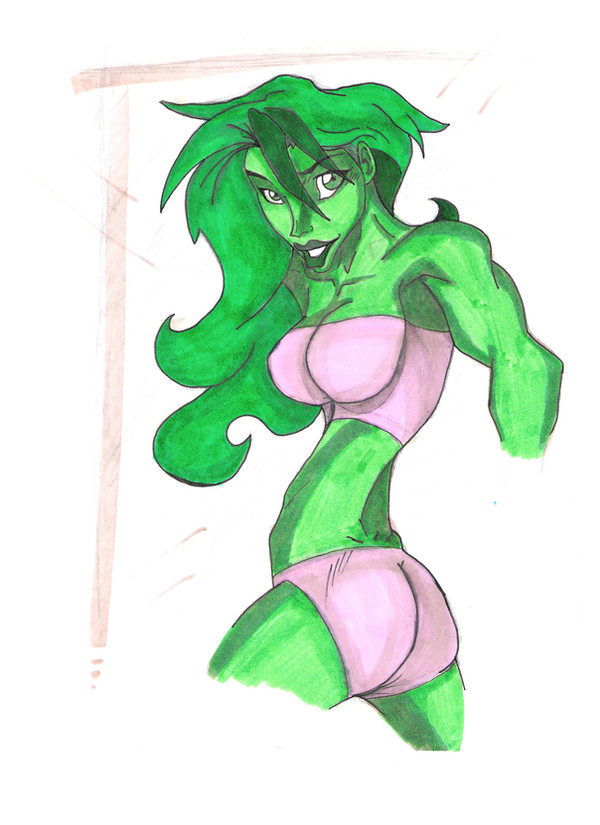
The lines used in this tutorial are by and viewable @ [link] (Permissions document attached)1. Open the lineart in Photoshop
2. If needed convert the image to be RGB, as you can see this example is Greyscale to begin, so we go to Image > Mode > RGB Color
3. Now, we need to seperate the lines from the background, so, first step is to make sure the foreground and background colors are at their defaults (Black foreground and White background). Now use the Auto Levels tool (hold down Ctrl+Shift+L) then select the whole image (Ctrl+A) and cut it (Ctrl+X)
4. Now go to the Channels list and select to make a new Channel.
5. Name the channel something meaningful. Make sure that there's a dot beside "Selected Areas" and the color is #000000 (Black) and opacity of 100%
6. In this new channel, paste the cut image from step 3 (Ctrl+V) then select the content of the layer (hold down Ctrl and click on the new channel)
7. Now go back to the Layers and create a new layer. In this new layer use the fill tool to fill the selected areas from step 6
8. I always find it a good idea to lock the position and transparency of the new layer
9. Now the easiest bit, fill in the colors. I find it useful to put each area of color on a seperate layer. Once done I sometimes find I need to trim a few pixels off the sides and top/bottom, so this is an opportune time to do that.
10. Now the shading and highlights. The most difficult piece of this is working out where you want the light to come from, for me I find top left to be the easiest to work with. So first step is to go to the first layer and create 3 new layers, one for the light shading, one for the dark shading and one for highlighting. Now select the area of the first layer (hold down Ctrl and click on the layer)
11. For the shading and highlighting colors I tend to work in 1cm (roughly 1/2 inch distances but it's up to you to experiment and try out the colors for yourself and find the best fit.
12. Now, roughly, put the shading and highlights where you think they should go.
13. Now we make them smooth, to do this we need to apply a Gaussian Blur, I find that a Radius of 9.5 works to get the effect I want, but experiment and see what will suit you.
14. Now repeat steps 11 thru 13 for each of the layers except for the small pieces (the lips, eyes etc) Some layers will only need two shades or even just one depending on their placement, just use your judgement.
15. Now on to the lips and eyes, first the lips, we just want a shine on the lips, so use white, small amounts, then Gaussian Blur of a radius of 5
16. Now the eyes, we just want to add some highlights to the iris, so add a thin line of a bright color, in this case a yellow. Now add a Gaussian Blur of a radius of 1.5
17. Lastly save the file and save the finished result.
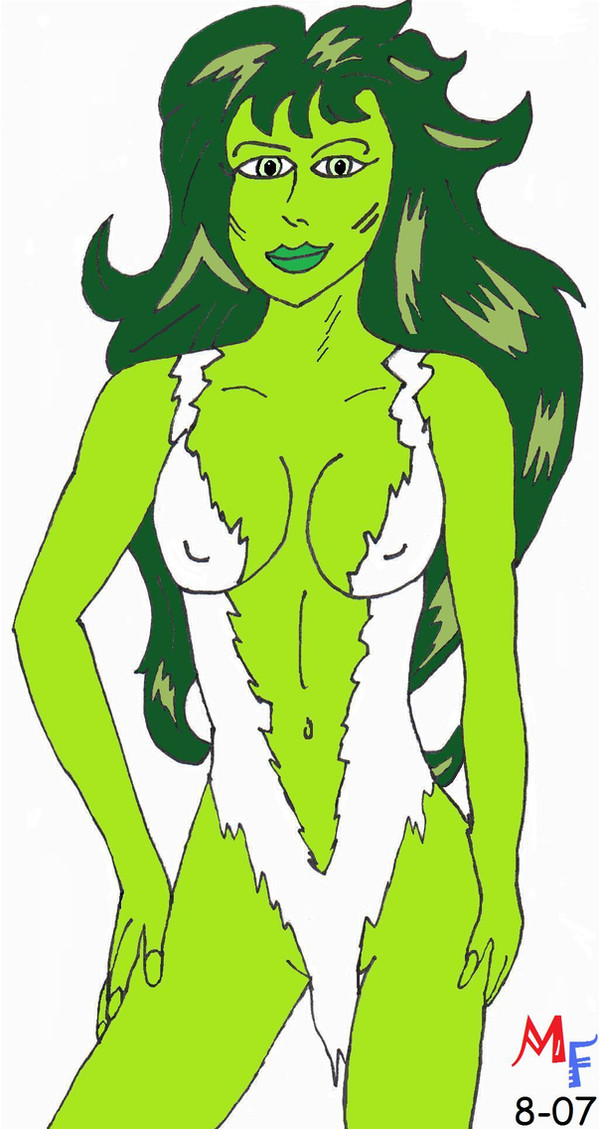
You can view my finished result @ [link]
Related content


Comments: 6


Thanks ")
👍: 0 ⏩: 0

 (Smile)")
LOL
👍: 0 ⏩: 0