HOME | DD
 otas32 — Phantogram 3D render 02

Published: 2010-08-20 03:51:08 +0000 UTC; Views: 1406; Favourites: 7; Downloads: 62
Redirect to original
Description
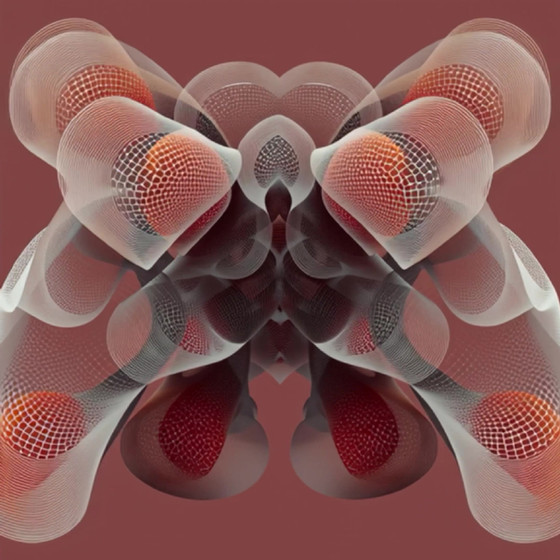
Thanks to a great person and Master Phantogram maker Dan Jacob DanD3Dman I learned how to do a 3D (for anaglyph 3d glasses blue/red) technique, with which you can turn a 2D image, into a 3D Phantogram.To view this Phantogram you need:
1- Blue/red 3d glasses.
2- To tilt your monitor back at least 45º. A lot easier to do with a tilting LCD.
*As an alternative you can print the image and place it flat on a table and try it out. It's actually the better option, since tilting the screen also takes away from brightness and you get a ghosting effect.
The illusion you will see is that it's not only an anaglyph, but a much more dramatic one, here the objects seem to stick out through the image frame. Like if the frame of the image was a hole and the objects where sticking out through it.
Made in 3ds Max. I used the anaglyph camera rig according to a stereoscopy tutorial by Louis Marcoux. I rendered both views with the cameras in approximately a 45º angle to the rendered objects.
Then I adjusted the shapes to fit into a 90º rectangle image, and finally put them together in a little but really cool application called Anaglyph Maker, the best thing about it is that it's free and you don't need to install it.
Enjoy


Related content
Comments: 2

Me voy a tener que conseguir unos lentes, pero parece interesante.Volveré!
👍: 0 ⏩: 1


👍: 0 ⏩: 0


