HOME | DD
 Projecta6 — Post-Editing Tutorial

Published: 2010-12-28 02:07:36 +0000 UTC; Views: 225; Favourites: 1; Downloads: 1
Redirect to original
Description
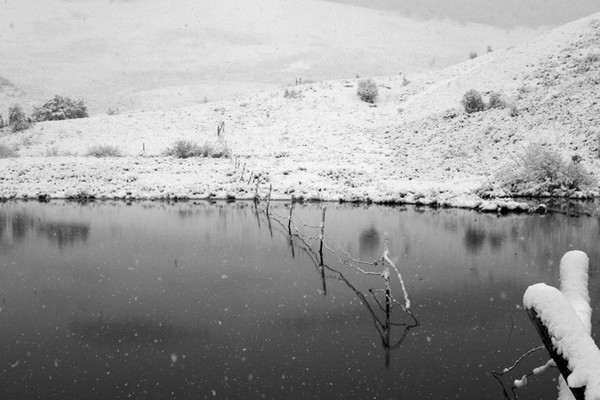
The outer area of the photo was quite bleached, so I darkened the edges with a simple black layer in photoshop, which I faded with a lower opacity.The focal point is the crossing beams, so I centralized the shadows and darkened them as well. Then I coloured the water with a blue filter, and added a cooler feel to the picture with some blue/cyan colour layer.
Post-editing is very important to bring out the vital parts of the image that you want to be the focal point. As there was originally a lot of sheer white within the picture, it took just a little bit of work to balance it out and a bit more saturated.
This is the final result. I shall post the original image in a link below.
Related content


Comments: 5


Anytime buddy. Just let me know if you need help with anything.
👍: 0 ⏩: 0

I'm impressed.
Must learn to do this.
What Photoshop do you suggest?
👍: 0 ⏩: 1
[link]
The above link, leads to the original. So you can see what adjustments I made.
Photoshop 7.0 I used for many years. But now I use CS8.
👍: 0 ⏩: 1