HOME | DD
 R-ena — SAI Character Coloring Tutorial
Published: 2012-08-28 18:53:32 +0000 UTC; Views: 38778; Favourites: 1004; Downloads: 231
Redirect to original
Description
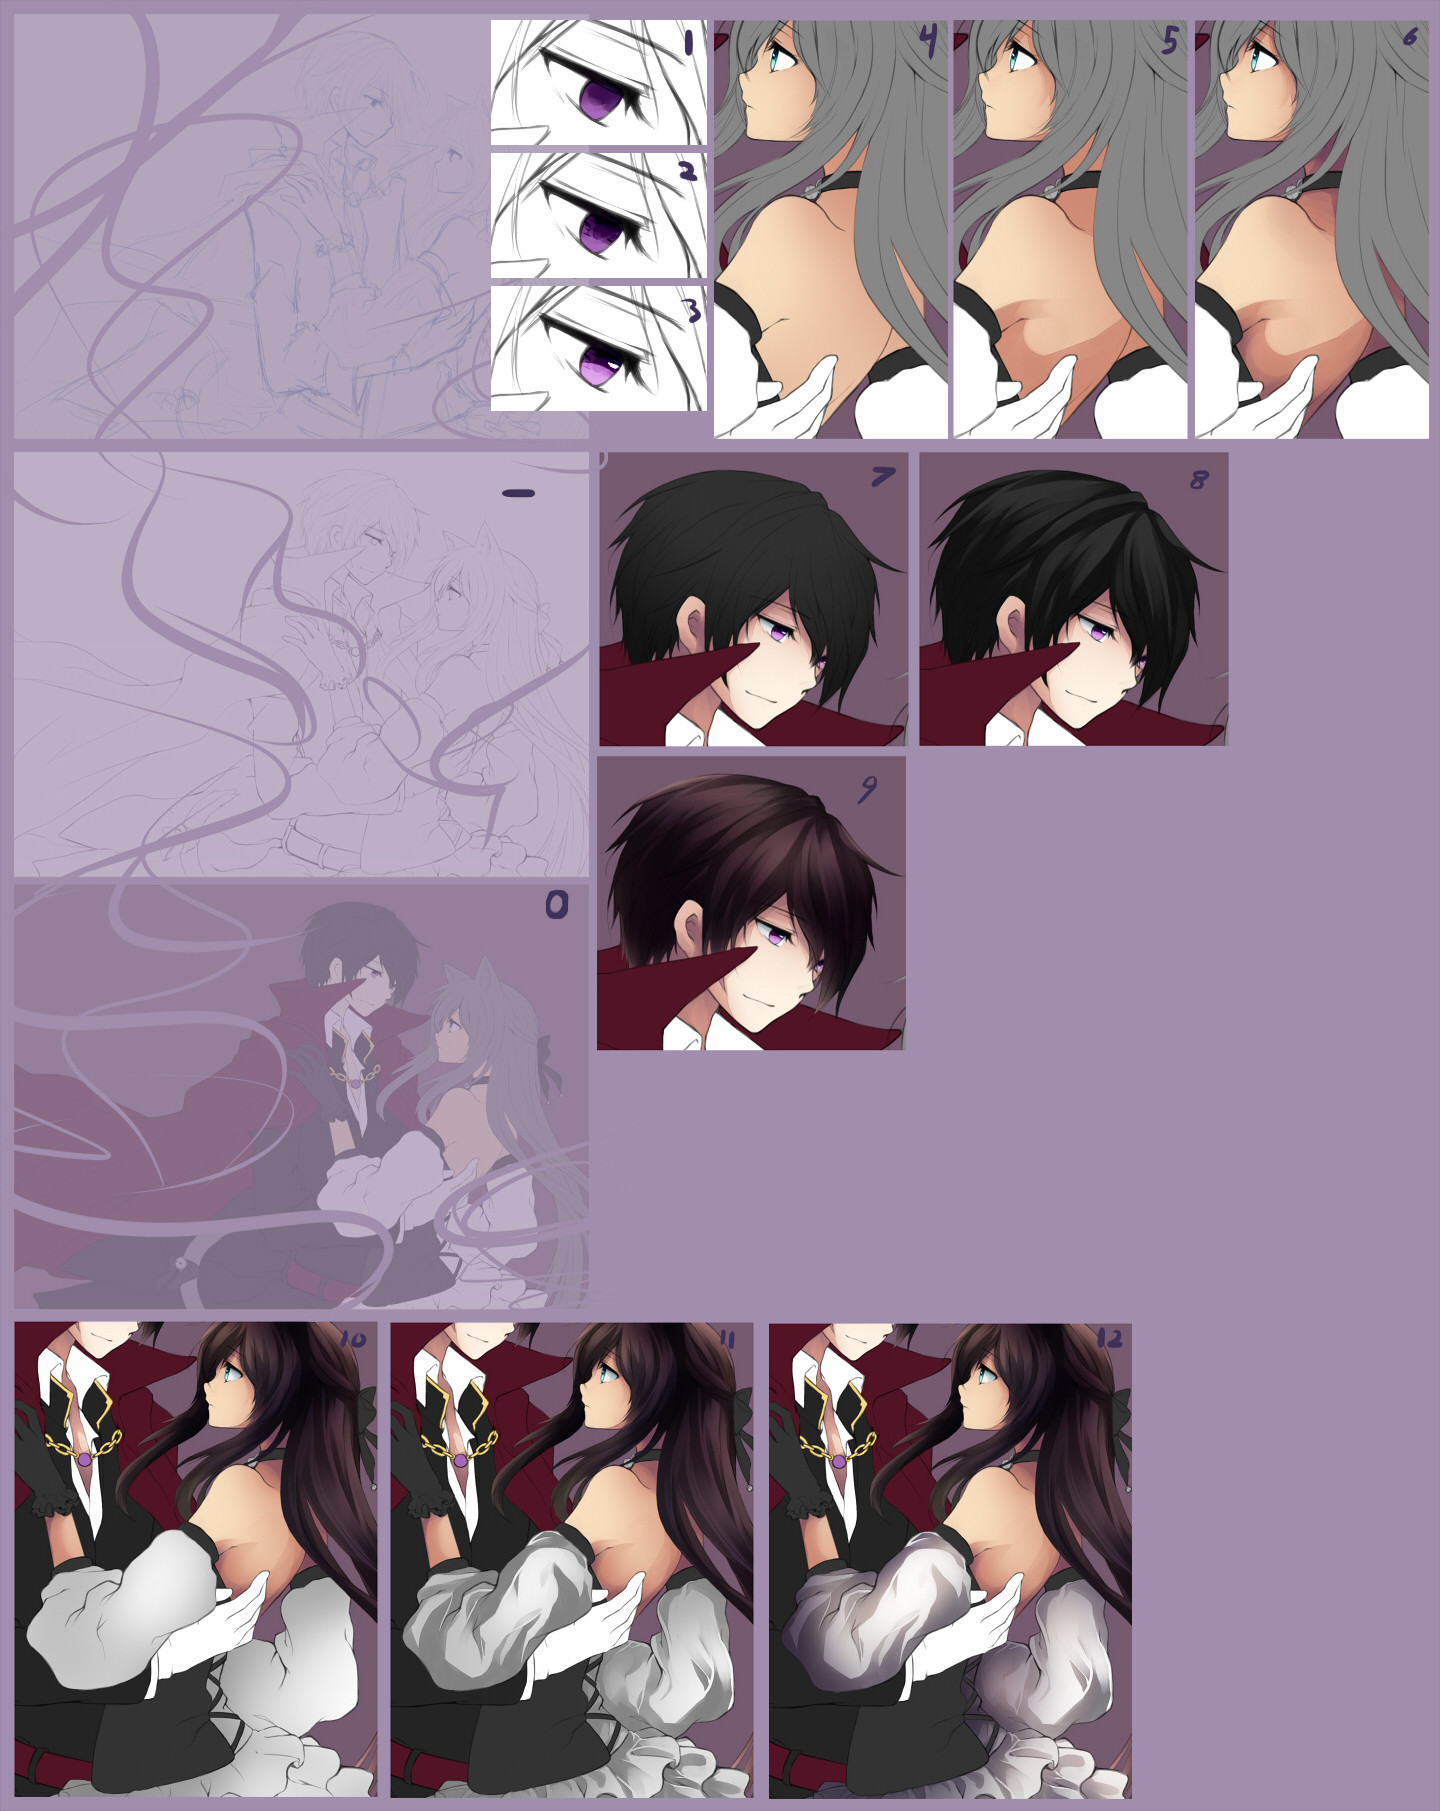
For Paint Tool SAI. I was too lazy to open something that gave access to text, so please read the comments or you might just be staring at a bunch of odd pictures inside a purple box.Tools: Pencil, airbrush, brush, watercolor, optional blur.
- Lineart, use brush tool on 20~40ish dilution.
0 - Base colors, just use the pencil tool with 100 opacity.
1 - Color in the eyes and do a simple darker shade over the top half with the watercolor tool.
2 - Make a layer set as "shade", make a circle in the middle of the eye for the pupil and a few specs surrounding it, play with the airbrush tool at the softest setting with low opacity to make the inside of the pupil a little lighter than the outside (press "Z" to make it transparent, so it works like the eraser), make another stroke at the bottom of the pupil with the brush tool if you want to.
3 - Make a "screen" layer and use a largish pencil tool setting, use the same color as the lighter shade you used on step 1 to make a bubble in the bottom of the eye, then just make a glare in wherever you want the lighting to be from.
4 - Use the softest airbrush setting on low opacity to make a gradient-like effect over the base color for the skin.
5 - Make a new layer over the base color for the skin, in the layer effects, select fringe and add the shades using the watercolor tool with 40-50ish dilution. If you like softer skin shades, you can use the blur tool to give the shades a softer look.
6 - Make another layer without fringe and add some dull blue or purple shades, don't over do it.
7 - Use airbrush again to make a gradient effect over the hair.
8 - Again, use fringe in your layer settings and the watercolor tool to add shades, this time you can use a little less dilution if you want.
9 - Throw on an overlay layer or two with light and dark shades to add color to the hair, use the airbrush again for this, with the same settings. If you want to, make a screen layer and add some harder light effects.
10 - Airbrush over the base color.
11 - Watercolor and fringe again, for some shades you might want less dilution and for some you might want more. For clothing you can usually use a pretty big sized brush, and then for the sharp folds just use the eraser tool and cut through the big folds. That doesn't work on every fold, so you have to play around a bit.
12 - Add overlay, multiply and screen layers with the airbrush tool.
I use this method for coloring characters the whole time, so it doesn't change after this until the end. Most everything I learned about this style was from studio members.

If anything made absolutely no sense, or if you are curious about stuff, please let me know.
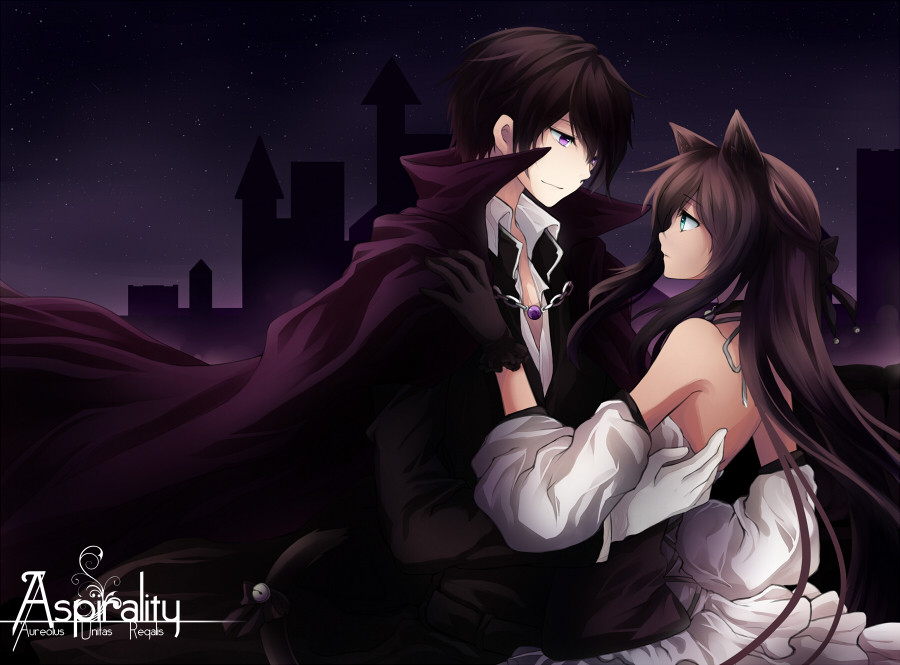
Completed: [link]
Related content


Comments: 30


I don't remember my exact settings for this, but right now they are set to this. i.imgur.com/CHa0Z6R.jpg
I change them as needed.
 (Smile)")
👍: 0 ⏩: 0

These are my airbrush settings: imageshack.com/a/img22/7088/dq…
👍: 0 ⏩: 1

Um, thank you for this! I'm going to try it out in a bit. Oh and I was wondering if you could tell me your prefered brush settings? (although I've been using sai for quite a while, I've noticed that I'm still pretty bad with finding my way around the tools which is probably one of the things preventing me from improving)
👍: 0 ⏩: 1
My main tools are the water color, brush, airbrush and pencil tools. I change the settings for them depending on what I need them for. For watercolor, which I use for shading, I have blend set for around 25~50, and dilution is around the same amount, but only if I'm not coloring on the same layers as the base colors. For this style, brush is generally at around 25~50 dilution as well for the lineart. Opacity is at 100% for both, I leave all other settings at 0.
👍: 0 ⏩: 0


you talk about fringe in the layer effects...where exactly is this fringe mode. My SAi has some weird translations so sorry.
👍: 0 ⏩: 1
Above the layer options (like new layer, merge, delete, etc) and below the "map" of the canvas is where the "Paints Effect"s are. Fringe is in Effect, underneath Texture. You might have more effects than I do, if so, just play around with them until you find one that adds black edges to the layer.
👍: 0 ⏩: 1
Oh I see it. you have a style of coloring I would love to learn...hope it does not kills my patience.
Thanks!
👍: 0 ⏩: 0

I'm just curious... what is dilution? is it similar to the brush density? by the way, your art style is lovely 
👍: 0 ⏩: 1
Traditionally, it should be adding more water to paints to make them thinner. The concept should be the same digitally I believe.
Thank you! For the gradients, you just have to be a bit patient with it, I use the 500 pixel brush for it. Sometimes its too small though OTL
👍: 0 ⏩: 1
")
You're welcome, I'm sorry I took so long!
👍: 0 ⏩: 0

You need to make more of these tutorials! GREAT JOB!
👍: 0 ⏩: 1
I will think about it =w= Thank you!
👍: 0 ⏩: 1
Okay great! You're welcome!
👍: 0 ⏩: 0


how many ppl asked you before you actually decided to make one?xD
👍: 0 ⏩: 1
Uhmm, not too many. I decided to get it done since I was working on something anyways, and this is a very simple format.
👍: 0 ⏩: 0

aah! Thanks for making this it helps a lot! <333
👍: 0 ⏩: 1
