HOME | DD
 rcknrolfender79 — How to Record Time Lapse Speed Painting Free
#artrage #eye #gimp #krita #lapse #photoshop #pro #realistic #recording #sketchbook #speed #speedpaint #time #timelapse #tutorial #how
Published: 2014-09-08 19:39:53 +0000 UTC; Views: 22916; Favourites: 42; Downloads: 0
Redirect to original
Description
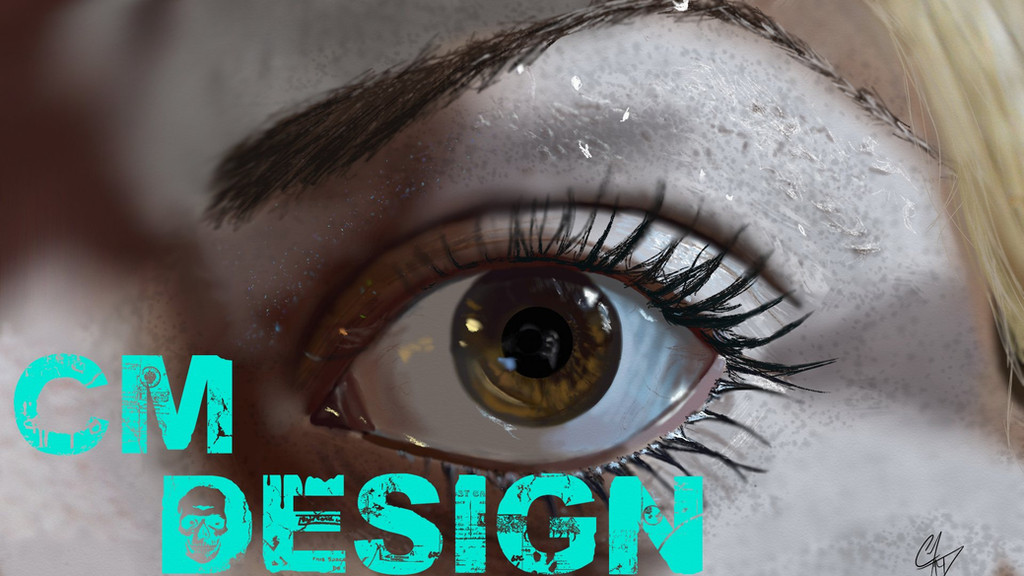
(painting above was done in Artrage 4.)Here Is the links to the Tutorial videos! Enjoy...Part 1: youtu.be/RORlLoyyZRo Part 2: youtu.be/sOZBsTheulI?list=UUhj…
Here is a link to the timelapse video of the painting above: youtu.be/6aXhjMmUdiA
The quality isn't exactly perfect but it is more than acceptable considering you wont pay a dime using the method in this tutorial.
Hey guys, I'm gonna teach you how to record yourself painting(digitally) and then make a time lapse video of it. And I'm gonna teach you how to do it all for free!
There are probably much better and easier paid ways to do this with a program like Camtasia or Fraps. But who wants to pay when it can be done for free?
Ok we are going to need 2 different programs. Both are free. First you'll need Chronolapse (Download here: code.google.com/p/chronolapse/… ). Second you'll need Blender (Download here: www.blender.org/download/ ).
Chronolapse is the program you will use to "Record" Your work. Its a really simple program and its pretty self explanatory. But what it does is it takes a screenshot every few seconds(you can set how many seconds). Then it saves and numbers those screenshots in a folder that you specify. To set Chronolapse up first, next to the "Screenshots" checkbox click configure. Near the bottom of the window that pops up, there is a "Save Folder:" option. This is where you'll choose the folder that you want to save your screenshots in. Navigate to the folder you want to use and and click "Ok" at the bottom. Now close that window. You should only have the main window of Chronolapse up now. Now set the "Time Between Captures".. I usually stick with anywhere between 2 and 4. It is in seconds by the way. The shorter you set it the more often a screenshot will be taken and vice versa. The more screenshots you have the longer your video will be(which we can also change in blender). Make sure the box next to "Screenshots" is checked. When you are ready to record just hit the "Start Capture" button, minimize Chronolapse and go to work. When you are done (or want to stop painting for the day and come back to it) just pull Chronolapse buck up and click the "Stop Capture" button. If you want to come back to it later and work on it just open up your painting and Chronolapse, Hit "Start Capture", minimize it, and go to work.
Remember that if you want to work on 2 different paintings, you will need to save the screenshots from Chronolapse in a different area. Keep different folders for different paintings. Otherwise you'll have a really mixed up video of you working on 2 or more different paintings. Chronolapse will automatically use the folder that was used, the last time you used Chronolapse. Always remember this as you could end up with a mess of sorting out thousands of pictures to rescue your videos!
Chronolapse has a built in encoder to convert your screenshots into a video. Although we will not be using it as it is not a very good encoder as it lets your videos get a lot pixelation and just bad quality in general which we definitely do not want as we want viewers to be able to see every detail of our hard work. This is where Blender comes in. (I do use the chronolapse encoder to just see how my video is coming, as it works much quicker than Blender and gives much smaller video file sizes. If you would like me to add how to use the encoder in Chronolapse please let me know in the comments.) After you have finished your work and are ready for a finished 1080p good quality video that wont disgust viewers, go ahead and open up Blender.
Blender is a VERY GOOD free open source program primarily used for 3D modeling and animation. Although it is primarily for 3D it just so happens to have a very powerful and capable video editor built in. Blender is a very complex program and can be pretty intimidating if you don't know anything about it. But luckily what we need to do is pretty simple.
After opening Blender click on the splash screen to dismiss it. You will be looking at the default cube and 3D modeling UI. To get to the the video editor we are going to look towards the top of the screen (more to the left). Just to the right of "Help" there is an option box that should currently say "Default". Click on the little button to the left of it that has a couple squares and a rectangle. Then in the pop up list, click "Video Editing" at the bottom.
Now you should be looking at the video editor. The first thing we need to do is look at the top left window. We need to change it so that we are viewing the properties. To do this look at the bottom left of THAT WINDOW. There is a little button all the way to the left that should have 2 squiggle lines and up and down arrows. Click that button. Find the "Properties" Option and click that.
Now that we are viewing the "Properties" panel we need to set Blender up to give us a nice quality video. First under the "Dimensions" section click on "Render Presets" and and click on HDTV 1080p or HDTV 720p. Although 1080p is the best quality it will take longer to render and will be a much bigger file. It is up to you which one you want to use. Now you need to set the frame rate (bottom left of the "Dimensions" section). Anywhere between 10 fps and 24 fps is fine. The more you raise your fps the shorter your video will be and the faster it will look like you are painting. (when playing your video in the blender preview it will look slower than your finished video so don't let that throw you off, or influence your decision on your frame rate). After you have chosen your Frame Rate scroll all the way to the bottom of the "Properties" window. Click where it says PNG and choose Xvid. Just above that click the little search box that should say something like "/tmp\", this is where you will choose where Blender will save your video. Navigate where you want it to be saved, once there in the text box just under the one with the name of the folder you have selected type type whatever you want to name your video, then click accept at the over to the right. Now we are done with properties. Lets get those screenshots loaded in so we can turn them into a video.
The window at the bottom we have the timeline. This where we will be doing most of the work required in Blender. (This is the window that has "View" "Select" "Marker" "Add" and "Strip" just under it). To load our screenshots click "Add" then click "Image". This will bring up a navigation window in Blender. Its fairly self explanatory. But navigate to the folder your screenshots (from Chronolapse) were saved in. Once you open that folder, just push the "A" key on your keyboard. This will highlight every file(image) in that folder. Then click "Add Image Strip" at the top right. Now you have your screenshots loaded into the video editor. You need to make sure to drag the image strip to where it will be starting on frame 0. (where the green bar is by default). The little bar just to the bottom has numbers and a slider use it to know where 0 is. Right click on your strip(not on the arrows at the ends of it) and drag it to 0 (Left click to release).
We are almost done now we need to set the End frame. Use the slider at the bottom to scroll over to where you can see the end of your strip. Left click at the very end of it. Now look at the very bottom of the blender window. Where it says "Start" and "End" with numbers and arrows. Also to the right of those we wil have another little area that looks similar with a random number in it. (this is the current selected frame number. The Start and End numbers are which frames your video will start and end on. So we dont want our video to be cut off at 250 frames in. So we need to double click on end then change that to the current selected frame number (which will probably be anywhere between 1000 and 5000, depending on how long your painting took you and how often you set the Chronolapse to take a screenshot). Now we are ready.
To turn all of this into a video just go back to the "Properties" window and at the very top (in the "Render" section. push the "Animation" button. Now your video is being encoded. This will take a while to finish. But when Blender stops working, you should have a finished video wherever you told Blender to save it. Be sure to watch it all the way through to make sure Blender didn't mess up. After you've got a good quality video without any hiccups take the video into an editor your more familiar with (maybe Windows Movie Maker or something) then add music, credits, and anything else you desire. Getting to know the Blender video editor will take a while but will be worth it. As you can just add all the music and credits and everything within Blender. But sadly this tutorial would be book before I was finished explaining the intro lol. You can do everything from basic functions to incredible CGI with Blender.
Anyways that about does it. You should be on your way to making your own speedpaint videos. If you have any questions ask me in the comments. Also you may want to check out some tutorial videos on youtube on Blenders video editor, if you are having trouble with this tutorial. Most of them will show you how to open up the video editor at the very beginning
 (Smile)")
Also looking into how use Speed strips will be useful as you may want to speed up only a certain part of a video or something.
Keep in mind when making speed painting videos to try to make them between 3 and 6 minutes long. Most people wont set and watch a 10 minute video of you painting no matter how good it is, most people will watch a couple minutes then start skipping through it to the end. You can make your video shorter by upping the frame rate. And also using speed strips to make certain parts of the video shorter.
I will be doing a video of this tutorial very soon... and I will post the link here. I will also show how to use the encoder in Chronolapse.
Thanks for reading. Hope this helps you guys. And please subscribe to my youtube channel as I will be posting lots of tutorials and speed paintings.
Related content


Comments: 10

Great description. By the sound of it Chronolapse is exactly the kind of software I am looking for, will definitely give it a try. Thanks again.
👍: 0 ⏩: 0

Great tutorial! Any recommendations for recording a time lapse of a painting done on the iPad? I was able to record myself using X-Mirage (not free ")
👍: 0 ⏩: 0

Finally got the Tutorial vids done! There are 2 videos one for Chronolapse and one for Blender. Enjoy! You'll Find links near the top of the article!
👍: 0 ⏩: 0

This is amazing. Not hard to understand, and....IT is free
Still, I am looking forward to your tutorial on this. Sometimes it is easier to watch the process, to get it right.
Thank you
👍: 0 ⏩: 1
Hey thanks for the badge, favorite and comment. And I will have the tutorial vid up probably this week sometime, I dont care to read long posts like this myself. Vids are much easier to watch and understand
Decided to do this tutorial as when I was trying to learn I couldn't find a tutorial for this specifically and had to put it all together myself. So hopefully this will help.
👍: 0 ⏩: 1
Great!
Looking forward to watch it
👍: 0 ⏩: 1

Great, thank you for the headsup
👍: 0 ⏩: 0
As Chronolapse just takes a screenshot of anything thats on your screen it should work with any program at all. And it doesn't cause any lag that I have noticed. So it isnt very CPU intensive at all.
👍: 0 ⏩: 0