HOME | DD
 ruhney71 — RSSV21 - Skin Shading Test 04c
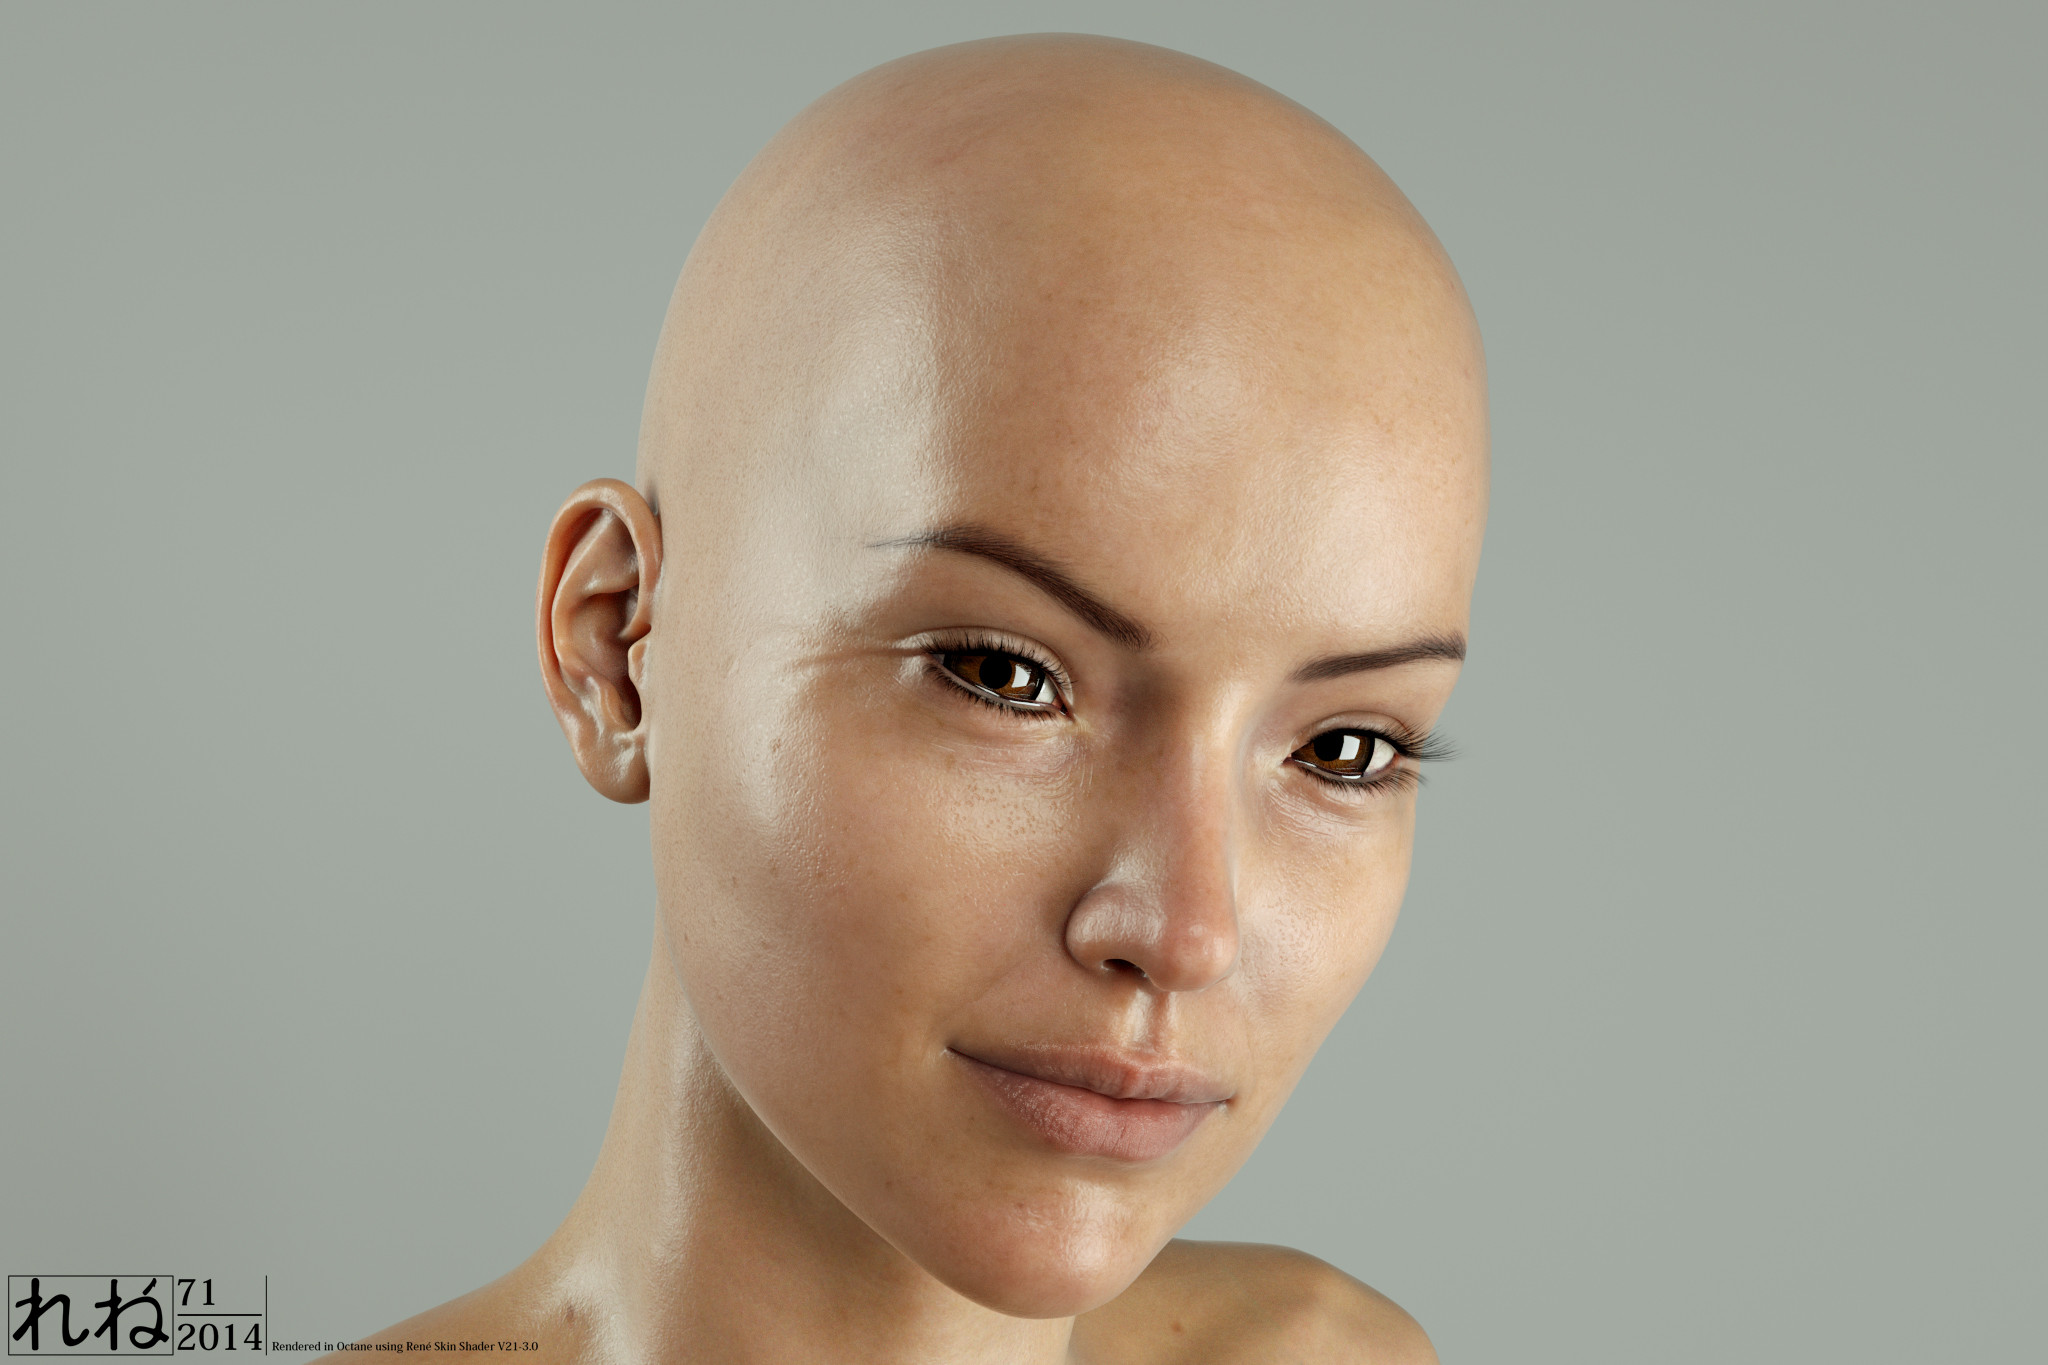
#octane #realismportrait #subsurfacescattering #skinshader
Published: 2015-01-12 08:25:44 +0000 UTC; Views: 1297; Favourites: 7; Downloads: 72
Redirect to original
Description
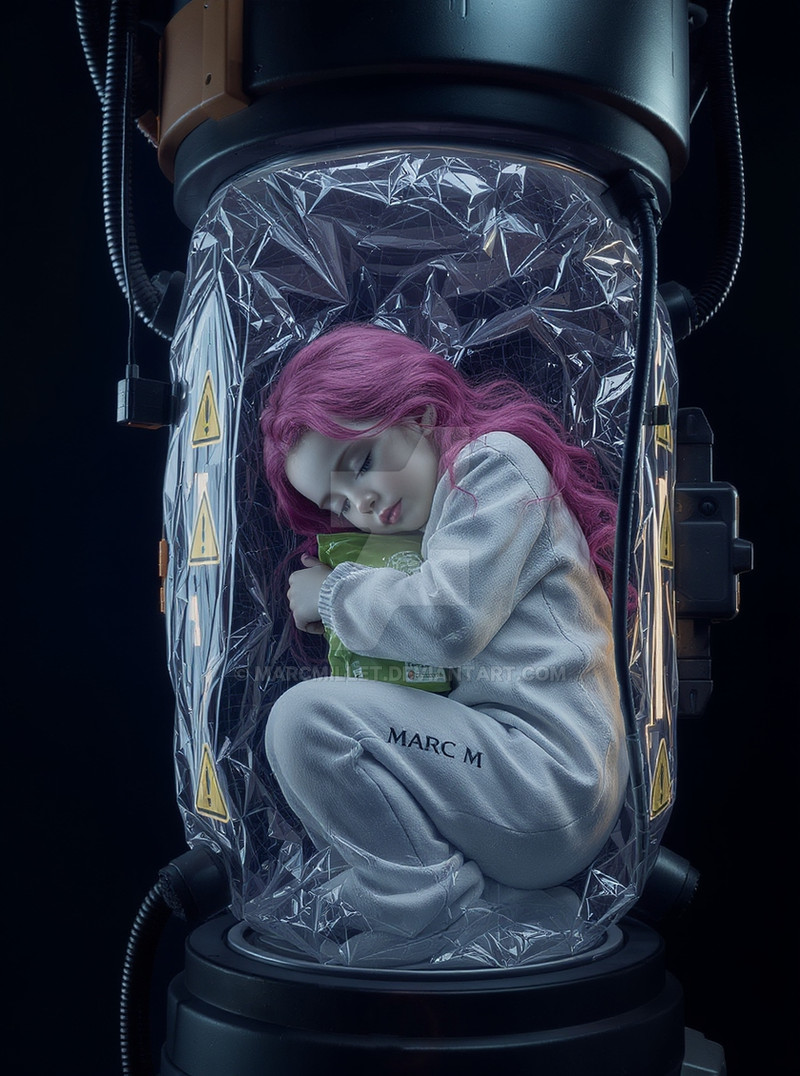
Three Mesh Lights from straight on left, angled from the top and angled from the right.The glossiness is too high, but I left it like that for the purpose of checking the bump effect.
Forget about the eyes...
 (Smile)")
Related content


Comments: 16

Those lips are stunning. And if the glossiness was down, the skin would be equally so. Which isn't to say it's not gorgeous. It's gorgeous! Its just not as photocell as the lips. I can't run Octane (wrong graphic cards), but this is one of those renders that makes me envious of the apparent ease of getting good results. Please sooth my jealous soul by telling me this took lots of work and experimentation to get to this point.
👍: 0 ⏩: 1

Thanks so much!
I can take away your jealousy... My gallery is like a time capsule of all the experimenting I have done. This result is not plug & play. Sure, you can buy the RedSpec shaders, hook them up and have a very nice result without much struggle. But in the title it says RSSV21, meaning it is the 21st version of my own shader approach. Much time went in it. However, in Octane I have found a renderbox that gives nice result without doing anything special. This had me dive into it and I started to learn more and more how the nodes work and what you can do to get certain effects.
Cost wise all this is also interesting. 200 bucks for Octane and another 600 (1,5 years ago) for the GTX 780. That's 800 bucks invested in a hobby with no money in return. Just cool renders
👍: 0 ⏩: 1
It's cheaper than racing cars, or, um…climbing mountains ")
👍: 0 ⏩: 1

bump looks great.
is it just a regular noise, or did you combined it with the bump map?
👍: 0 ⏩: 1
Basically it comes down to a noise that is boosted in contrast to get more depth and is scaled in size to match the model. This is then mixed with a Gray RGB (50% Black) file that contains ONLY Details. What happens is that the high contrast noise will mix with the 50% Black and also with the painted details, making the details also a bit more rough.
The reason why I do it like this is because bump maps delivered by Daz or Vendors are useless and to poor of quality for High Res Rendering. They contain too much noise crap or jpeg artifacts that will destroy the over all look or appearance.
👍: 0 ⏩: 1
Thanks for the explanation.
I tried a similar approach too a while ago, but I did not boost the contrast of the noise.
The isssue with the maps is that you get a 4k map (bump and diffuse) for the face and also a 4k map for the body. Just due to the different size of the object a lot of resolution is lost.
As you mention the transition between the face and the neck is bad.
Your render tests look really good. I guess I have to go back and experiment more.
By the way, what render engine do you use?
I am using VRAY.
👍: 0 ⏩: 1
I'm using Octane.
As for quality of the maps. I just found out that while using the Anna textures from Daz, that after they've been opened in Photoshop the sub groups don't really fit together anymore. There is a color shift appearing which is causing a line between leg and hip. But also the seem at the back of the legs start to show a hard line. I managed now to correct it with 3D Coat. But I mean, when buying stuff, why does it have to be of such poor quality.
Oh well...
👍: 0 ⏩: 1
I had a similar issue in VRAY. It was related to SSS.
VRAY has the option to add an identifier to the materials which belong together (face, lips, limbs, torso). VRAY uses than the same light map to calculate SSS and the line disappeared.
No sure if Octane has a similar option.
👍: 0 ⏩: 1
Hi Jerry, ah I know what you mean. I've had that same thing happen when I tried to port my Daz figures to Lightwave (before Octane) to see if I could get better and faster renders in there. But I stopped after having the surface groups act individually to the sss. Fortunatly I don't have that same issue in Octane.
What I was talking about is really something that is in the color mapping of the texture files. The Anna textures are in RAW format and they work when applied directly to an object in a render box. However, I need or want to adjust some things and need them in Photoshop. That's when something happens to the colors that show up as differences between the surface groups. Fortunately I was able to fix that in 3D Coat.
👍: 0 ⏩: 0

Can you show us how you set it up. Surface scattering is always problematic and the skin ends up looking like
egg shell with no shine to it, then when there is glossiness it looks unnatural and uneven.
👍: 0 ⏩: 1
I'm sure I will come up with some tutorial since I can't keep sitting on things when I believe it is useful to others.
👍: 0 ⏩: 1

I cant wait to see them.
👍: 0 ⏩: 1
More is too come
👍: 0 ⏩: 0
Magnifique! Your last three pictures are really impressive
👍: 0 ⏩: 1