HOME | DD
 Silky-Doll — b a s e tutorial

Published: 2008-12-08 06:31:40 +0000 UTC; Views: 9913; Favourites: 97; Downloads: 1029
Redirect to original
Description
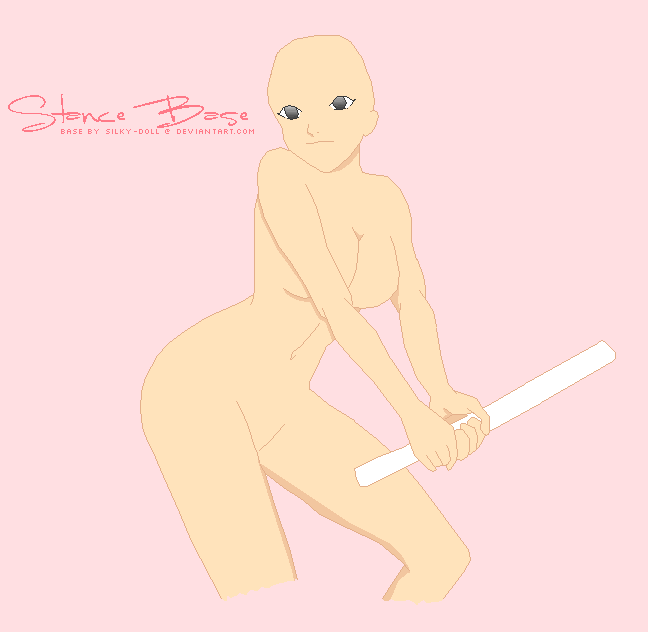
 B a s e Tutorial
 Above each step will be the link to an image showing that step in process,
to help better understanding.
T o o l s MSPaint
Photoshop or GIMP
S t e p s 1. [image]
Find your reference image - usually I do this by going to a picture site like Photobucket and typing in something like "anime girl", then going to a random page. I found this image on page 134. When looking for an image, do not pay attention to factors such as color, but do pay attention to: size, quality, pose, and appeal. Obviously the color does not matter in the end when creating a base.
2. [image]
Grab your reference image - Once you have gotten the image you want, right-click the image and select copy.
3. [image]
Paste your image into Paint - right-click in paint and select paste.
4. [image]
Getting ready to start - select the line tool; for me it's a lot easier than using the pencil tool, because you can make straight or curved lines with it, and they will only be 1px thick, which is desired.
-Then select your main color, depending on the colors of your reference pic. If your pic is red, you would want to select something like green so that it does not clash with the image.
5. [image]
Zooming in - select the magnifier tool and zoom into the area that you want to begin in.
6. [image]
Begin tracing - using the line tool, carefully draw over the main outlines of the reference pic. It does not have to be perfect; just get the main outline as good as you can.
7. [image]
Continue tracing - Continue to trace your image. As you are tracing, you made need to do a lot of clicking-and-releasing to get the curves down, so be sure to take your time on those.
8. [image]
Avoid Clothing - If your reference pic image is wearing clothing with folds or bumps, do not trace over them. Instead, go through them and follow the outline of the body. (Unless you are making a base with a clothing outline.)
9. [image]
Finish outline - Continue to trace until you have gotten the whole image done. You may or may not want to trace the details of the eyes; it's up to you. In my case, the eye details can influence the mood of the image, so I decided to trace the details.
10. [image]
Copy the completed - Right-click the image and select, select all. Right-click again and select copy.
11. [image]
Paste into program - I have chosen to use Photoshop in my example. (Gimp users: see step 12) Then, select the color you outlined in as your main color. The image of this step does not show the correct color selected as the main color - sorry.
12. [image]
Select Color Range - Now go to Select, then click Color Range.
Gimp: use the color select tool (I believe that's what it's called).
13. [image]
Adjust - Make sure Select: is set to Select: Sampled Colors, and set the fuzziness to 0. Click OK.
14. [image]
Selecting - Now, your whole outline has been selected. Since this is what we want to keep, go to Select, then Inverse. You have now selected everything but the outline.
15. [image]
Erase background - Make sure there is a white layer behind your image, then select the layer of your image. While everything is still selected, press Ctrl + X. Now, your outline will remain.
16. [image]
Replacing outline - Get your skin color palette ready. First, keep the original outline color as your main color, then do Select > Color Range again to select it.
17. [image]
New Layer - Press Ctrl + Shift + N to create a new layer. Make sure the outline is still selected.
18. [image]
Bucket Fill - Now make your main color the color you want your skin tone outline to be. Then select the bucket tool, then just click. Now the old color should be replaced with your new one.
19. [image]
Back to Paint - Paste your base back into paint, and fill it in to your liking.
E n d I hope this tutorial helped you, if you have a question don't be afraid to ask.
Related content


Comments: 18

👍: 0 ⏩: 0

thank you so much!!! Been thinking about making my own bases for a while now, but I have had no idea how to!
👍: 0 ⏩: 0

this is exactly what i've been looking for! but, one question: what if the only thing u have is MSPaint? i dont have gimp or photoshop, and i cant download them
👍: 0 ⏩: 1

There's a trick you can do for the MSPaint actually! ^^' If you save a blank document as a 24-bit it takes out a a lot of the color! Then you click the color dropper on a color you want to erase. You can enlarge the eraser past select-able sizes by hitting CTRL and hitting the plus button on your number board! then you simply hold down your right clicker and drag it over the colors and boom! They're gone! ^^
👍: 0 ⏩: 0

On image 19 you forgot to fill in her left arm.
(Sorry just noticed that!)
👍: 0 ⏩: 0

Wow! this helped me make my first base. It came out awsome! See it in my gallery.
👍: 0 ⏩: 0

i say u should use the curve tool instead of line tool it makes it look less choppy but thats only one persons opinion
👍: 0 ⏩: 0


Here is the base I made using your tutorial! Thank you very much for making it!
[link]
👍: 0 ⏩: 0

If you don't have photoshop, and only have paint, how would I be able to do this? :]
(Very good at explaining things by the way)
👍: 0 ⏩: 1

Save the image as a 16 color bitmap. The colors will be more clumped together and easier to erase, and with some quick fill-bucketing and erasing, your lineart is left without the original pic behind it.
 (Smile)")
👍: 0 ⏩: 1
oohh. okay thank you
now its time to be stupid and act my age: whats a 16 color bitmap o.e... *im 13 and verryyyyyy retarded x])
")
👍: 0 ⏩: 1
lol, sok ^^
When you go to save, there should be a few different types of the .bmp file: 16, 256, and 24. They're all .bmp files, but the 16 only has 16 colors, the 256 only has 256 colors, and the 24 only has 24 colors.
👍: 0 ⏩: 1

There's a pencil tool in photoshop, and if you create a new layer over the image, then you wont need to select anything - just delete the layer with the image on it. That's what I do
Photoshop can do everything Paint does... Although you need to get used to it first


👍: 0 ⏩: 0