HOME | DD
 SirArtsyPaw — My Art Process - 2024 Feb

#cartoontutorial #mint #monk #process #progress #tutorialcartoon #sirartsypaw #behindthescenes #cartoon #cartooncharacter #cartoons #cartoonstyle #druid #furry #furryart #furryfandom #hermit #stepbystep #tutorial #tutorials #tutorialdrawing #furrytutorial #tutorialhowto #furryartist #behind_the_scenes #stepbystepart
Published: 2024-02-07 20:12:01 +0000 UTC; Views: 1032; Favourites: 3; Downloads: 0
Redirect to original
Description
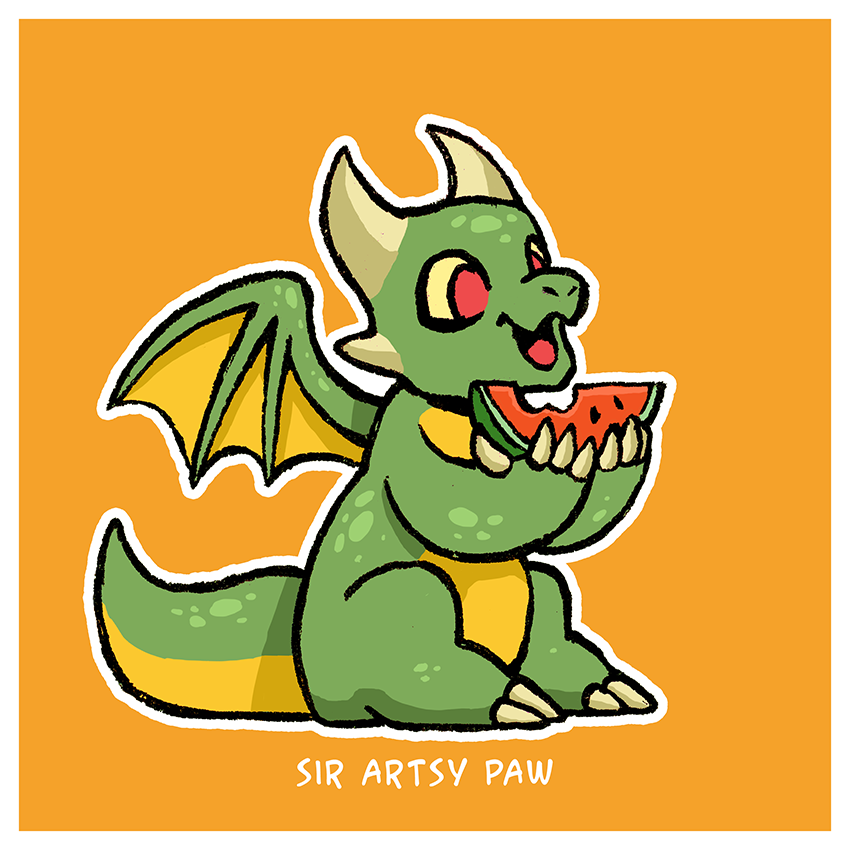
Here you can see how I draw my characters step by step! I am mixing traditional media with digital media, enjoying the best of both worlds! I love the texture of paper and the experience of figuring out a concept with pencils. I adore the lines made by various pens and brushes and value my skill to be able to do line art without the crutch of an undo button. Of course mistakes still happen some times, then I can either paint it over with white or glue a piece of paper on top!I was not comfortable doing digital art for a long while, but when I started to draw in a cartoon style I got quite excited! I love how they can look like old hand painted animation, hence the name of the style "cell-shading". I am exploring what else can I add to my style, something mine, something extra. This time I have added colour outlines! Not a lot, but in a few places where it really makes a difference I have replaced the black with a fitting colour and I am happy with the result!
1, Traditional pencil drawing on textured paper, using a soft colour pencil. I start by placing the large shapes of the character, then if the proportions are right I move on to filling in the details until everything is laid out and ready for inking!
2, Traditional ink, using my favourite gel pen. I begin with the larger curves on the left and gradually work my way to the right and the smaller shapes. I add extra thickness to areas that would have stronger shadows. Once the ink is dry I scan my drawing at 300 or sometimes even 600 dpi.
3, Digital flat colours. As the first step of working with the piece digitally, I adjust the brightness and contrast of the line and clean up any smudges. Then I clean up the edges, delete the background and add a white outline to the character. During the digital process I use various layers, layer modes and clipping masks in order to get the best results.
4, Final render. I go back and forth between layers, fixing this and that, adding shadows, highlights and details, adjusting the lines etc. Sounds like an afterthought, but often this is the most difficult step, to make sure everything is on point, in balance. When all is done, I save several files. One with all the nuts and bolts, this is my own work file. Two high resolution files, one with the simple gradient background and one as a transparent png and then two more at a low resolution.
If you have any questions, feel free to ask, I would be happy to reply!
Finished art - Cartoon - Mint