HOME | DD
 steevinlove — Autopia Pinup - Drawing Steps

Published: 2010-07-23 19:01:28 +0000 UTC; Views: 3881; Favourites: 33; Downloads: 169
Redirect to original
Description
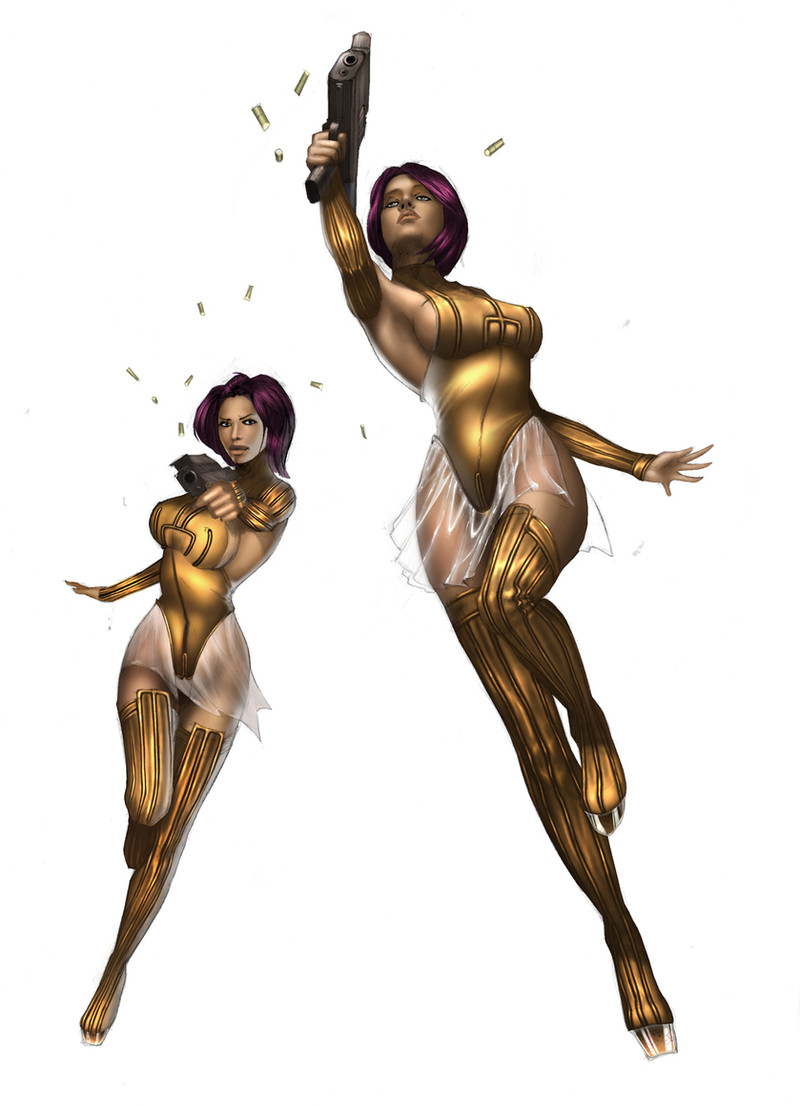
For those of you that ask about how I do things I posted this just for you. I posted the progress to "Autopia" in my art blog on tumblr [link] as I was working on it, but I figured I'd post the full thing on here. These are the various steps I take while working on my most of my projects. If you have specific questions, please feel free to ask, I'm not a professional in any way so maybe we can learn from each other.Step 1- Sketching: Here I use Manga Studio to do my sketching, I use a combination of statues, Poser, and pictures I’ve taken to use as reference. I draw in blue so I can tell the difference between this step and the inking step.
Step 2 - Inking Step: for this project I’ve been using illustrator for my inking, i need the lines to be really thin so I use illustrator to get really thin crisp lines without losing quality when I scale it up or down. I ended up really liking inking in illustrator, it’s a little different from using hard brushes (which is what I usually do in Photoshop to simulate pens). This is kind of a poorer example for what is capable of inking in illustrator since I purposely don’t do any shadows during this step for this particular project.
Step 3 - Coloring Flats: Before I can get to the shading part I, I clean up all my lines from my inking stage in Photoshop, making sure to close any gaps, and delete any stray lines. I do this here instead of doing it in illustrator because it actually saves me time by just using my eraser to get rid of strays. To create my color flats, I just fill in the areas using the paint bucket tool on separate layers setting my paint bucket to contiguous - all layers, that way I can just use my brush again to clean up any missing areas without doing any damage to my lines. I do everything. EVERYTHING. Non destructively.
Step 4 - Shading using Cels:To start the shading process on this project I’ve been using the cel shading method first. I create shapes in the areas I want there to be specific shadows, I fill them with a light grey color (i use bab9b9 for all my cell shades) and then use a “glow” on that layer to soften it, then finalize it with a blending mode (usually color burn for skin, and multiply for clothing) to make it work with the layers underneath. I don’t use this method for highlights though, they just never end up looking right in the final piece.
Step 5 - Shading using Dodge and Burn: Underneath my shading cels, I use doge and burn on the copy of the flats I made. I burn off all my shadows first, using this technique to bring out the roundness of the objects and variations in tone. Then use doge to create my highlights. Sometimes I’ll paint whenever I need touchups but for the most part I stick to dodge and burn I feel I get better gradual changes in my colors.
Step 6 - Finishing touches: The last step is usually where I just go overboard with my high lights do a bit of color tweeking, add some effects and then get boba.