HOME | DD
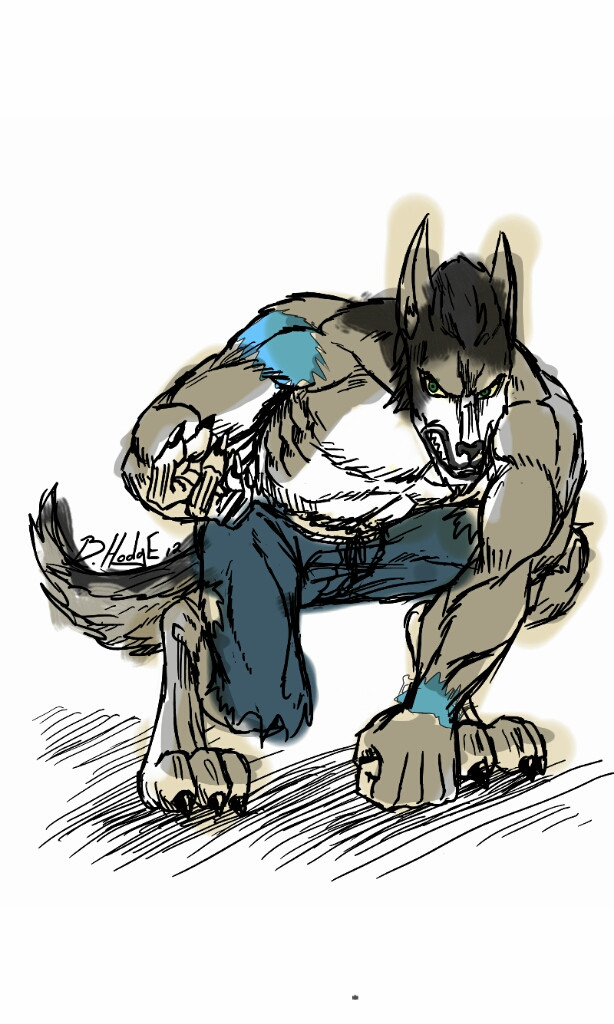
 V8Arwing67 — Werewolf V8 Lineart Colored
Published: 2012-10-22 20:40:56 +0000 UTC; Views: 1324; Favourites: 35; Downloads: 17
Redirect to original
Description
This is another lineart by the amazing , of my OC V8 as a werewolf. As usual, I added color to this, though it might look a bit rough around the edges.So, what do you guys and gals think?
Original Lineart (c)
Idea and Colors by me
Related content


Comments: 4

Definitely an improvement, I see you've set the mode of your line art layer to "Multiply" this time around. I notice your color has quite a bit of bleed outside the lines.
To remedy that on future images I would recommend using one color to fill in the line art (on a layer below the line art layer), then lock the transparency of the layer. Locking the transparency allows you to color without having to worry about going outside the lines (the initial color you put down determines how well this effect works). In Photoshop there should be several options beneath the Layer Mode drop down, the first one in the list is the "Lock Transparency" option.
If you are using a mouse rather than a tablet the initial color silhouette will take a bit longer to lay down. I would recommend using a combination of the Lasso Tool and Pen Tool to create selection masks that you can use to bucket fill or paint in your chosen color.
The Pen Tool is my favorite for making selections, but it might feel a little alien to those who are not familiar with the vector process. So here's a quick blurb about creating paths in Photoshop:
By default the Pen Tool is set to draw Shape Layers, this is not ideal for making selection masks. So what we wan to do is switch the Pen Tool to draw Paths; in the Options panel find the symbol that looks like 3 dots surrounding the pen shape and click on it (the tool tip should say Paths). The Pen Tool is used to place anchor points, click once to drop an anchor or click and drag to place an anchor and adjust its handles. When you have two connected anchor points adjusting the handle bars curves the line between those two points (trying it for yourself is easier than trying to explain it). To adjust anchor points and handle bars after you've laid down the anchor points you can use the Direct Selection Tool (it looks like the standard mouse cursor and can be found in the Path Selection Tool sub menu), personally I prefer to stick with the Pen Tool and use the hot keys associated with it (Hold 'Ctrl' to activate the "Direct Select Tool" and hold 'Alt' to activate the "Convert Point Tool"). So back on topic, your goal is to use the various Path tools to outline the outer edge of the line art. Once you have made the outline, while having any of the path tools active, right click on the path you made and select "Make Selection" from the context menu. After clicking 'OK' you should have a selection you can now fill in with color.
Like I mentioned, this process is easier to do than to explain so give it a try for yourself. Hope this helps, good luck on your future drawings.
~B-Man
👍: 0 ⏩: 1

Thank you very much, Uncle-Bang! That method seems to have worked wonders, and now I don't overwork myself over the coloring.
Yeah, I'll try all this next time I get on Sketchbook Mobile, I think I remember seeing these things on there. I appreciate all the helpful advice! ^^
👍: 0 ⏩: 0

 (Smile)")