HOME | DD
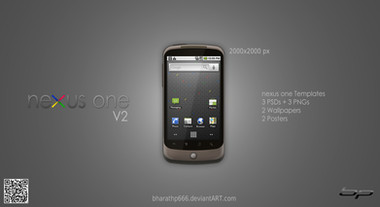
 whiterabbit007 — Google Nexus One template PSD

Published: 2010-03-29 22:59:16 +0000 UTC; Views: 31243; Favourites: 72; Downloads: 9338
Redirect to original
Description
Update 2: Added some menu icons.Update: So I realized that all the UI resources (i.e. PSDs) that I found for the Android are for the older devices, which means they use different screen resolution, which might mean that dimensions of some elements (list item, tabs, arrows, etc.) aren't exactly right. Anyway, so since I needed the tab graphics I went ahead and made them myself, and created a landscape version as well, even though such doesn't really exist by default.
I needed a template file where I can work on interface for an Android app, with portrait and landscape views. So I just grabbed a hi-rez image of Nexus One off HTC's website and made this. Feel free to reuse it for whatever but obviously the images aren't mine.
(It is sized such that the screen is exactly 480x800 pixels, for obvious reasons


 )
)You can get the Android fonts from here [link]
Related content
Comments: 6

Great work, thanks a lot.
I am new for this kind of graphic work, so I am wondering what is a workflow.
I see that, for example, option menu items are based on standard Android icons. They are presented in your psd file as vector masks (for ex. icon for "Settings", icon for "Call" etc). We can obtain png versions of those icons from Android resource file. But what is the techniques of making a vector mask from those images (if this is the way you do it)? And what would be the reason of keeping those icon layers as vector masks instead of just flat raster image? And the second question if there is a repository of all standard android icons in vector format? If so then just importing those icons into Photoshop in a vector form would make sense.
Thanks in advance for your advices.
👍: 0 ⏩: 0


