HOME | DD
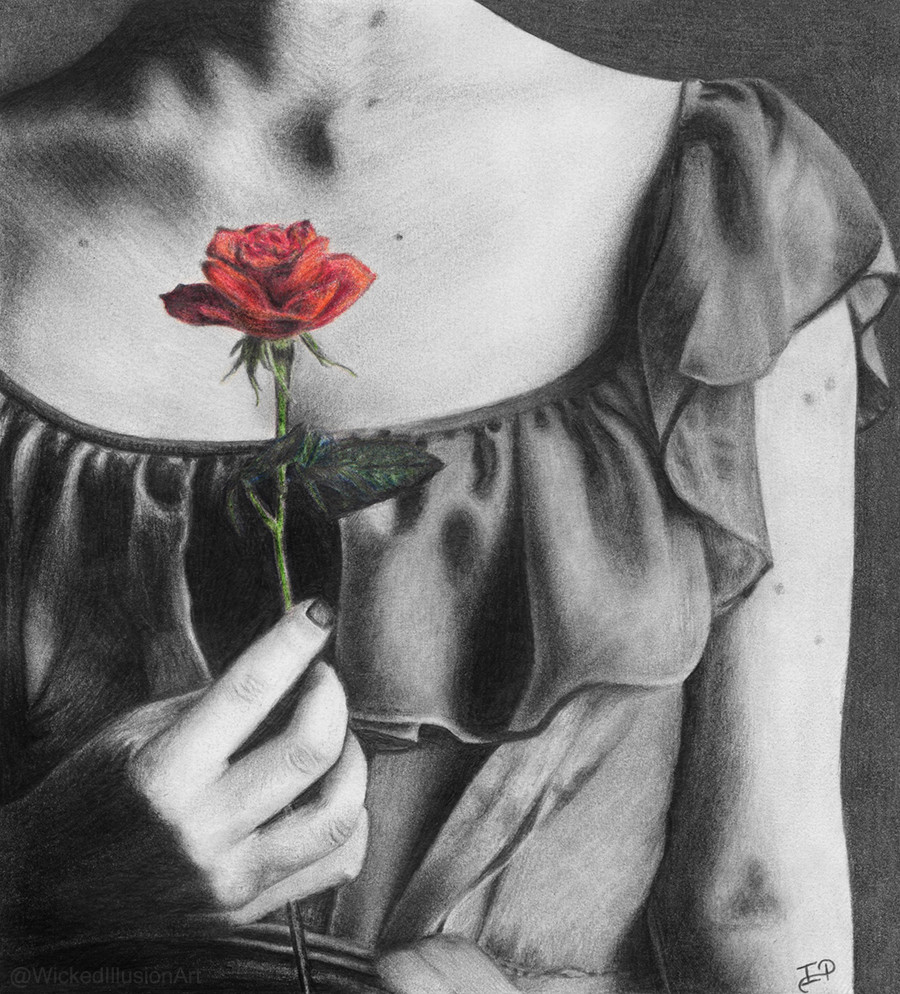
 WickedIllusionArt — TUTORIAL: The Grid Method w/ Ps Patterns
#grid #howto #patterns #photoshop #photoshoptutorial #traditionalart #tutorial #pspattern #thegridmethod
Published: 2018-01-28 02:07:24 +0000 UTC; Views: 843; Favourites: 14; Downloads: 7
Redirect to original
Description
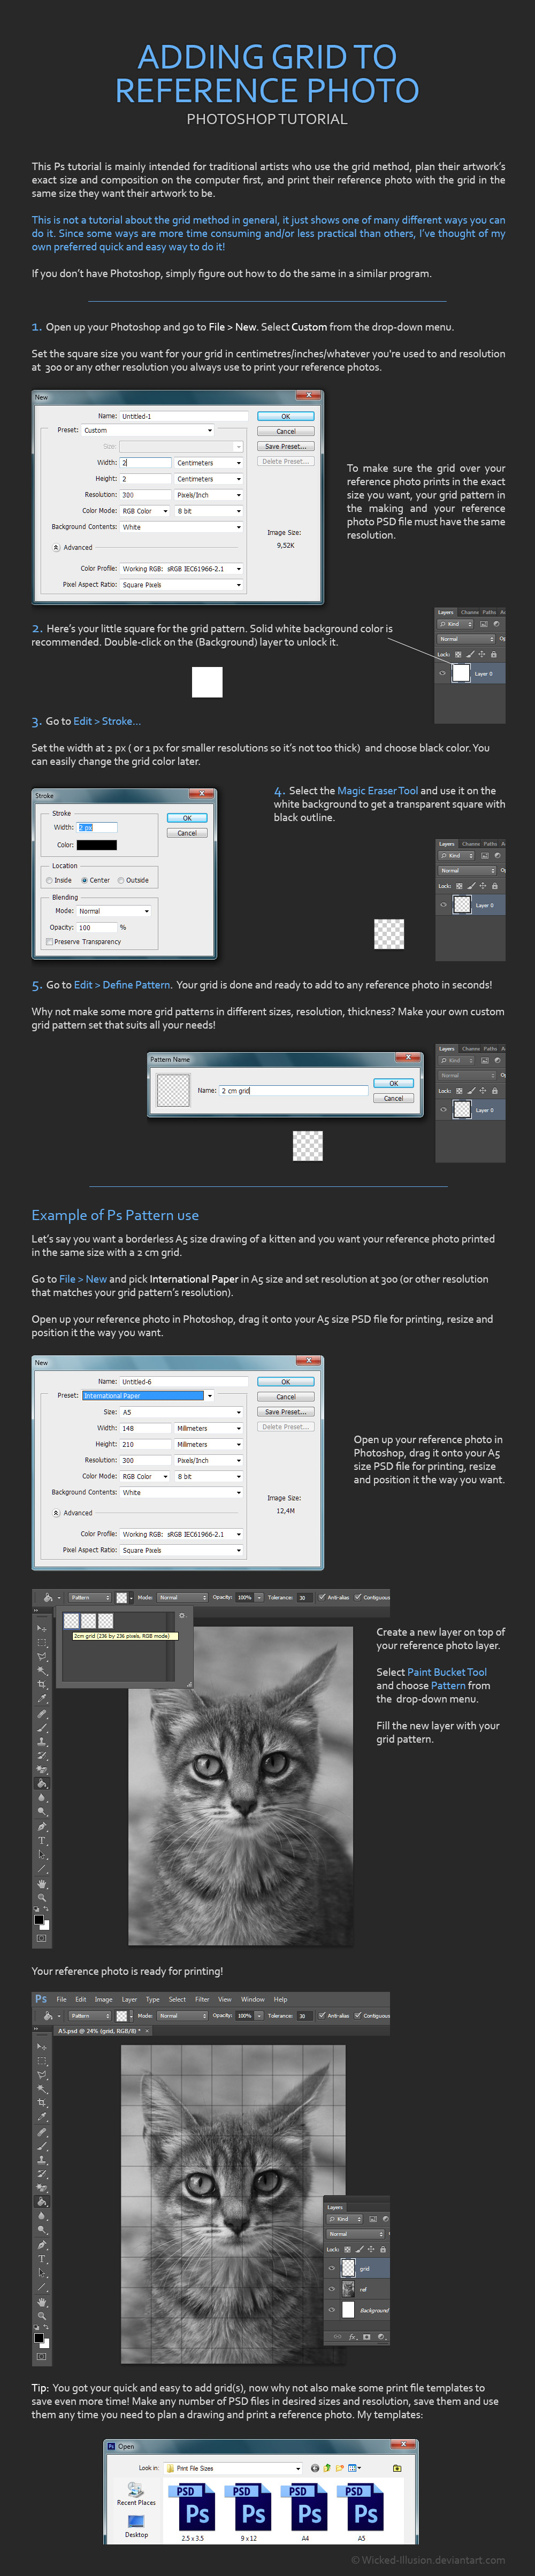
Tips and additional info- Change the grid color from black to white/other color (Crtl+U), or use Lasso/Marquee tool to make it white/lighter just on some areas (for example, over the very dark areas to increase the grid's visibility)
- Use rulers, guides and other tools to add border(s) in desired size to your ref photo, or simply make sure there are no important parts to draw in areas that will be cropped to leave a space for border on your artwork.
- Printing at 300 dpi means that even if you have quality, hi-res photo, in most cases you will have to stretch it a bit or way over its original size to fit the image size for printing, so print at smaller resolution if you wan to prevent loss of quality. Very few ref photos are hi-res enough to print in big sizes at such high resolution, especially after some cropping for desired composition. Luckily, you can stretch some photos quite a lot over their original size and they will still be usable for placing stuff on paper at least. (I print at 300 dpi because I don't work very big and often my refs are hi-res enough - I only use printed refs for drawing the outlines and mapping out where stuff goes more accurately, the reference on screen is one I look at for drawing the details, shading etc.)
- If drawing on bigger paper, A3 for example, you can print A4 ref with 1 cm grid and then draw 2 cm grid on your A3 paper. Or print half of your ref on one A4 paper, half on the other.
- You can combine different grid sizes, use 4 cm grid pattern for example over the whole ref and then add 2 cm grid pattern on some important areas where you need greater accuracy (the 2nd grid must be on the same layer)
- Since the print is usually darker than what you see on the screen, it’s recommended you lighten up the ref photo a bit (or a lot) before printing it, especially if it’s very dark, so that everything important is visible when printed.
- To SAVE ink, erase all parts of the photo that you don’t need for drawing the outlines/important bits. For example, not drawing the background as on the ref/the background is solid color and/or is blurry with little detail? Erase away.
- If you’re printing a ref photo for a greyscale drawing on black paper, you can save TONS of ink by inverting the colors (Ctrl+I) on the photo and then darkening it a bit if necessary so even the more subtle, originally, light tones are visible when printed. Use the printed photo to help place stuff on paper by drawing the opposite of what you see.
Related content


Comments: 5


 (Smile)")

Thanks Wicked, this will be hlepful and a real time saver.
👍: 0 ⏩: 0
