HOME | DD
 xFleurxi — Headshot Process

Published: 2023-05-07 15:10:04 +0000 UTC; Views: 1846; Favourites: 78; Downloads: 0
Redirect to original
Description
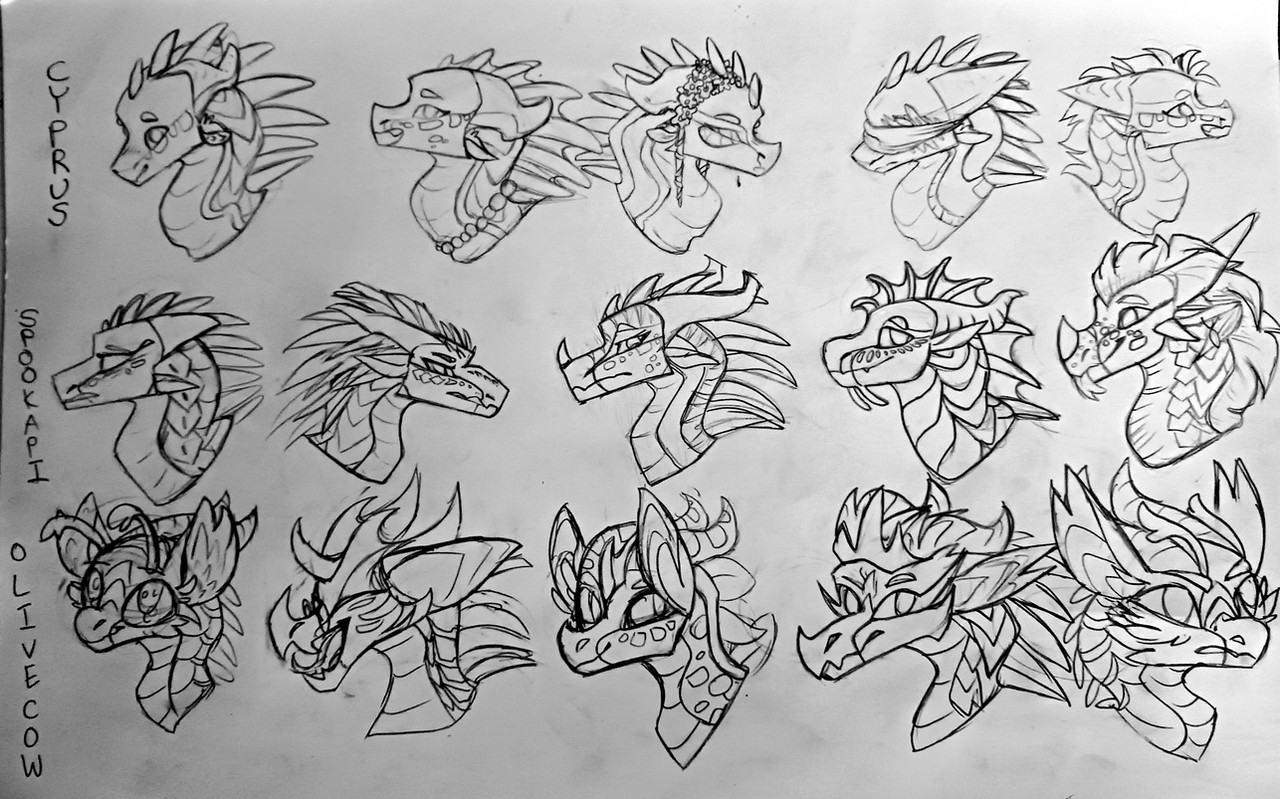
Just a little headshot process1. THIS STEP IS OPTIONAL. Map out the basic shape of the neck and chest with circles and lines.
2. I usually go right to this. Sketch down the neck & head shape.
3. Do a messy sketch with step 2 at 20% opacity under it.
4. Trace over step 3 with smooth lines on a new layer above it, changing bits of things you don’t like. AKA lineart.
5. Put flat colors down under the lineart. I usually do every individual piece as a different layer because then I can alpha lock them to get specific details. Like the underbelly would be on a different layer than the scales or frill.
6. Do lighting and shading. Make a new layer and brush over it with a soft airbrush on the bottom half of the headshot in a dark purple color. Make sure that layer is on multiply. Then on that same layer with that same color make the specific shading. After you’re done with the shading, make a new layer and put it on overlay. Take a bright yellow and brush over the top half of the headshot in a diagonal motion with a soft airbrush. After, make a new layer ABOVE the lineart and set it to screen. Take a light yellow and make little highlights.
7. You’re done. There is no step 7. XD
Happy drawing!
Art by me (FlurryDrawz )
Character belongs to me (FlurryDrawz )
Character design by me (FlurryDrawz )
Related content


Comments: 5

👍: 1 ⏩: 0

👍: 1 ⏩: 1

👍: 1 ⏩: 0

👍: 2 ⏩: 1
👍: 2 ⏩: 0