HOME | DD
 YochanArt — Eye Tutorial - Step By Step
by-nd
YochanArt — Eye Tutorial - Step By Step
by-nd

Published: 2015-01-12 22:55:55 +0000 UTC; Views: 791; Favourites: 17; Downloads: 2
Redirect to original
Description
This my first "Step By Step" Tutorial.I found it difficult to explain it using my own words, and in english which isn´t my current language.
It also may be too basic for some Artists but I think it can help many other, so I decided to post it.
Tell me what you think, if it is helpful.
Eye Tutorial
Legends:
Figure 1:
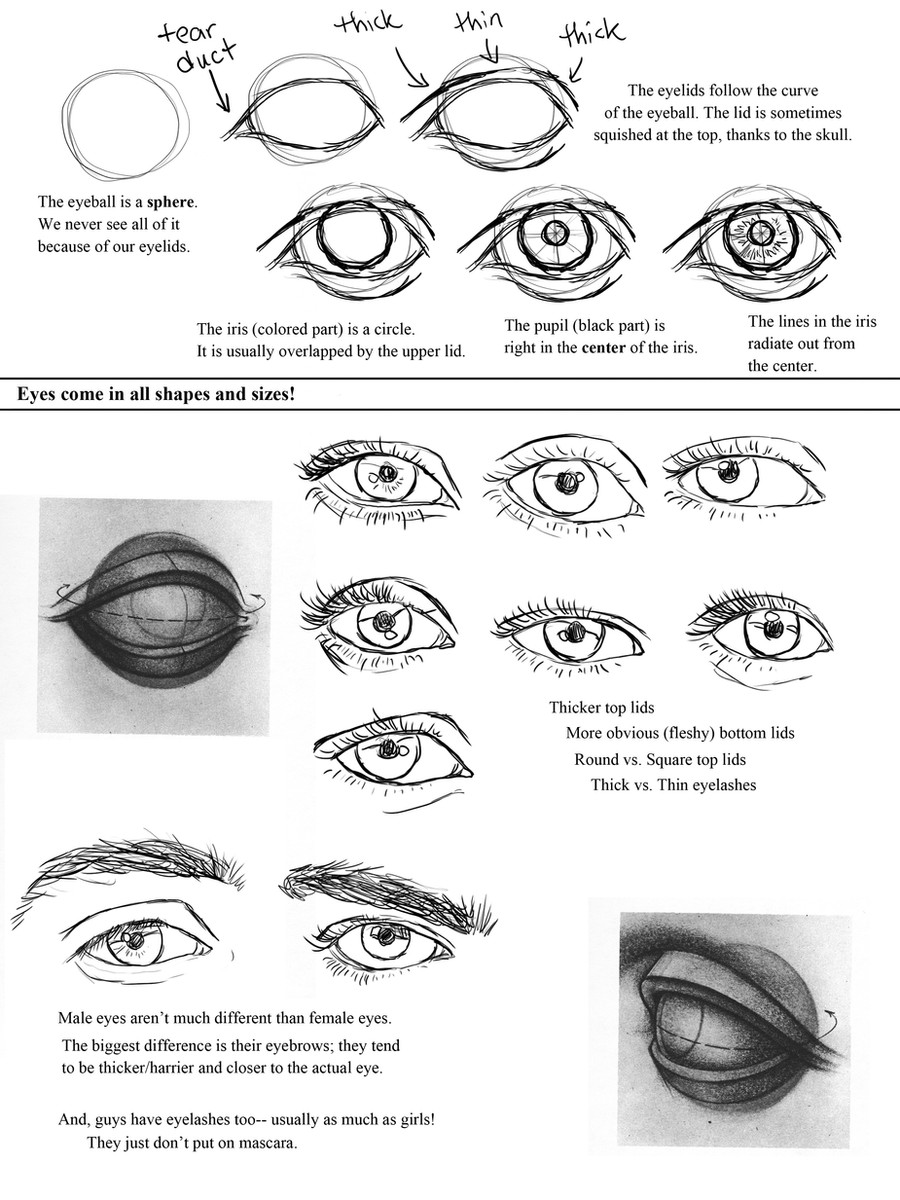
1 - This is the basic shape of the eye.
It can be diferente, it depends of what are you drawing and what style.
2 - The point inside of the eye is going to be the center of the circumference of the eyeball.
Figure 2:
1 - Remember that the eyeball is a perfect circumference. You can use a compass to draw it to help you in the drawing ( process ).
Figure 3:
1 - Now you can start drawing the iris.
If your eye is quite opened, draw it right in the middle of the eyeball.
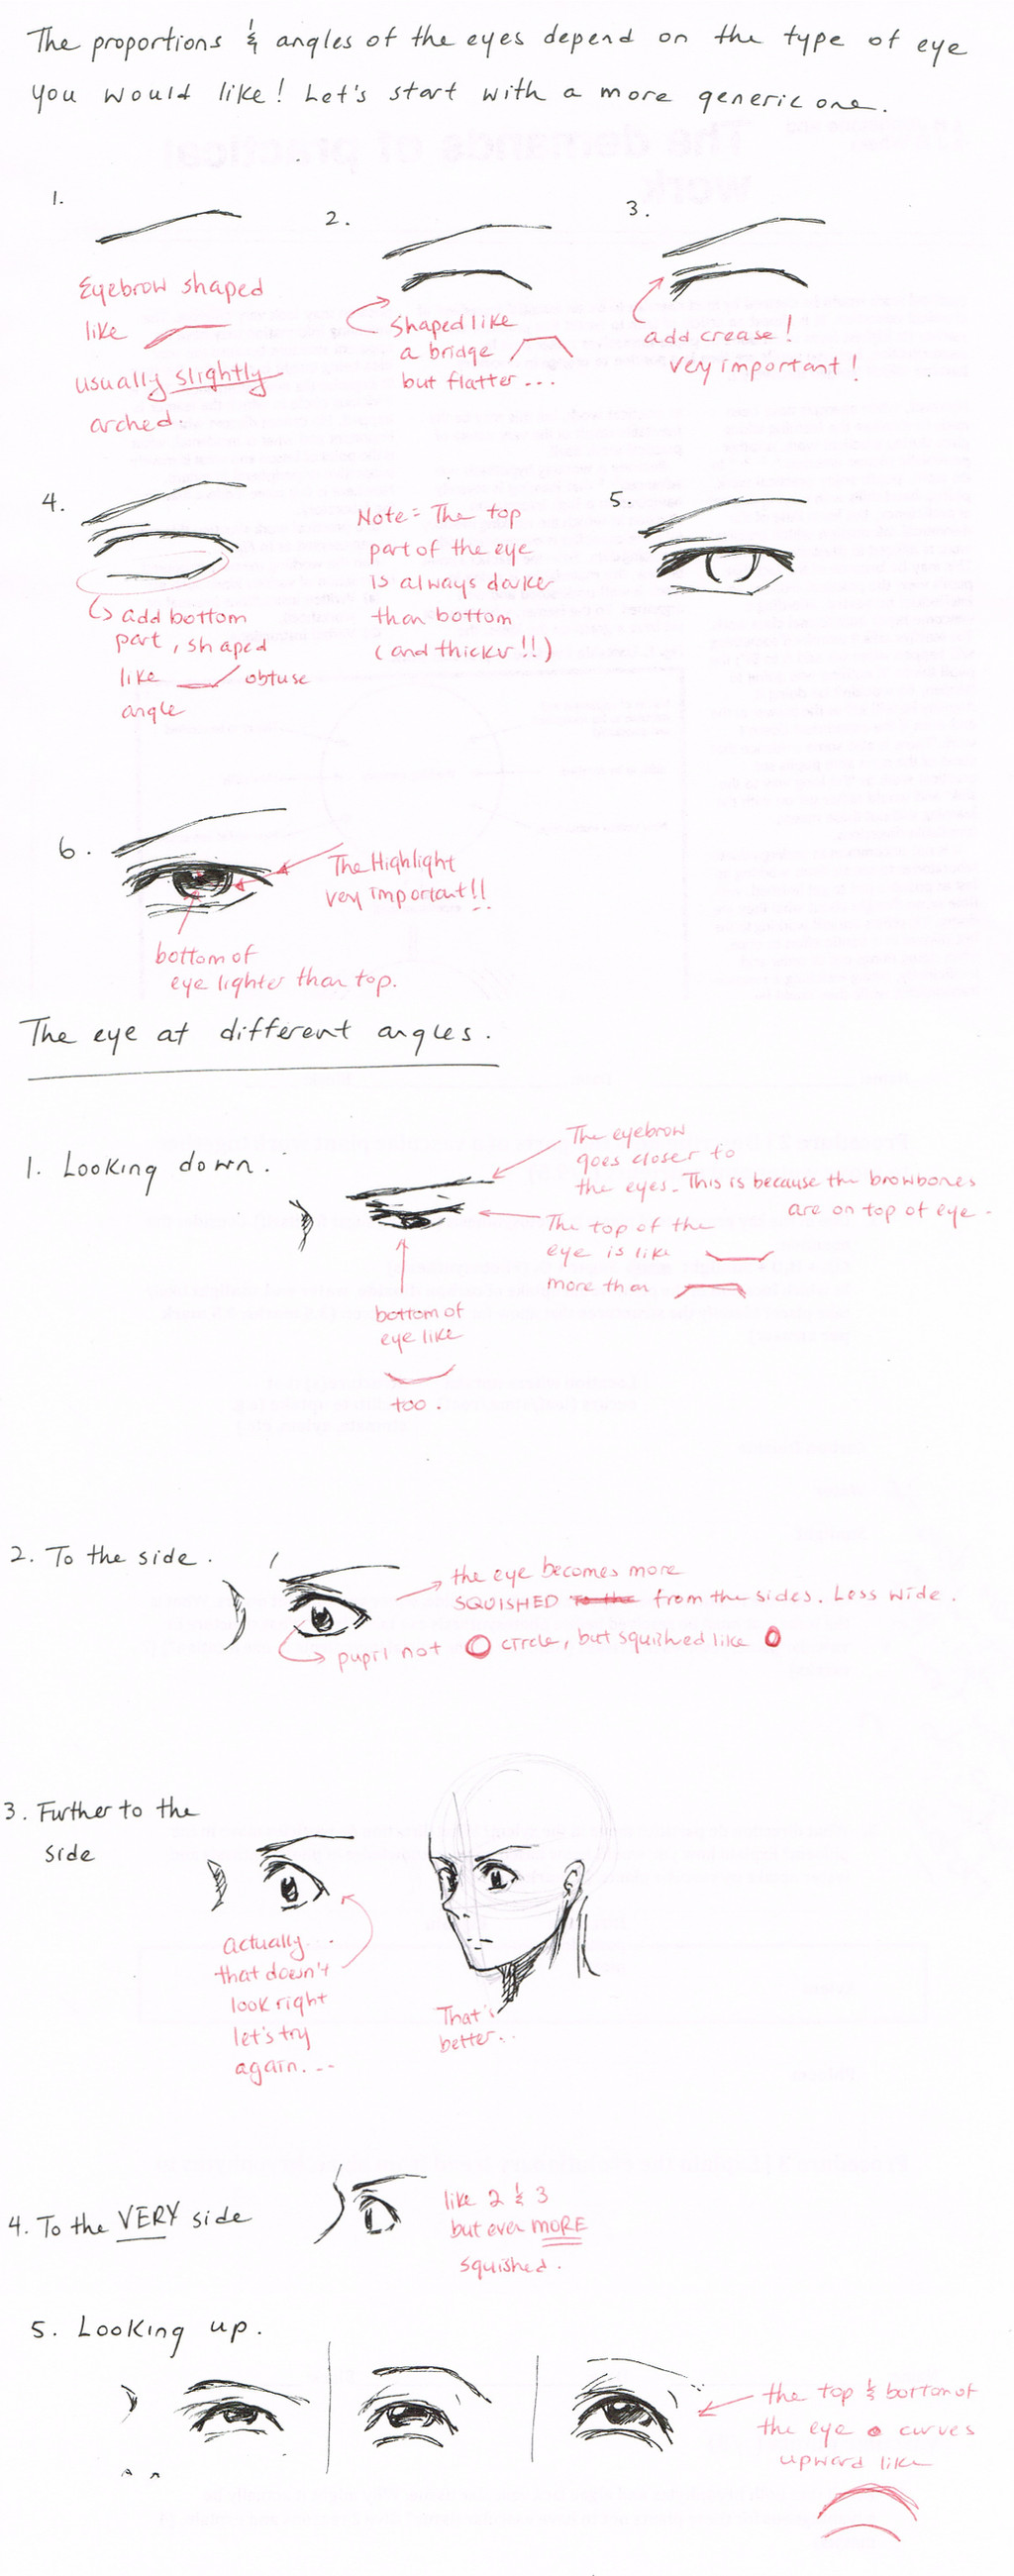
2 - You should add some brightness in your eye and it usually is above the pupil. Forward you will draw the eyelashes reflections.
Figure 4:
1 - Now you can add the eyelashes and the outside of the eye shape is done withou shadows.
2 - You can now start drawing the iris, adding all the details.
You can also use a darker ( and softer ) grafite, so it should look more realistic.
Figure 5:
1 - At this point you just need to ad some basic shades all over the eye.
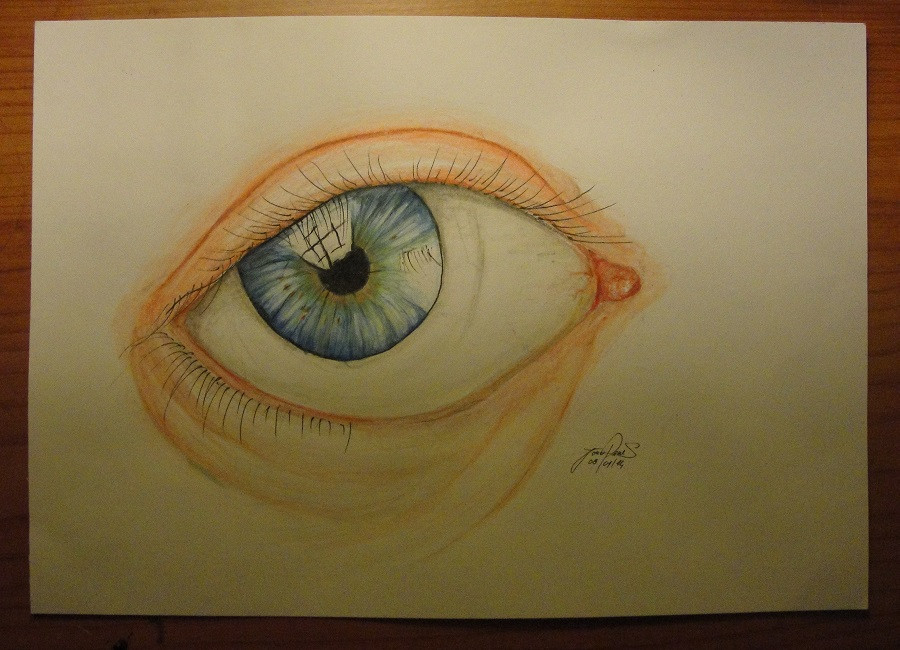
2 - Add shadows and brightness inside the iris very detailed to look even more realistic. ( Very detailed -------> Reaistic )
3 - If you want, you can draw some veins to make it look completely realistic.
Hope you find it helpful!
Yochan ( João Peres )