HOME | DD
 ZenithOmocha — Omocha's Advanced Sketch step by step
by-nc-nd
ZenithOmocha — Omocha's Advanced Sketch step by step
by-nc-nd

Published: 2014-07-26 17:00:01 +0000 UTC; Views: 74547; Favourites: 4229; Downloads: 0
Redirect to original
Description
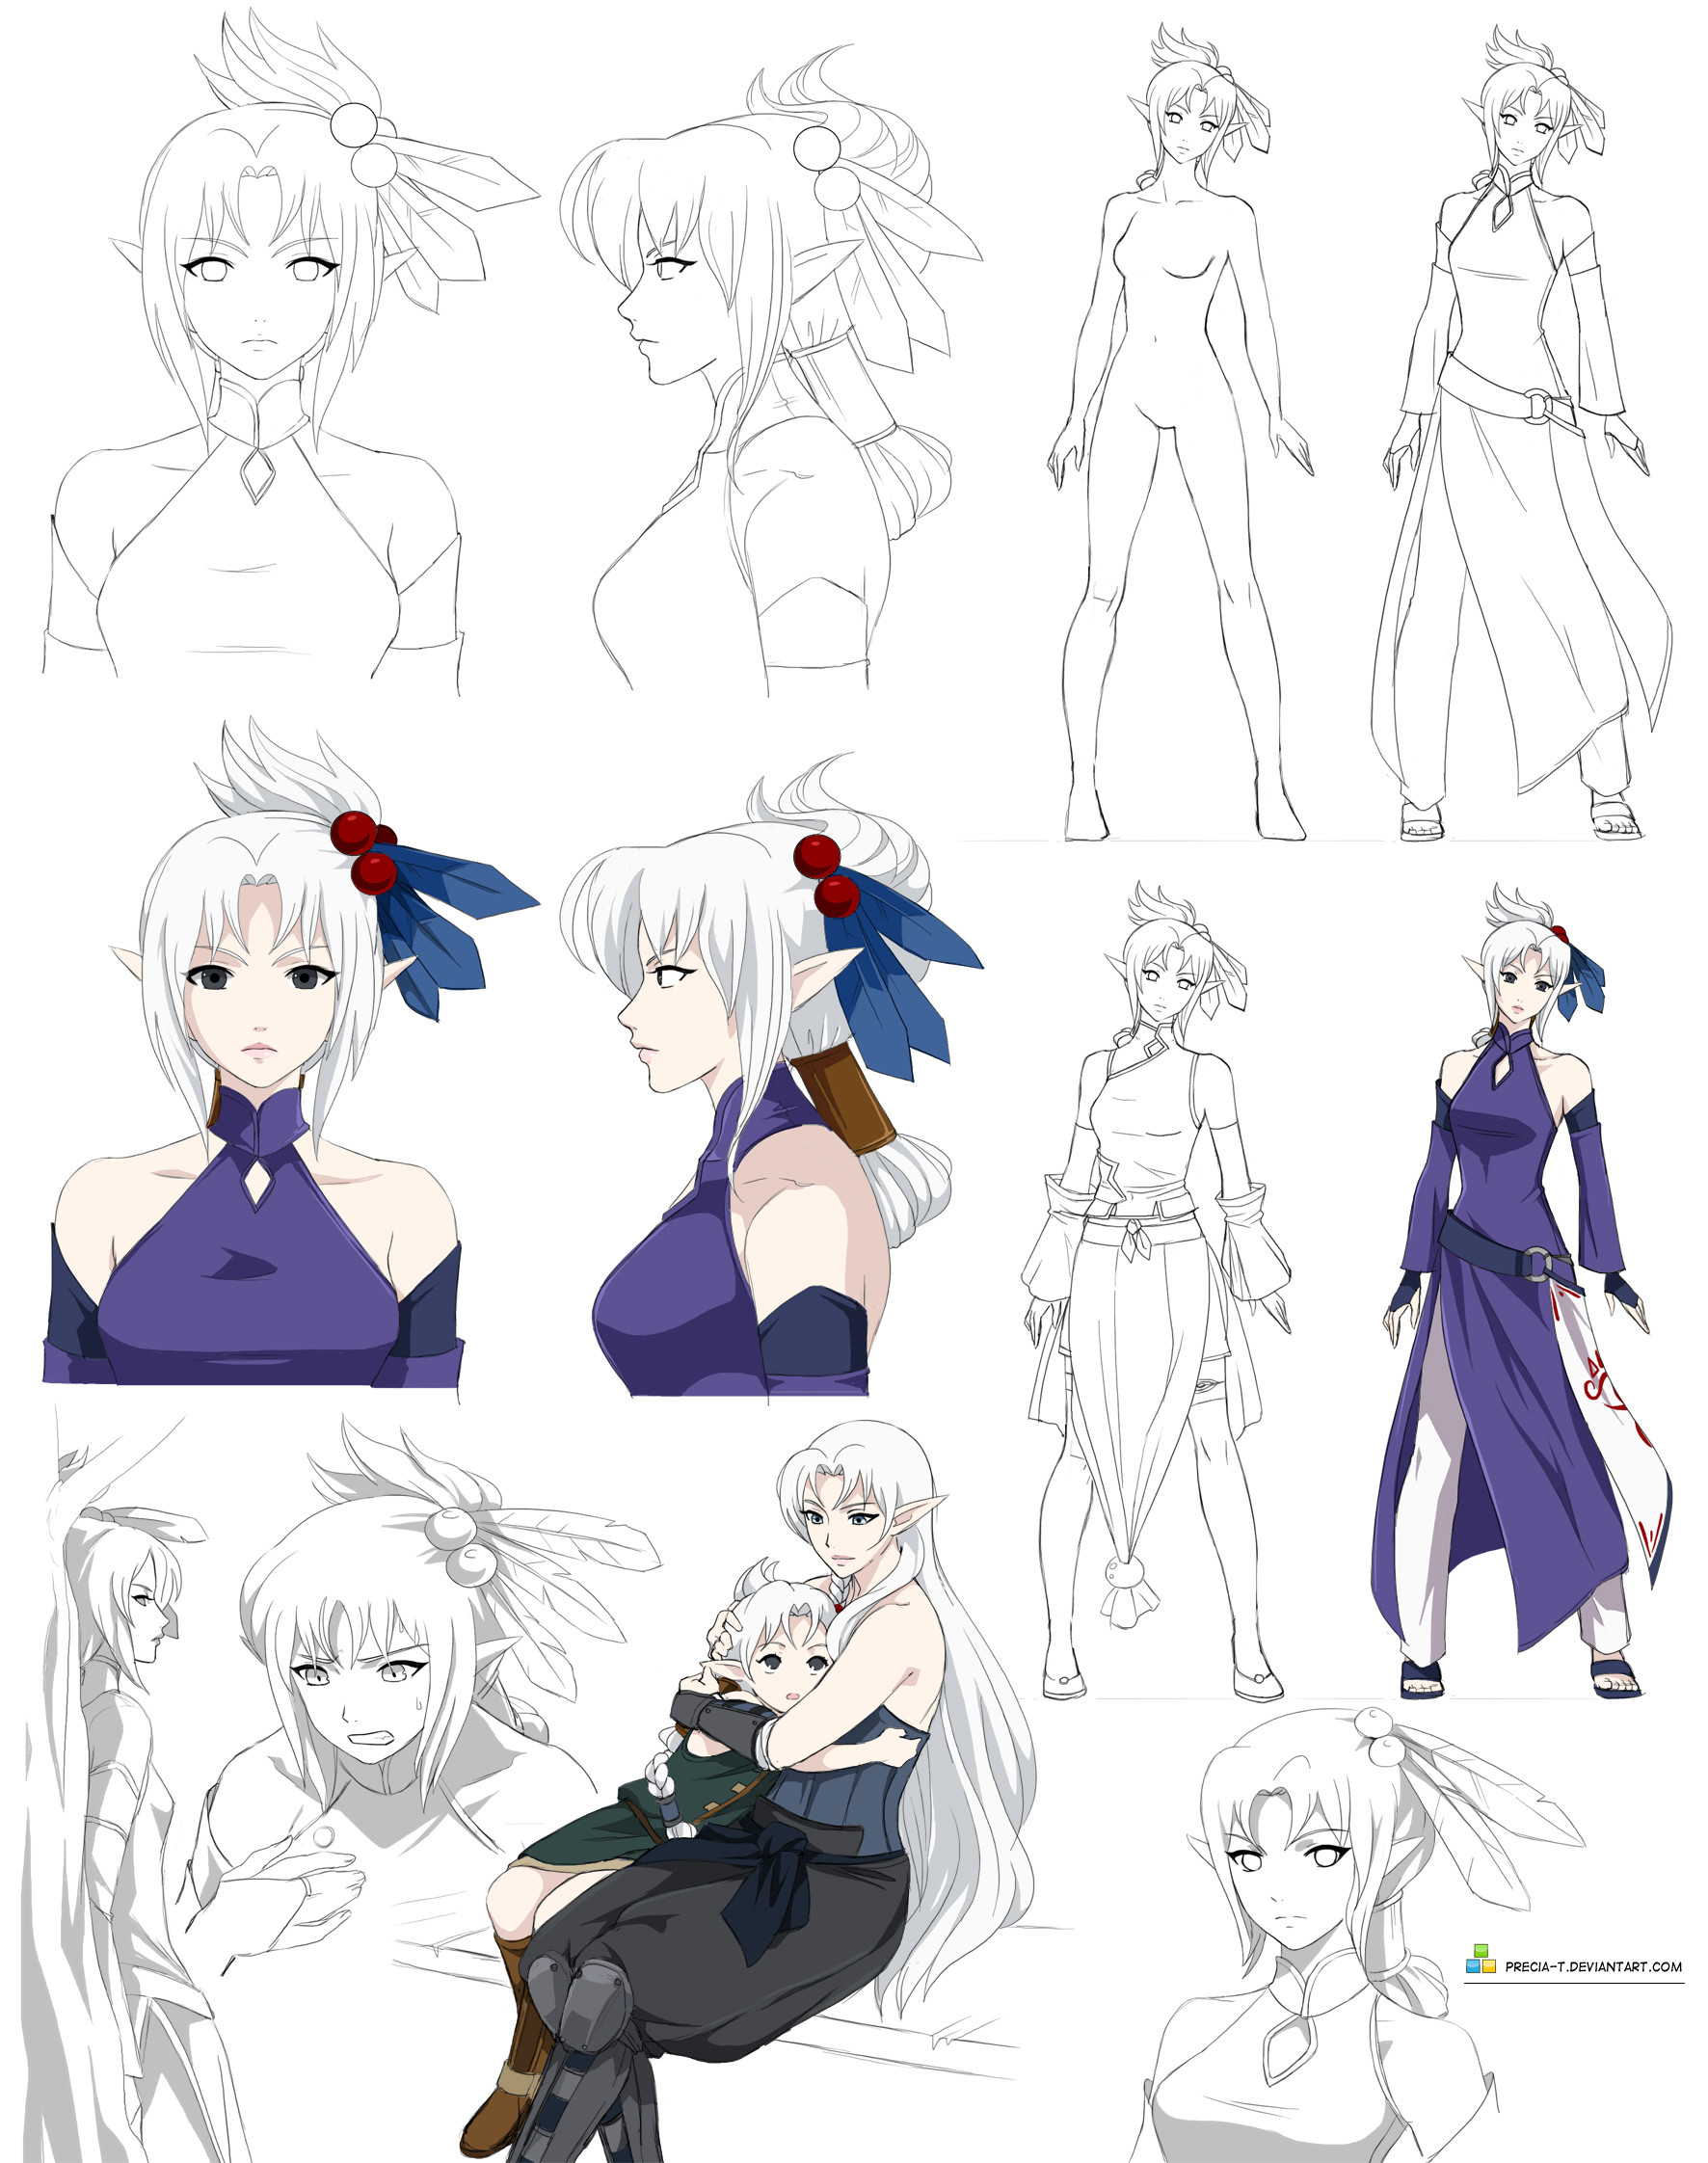
Here's a walkthrough of my Advanced sketch style.Finished picture:
You can find more arts of this style by me in this folder .
I hope this helps, and have fun experimenting with the style~ C:
Related content


Comments: 124


Aww I was amazed when I found out you had made a tutorial!! ")
Everytime I can I watch your livestreams and most of the things I've learned have been thanks to you. This tutorial is really helpful since in your livestreams is difficult to know all the details and is normal to miss things.. so I will be following your steps next time I draw  (Smile)")
Thank you for this and I'll be looking forward to more of your teachings haha. You're an amazing artist and an inspiration to me
👍: 0 ⏩: 0

This is awesome! I don't really draw but this is definitely going to help people.
👍: 0 ⏩: 0

This helps so much. I'll be sending you a shout out soon ^^
👍: 0 ⏩: 0

thank you. I think this is waaay too advanced for me so I'm saving it for future use.
👍: 0 ⏩: 0

wow you're really nice to do steps for people who are trying to learn how do it themselves and its a help to me as well since i'm still new at doing digital art.
👍: 0 ⏩: 0


Muchisimas gracias podre hacer mis dibujo TwT
👍: 0 ⏩: 0

Finally!!!! Yaaaaaaay! Thanks so much. ; w ;
👍: 0 ⏩: 0

When I get a tablet and a art progarm this will help me very much! thankies!
👍: 0 ⏩: 0

This might seem like a stupid question, but how do you do the sparklies? mine always look bad.
👍: 0 ⏩: 1

I use a sparkle brush in Photoshop. Of course I don't just dap the brush on. I vary the size, use more than 1 layer and erase here and there to make it looks more natural.
You can look up sparkle brushs on the internet/deviantart. There are many of them.
I hope this helps.
👍: 0 ⏩: 2

I have a question, after I apply the select tool and then invert it, when I fill it with any type of color all the outlines are covered by said color, even when I adjust the luminescence. Any help would be much appreciated.
👍: 0 ⏩: 1
Have you made a Color folder-layer below the Lineart layer and work on that layer? I'm quite sure if you follow the instruction carefully, that wouldn't happen.
👍: 0 ⏩: 1
oh sorry for the late reply, got it already
 (Wink)")
👍: 0 ⏩: 0


thank you so much for this! i've been looking for a tutorial like this for several weeks now
👍: 0 ⏩: 0

this is great! I'll definitely be using some of this next time I use PTSAI
👍: 0 ⏩: 0

Oh my gosh THANK YOU!!!! This tutorial is one of the most useful on deviantART in my opinion.
Your work is so beautiful as usual!
👍: 0 ⏩: 0


Wow, thank you very much! This is very detailed and nice, gonna try this out next time I draw!! 8D
👍: 0 ⏩: 0

It looks kind of glossy, like everything responds to light in a similar fashion to metal.
👍: 0 ⏩: 1

Yep, I agree with that
👍: 0 ⏩: 0


incredible!! this is super-mega-ultra-hiper-useful!! thank you so much!!!
👍: 0 ⏩: 0

Oh my gosh thank you very much!! I was looking for grayscale to color tutorial but I don't really understand most of them, but I think I grasp the concept a little when I read your tutorial. Gonna try it soon!
👍: 0 ⏩: 0

THANK YOU SO SO SO SO SO SO SO SO SO MUCH FOR THIS. Words cannot describe how appreciative I am for this.
👍: 0 ⏩: 0


I still can't believe you call these sketches. They're amazing. Thank you for the tutorial, I need so much improvement. ;-;. All your artwork that I have seen is just lovely.
👍: 0 ⏩: 0

Thanks! This helps a lot! Look, i even tried it myself! *shows you a horrifically bad drawing of what should be a guy with a gun but is a clustercrouton of scribbles and torn paper*
Isn't it beautiful?
👍: 0 ⏩: 0


Very helpful walkthrough.
Thank you for taking your time to make this. ^^
👍: 0 ⏩: 0


i can't find the layer clip option in step 3 
👍: 0 ⏩: 2
The 1st steps can actually be done in Photoshop as well. I just don't use Photoshop because the tools in SAI helps making the lines and blending smoother.
However, your question actually is answered in this tutorial - Step 4: To make a clipping layer in PS, simply right click on it and choose Create a Clipping Mask.
👍: 0 ⏩: 1
at least there is hope for me
👍: 0 ⏩: 1

That part's still in Sai. The jump to photoshop isn't until further on.
👍: 0 ⏩: 1
ohh ok i dont have Sai ")
👍: 0 ⏩: 1

The layer clip option for SAI has an equivalent in Photoshop CS3. [This will help you a lot
1. Find your "Shading Layer" and place it above your "Base." Now hold Alt + left click the dividing line above your "Base" folder. (There should be some strange arrow pointing down to your "Base" layer.) Now you have a Clipping Mask.
2. If that doesn't work right click your shading layer then find and click clipping mask.
If none of the above work - you should look up clipping mask tutorials for your version of Photoshop. I'm pretty sure that's available on CS3.
👍: 0 ⏩: 1
| Next =>