HOME | DD
 AnimeStrife009 — KH3 Keyblade (+ method)
#soracosplay #cosplay #keyblade #kingdomhearts #kingdomheartssora #tutorial #kingdomhearts3
Published: 2019-07-29 23:29:48 +0000 UTC; Views: 848; Favourites: 26; Downloads: 0
Redirect to original
Description
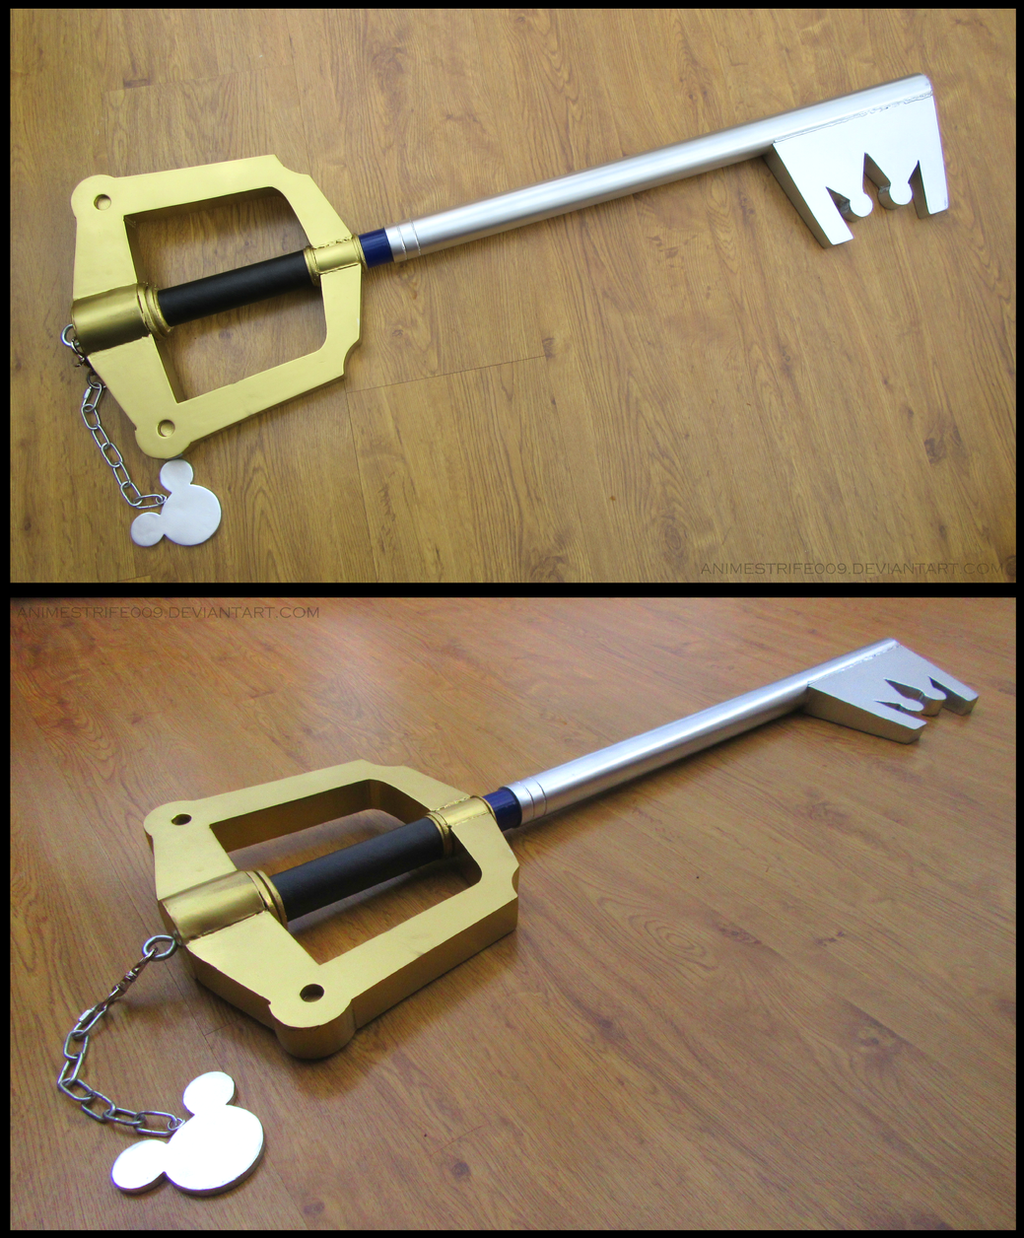
My Kingdom Key keyblade prop for my KH3 Sora cosplay. (It's just a slightly more detailed version of the original, so feel free to use it for past game cosplays.)
Imma post how I made it for any folks who want a basic idea of how to make one for themselves.
Materials used:
1 1/2 inch plastic pipe (inner diameter)
1 1/4 inch plastic pipe (inner diameter)
PVC pipe weld
Contact adhesive
Super glue
1cm thick 100kg density EVA foam
1cm thick 65kg density EVA foam
Craft foam
Wood
Glue gun
6 link chain & 1 quick link
Large screw eye
Large lobster clasp
Mod Podge matte
Wet & dry sandpaper
Plastic primer
Chrome spray paint
Brass spray paint
Acrylic paint
Clear gloss spray paint
Black faux leather/vinyl
Method:
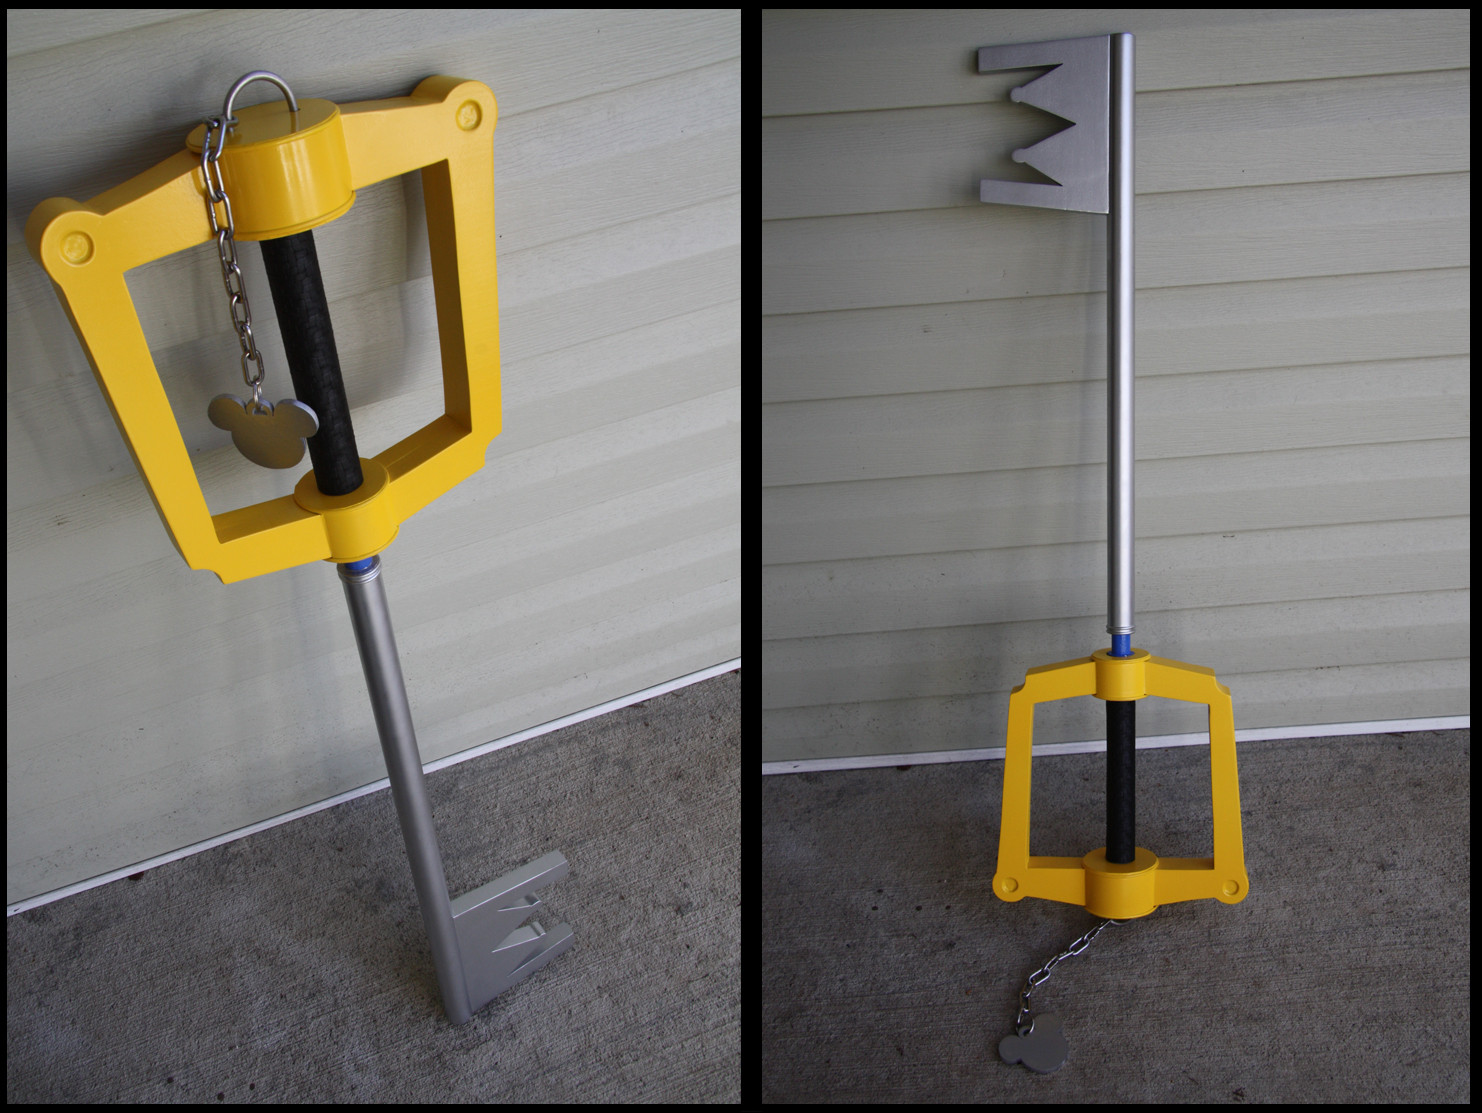
I downloaded some templates of the key bit, bow/hand guard and Mickey head keychain and edited them more precisely. I followed this blueprint for sizing. (It is quite long, I recommend to anyone under 5'9" to think about equally shrinking the whole thing to better suit your height. As a 5'10" person I certainly wouldn't want it any longer.)
The blade and handle are PVC pipes. The 1 1/4" pipe slid snuggly into the 1 1/2" pipe and both were glued with PVC pipe weld. To reduce weight but keep sturdiness, there is only around half a foot of smaller pipe inside the big one. There are also two cuts of 1.5" pipe at each end of the hand guard (the one at the end has 65kg density EVA foam around it to bulk it up).
The two notches at the end of the blade were originally just made with a pocket knife, but I later obtained a Dremel multitool and recut them with that.
The key bit and hand guard parts were made from 3 pieces of 100kg density, 1cm EVA foam glued together with contact adhesive and cut on my dad's band saw, then sanded with a sanding machine.
I took a scrap of 1.5" pipe, wrapped some sandpaper around it and hand sanded a deep curve into the top of the key bit and ends of the hand guard before gluing both to the pipe with contact adhesive. The details around the hand guard are made from simple craft foam.
I put some hot melt glue along the edges of where the foam meets the pipe to give a 'welded' effect.
I cut two pieces off the end of a thick wooden shaft and with the help of my dad and his lathe, trimmed down their diameters to perfectly fit each open end of pipe. I then glued craft foam onto each end and screwed a large screw eye through the bottom into the wood.
Before painting I primed the pipe and sealed the foam. The foam was originally covered with Plastidip and the whole prop was then painted, which didn't turn out well and made the foam incredibly rough looking and obvious, perhaps because I didn't apply enough Plastidip, (however it was far too expensive to buy and deliver to my area.)
So I then sanded the whole thing down and covered it in 8 light coats of matte Mod Podge, which I then wet sanded with P400 grit and P1200 grit sandpaper (which made it very smooth, I highly recommend it for inflexible props). It was then painted again.
The Micky head keychain is 65kg density EVA foam, again sealed with Plastidip but later covered and wet sanded with Mod Podge. I attached the chain with a loop of wire shoved down into the foam and glued with contact adhesive and super glue. Then painted.
The blue part was simply painted with a mix of blue acrylic paints and sprayed with clear gloss spray paint to make it shine.
The handle grip is black faux leather glued onto the pipe.
NOTES:
My original plan was to make the key bit and hand guard out of foam board like some other folks, however one tap from something means a permanent dent, so I just went with EVA foam.
I acknowledge that not many people are blessed with the availability of equipment such as band saws and sanders, so the only other method of cutting the foam I can suggest would be to cut each layer with a utility knife or craft knife, glue them and sand the sides by hand.
Related content


Comments: 4

This looks amazing! You did a really awesome job! OwO
👍: 0 ⏩: 0

Wow! Great job on this, it looks well made!
👍: 0 ⏩: 1

Thanks a lot!
 (Smile)")
👍: 0 ⏩: 0
