HOME | DD
 billygoatsgruff — How I do Linezzzzzz

Published: 2012-12-15 03:19:37 +0000 UTC; Views: 983; Favourites: 25; Downloads: 4
Redirect to original
Description
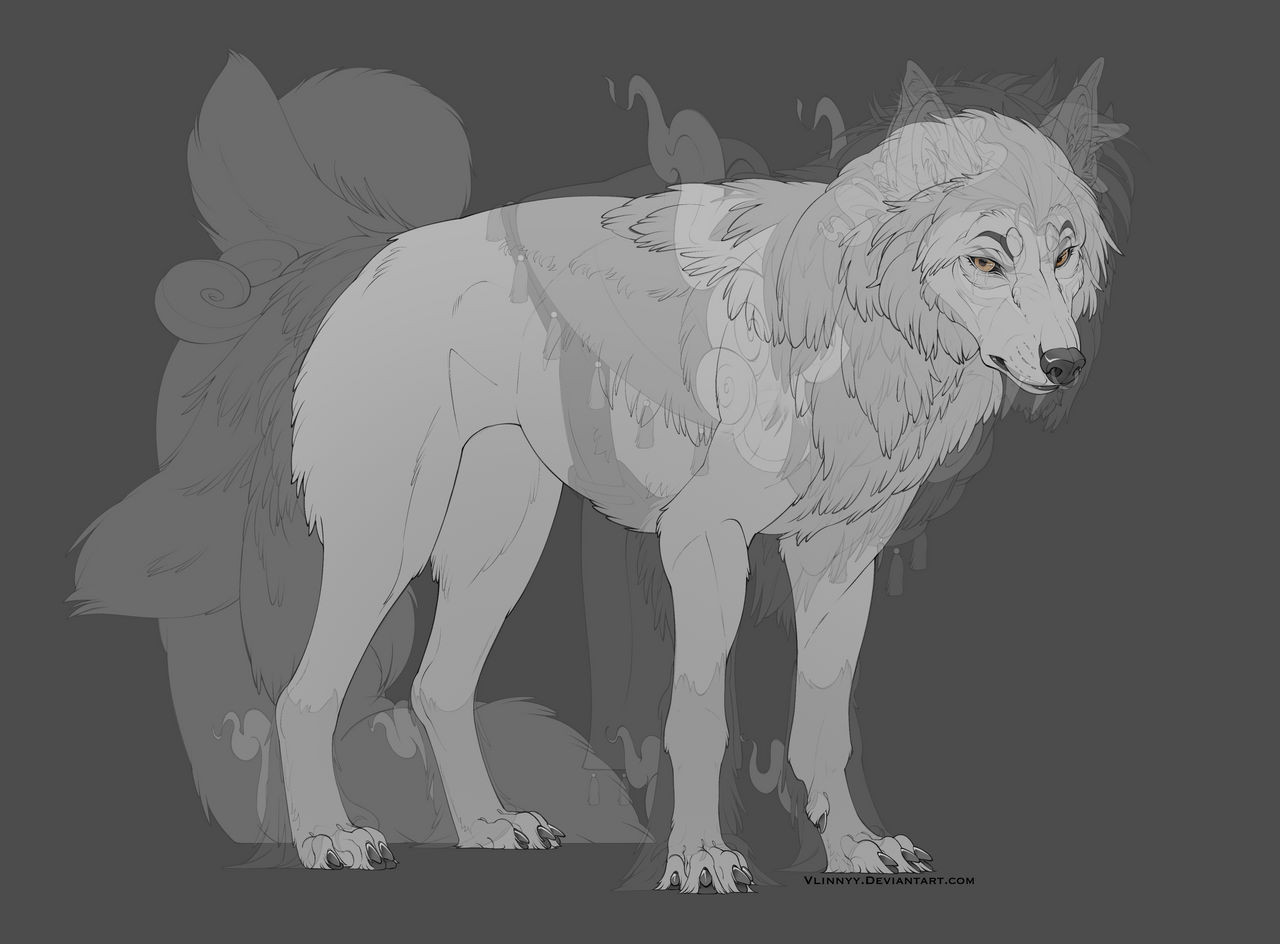
Here is how I do my lineart! I like using green lines (or any other neutral colour for that matter, I just use green alot because I'm lazy lol) because its alot softer and more natural looking then flat black (true "black" doesn't exist in nature) and I also find its hard to pick up on the pen pressure visually with black as its really harsh looking. Green (to me at least) is alot softer and I can "feel" the pressure visually like I would be able to doing traditional art with a pencil.anyways! onto the steps:
step one
Lineart! I use green. You really can use whatever colour you want lol. I use the water tool in SAI so my lines aren't solid for the most part, it doesn't matter though because you fix the problem later on
 (Smile)") When you are done set the layer to multiply and then create a new layer for colour underneath it.
When you are done set the layer to multiply and then create a new layer for colour underneath it.step two
On your new layer do a shitty base colour, I do red because its easy for me to see under the green. I don't have to strain to pick up on the lines or what parts I've missed. You do not need to fill in everything, you just need to hit all of the edges like I did in the example. Make sure this layer is absolutely solid! no iffy spots. Copy and flatten this layer to make sure it is solid if you need to. I always use the pen tool to do this layer; when I do hair I do the main body in pen then I do the whispy strands with the water tool. For hair and the like double up the layer and then make the top one around 50% and flatten it, so its solid enough on the whispy parts.
step three
Now go back to the lineart layer and duplicate it, make sure to turn it off multiply and then merge it with your base colour layer. This will fill out the edges of the lines so you have one solid layer of colour. Lock the layer opacity once its merged and then fill the layer with the shitty base colour you picked.
step four
Now you can begin going about the colouring business as normal. I tend to put my stuff into folders to keep it organized.
step five
When you are finished doing the colours and all that jazz duplicate everything (that is why folders are nice, you just have to CTRL F and its all nice and neat on one layer) and then move that layer ontop of your lineart layer. Turn on the layer clip and set the layer opacity to around 50% or whatever looks best. Now flatten that layer with your lineart layer and voila! You have snazzy looking lines to go with that snazzy colour job
")
This is just the general quick and easy way to do lines, I will play around with stuff if need be, generally when it comes to lighter coloured things, etc.
Anyways! I hope this was informative ^-^ Enjoy!
Related content


Comments: 13

omg, I finally figured this out and it works beautifully. Thank you so much for the tut. hun :3
👍: 0 ⏩: 1


Okay, but when I use white or really light colors, I can see the blue or green lineart. WHAT DO I DO NAOW!? C;
👍: 0 ⏩: 1

Umm idk, ive never had the issue. You can just change the lineart colour till it works
👍: 0 ⏩: 1
YOU SHOULD CHECK IT OUT BECAUSE IT'S ANNOYING AS CRAP. xD and I love horses with alot of white.... xD
👍: 0 ⏩: 1
lol well when I do white markings I never have an issue *shrug* thats why im confused too lol
👍: 0 ⏩: 1
cx next time I do a drawing with a white-ish horse Ill try to catch you and you can Join.Me
👍: 0 ⏩: 1
later today I can see about it.
👍: 0 ⏩: 1
