HOME | DD
 Catigma — Poseable doll tutorial: Pt 1

Published: 2011-11-03 00:12:46 +0000 UTC; Views: 48591; Favourites: 839; Downloads: 287
Redirect to original
Description
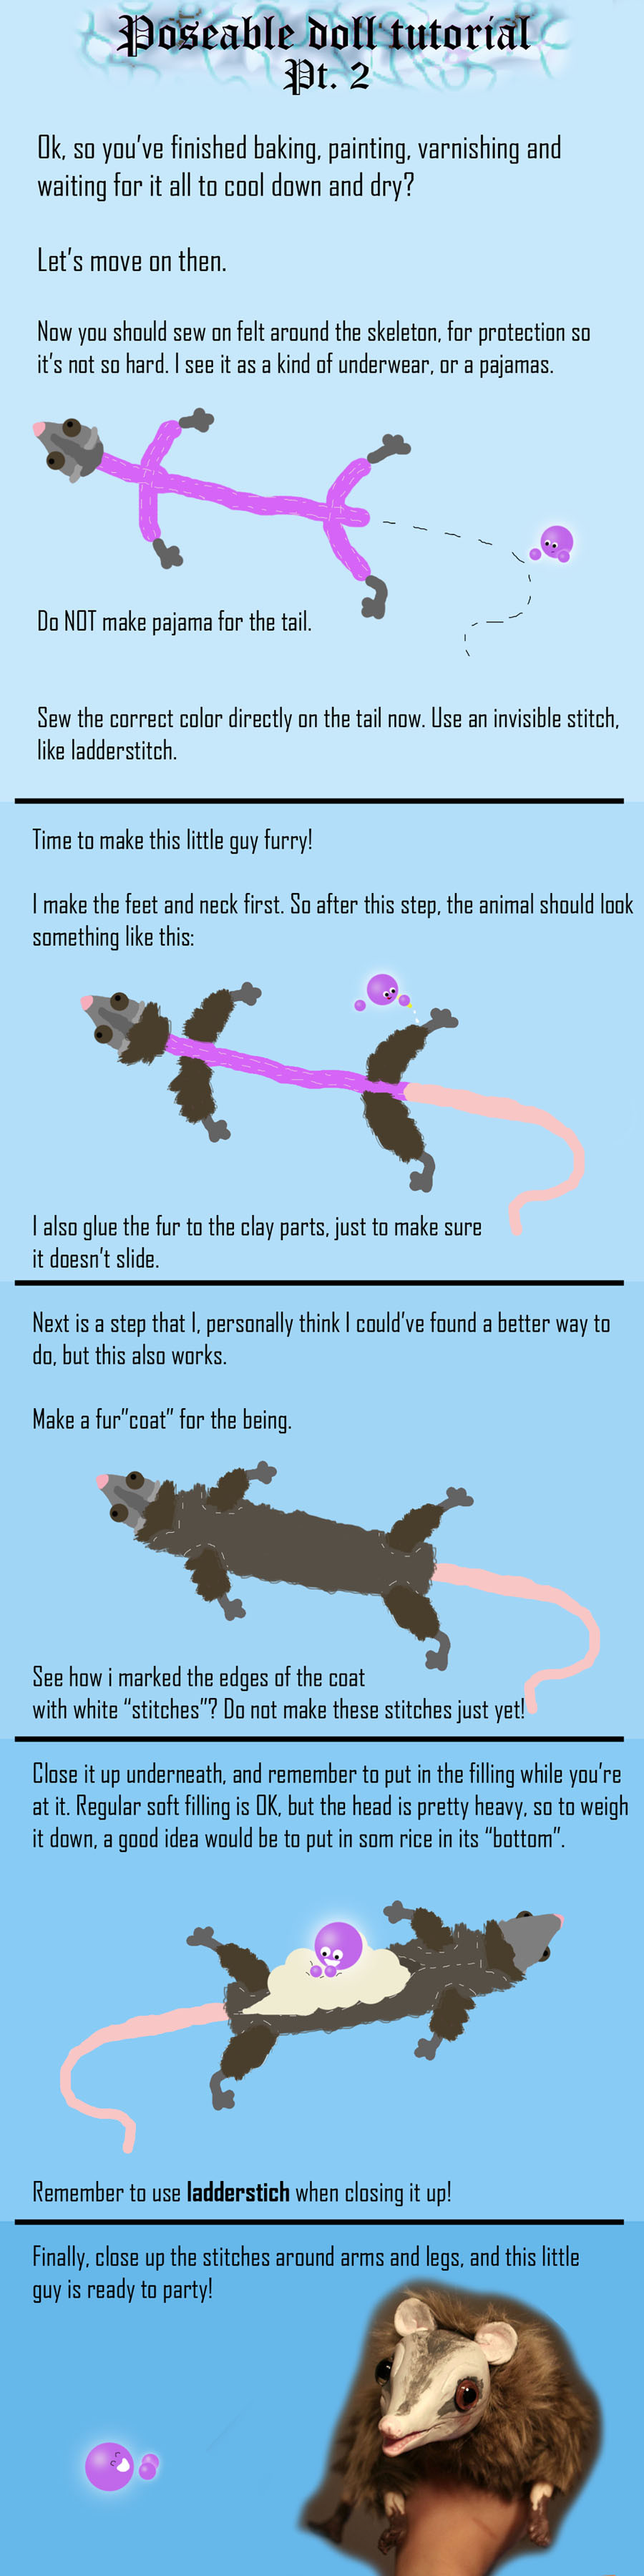
I've gotten quite the amount of questions on how to make a poseable doll in the clay/fur combination. It seems people like to keep this a secret, as I was looking for answers to this myself before i figured it out on my own.Well, if you have some experience with claying/sewing, it's really not that hard. It just requires time, effort and patience.
When I first wanted to make this, I had to look quite hard to get the materials I needed, as in the fake fur. In a fabricstore, the fake furs was really, REALLY expensive, so i got the tip to go and buy a furry blanket. And so I did, worked out just fine
")
In the tutorial I've mentioned the ladder stitch. It is quite important to know some kind of invisible stitch, to make this look good, so here's a youtube video I found that shows well how to do the ladderstitch. .
This might not be the best tutorial in the world, seen as it is drawn loosly in PS, but I hope it can be helpful at some level
 (Smile)")
Part two can be found here:
Related content


Comments: 78

Great tutorial, one remark: when using different kinds of clay, especially with smaller parts, make sure to know how moist the clay is, some need to dry up to a week before baking because the water inside can cause cracks or even make the entire thing explode.
👍: 0 ⏩: 1

Thanks
👍: 0 ⏩: 1
I looked it up, down here in the netherlands we usually use natural clay or clay based off of that while I think Fimo is a polymer clay. There's a good possibility that polymer clay reacts differently and therefore doesn't crack.^^
👍: 0 ⏩: 1
Ok, yeah, that's a difference I should've put up there! Guess polymerclay is a bit different!
👍: 0 ⏩: 0

Why do you take the head off for baking? I have found looping the wires and folding the tin foil through the loops and sculpting over that easiest and sturdiest in the long run, i use super sculpy though so not sure of the difference with fimo. :3
👍: 0 ⏩: 1
Because otherwise one part or another will be laying in the wrong position inside the oven, and result in ears, nose og something else crooked 
👍: 0 ⏩: 1
I see. I normally fabric glue fur to the back of the head so I use that part ^_^
👍: 0 ⏩: 0

Thanks for this tutorial! I was looking for one so hard and now I found it!!
I don't want learning to do those amazing dolls to earn money (i'm too bad with clay and sewing -_-''), but just for fun and for having little creatures with me 
Thank you so much again for this tutorial, I hope to show you how it will come out.

👍: 0 ⏩: 1
You are very welcome, I'm glad to help
Yes, that kind of dolls are awsome. I can't get myself to sell mine
Yay, looking forward to seeing it

👍: 0 ⏩: 0

what i dont understand is how you sew or glue or whatever you do on the fur or material parts to the clay parts. the rest makes total sense to me.
👍: 0 ⏩: 1
Yeah, i actually just glue the fur parts to the clay parts with really strong, fastdrying glue
👍: 0 ⏩: 1
ok cool. i didnt see the part two to your tutorial till just a moment ago.
thanks though!
it's odd everyone loves to keep the 'how to' on how to makes these a deep secret. so thank you very much<3
👍: 0 ⏩: 1
Ah, ok, good you found it
Haha, i know! I don't understand why it should be such a big secret. Maybe some people don't like that i made a tut on it, but i just can't understand why not
")
👍: 0 ⏩: 1
i think alot of them dont like it b/c if it becomes a popular thing and alot of people get into it they'll have commission competition. on the search for explanation i found that there was this one woman, i assume, who did have a tutorial but took it down b/c she was starting to suffer a little financially and wanted to start her own small business via these poseable dolls. so i imagine that's basically why.
it sucks for people like me who really are only interested in it for personal interest and inspiration. although there is a point that what would i do with all the dolls i make.
👍: 0 ⏩: 1
Yeah, i thought of the same. Still think it's a shame keeping it secret. Everyone has thir own style anyways. For example, i love my dolls, but i would still like to buy a doll or two from some of my favourite dollmakers 
I've reached that point, and it sucks, because I don't want to sell any of them, but in the end, thats better than just storeing them away
👍: 0 ⏩: 0

Thankyou so much for making this tut. I can't wait to have a go at making one of these!
One question: Just searching online, do I need 'oven hardening clay' ? [link]
👍: 0 ⏩: 1
You are very welcome
What kind of clay you use is entirelly up to you 
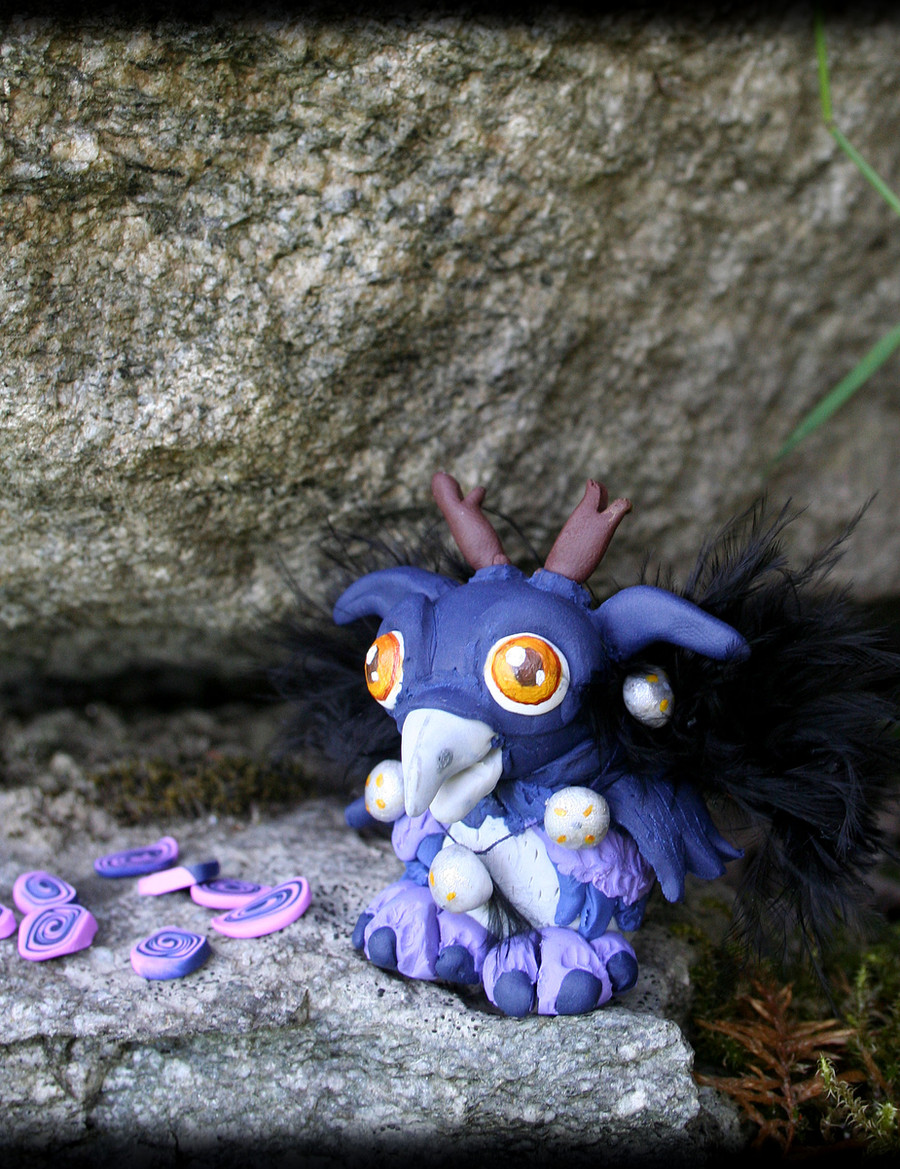
Here's the head I made from airdrying clay [link]
I have'nt finished this doll yet though, but it's coming nicely along
👍: 0 ⏩: 1
Ah okay. Thanks (: I am going to try out FIMO, first. I'll be sure to show you how it turns out! Might be a few weeks before I even start it though teehee.
I'll probably start with a simple critter, something small. Not too sure what. The actual thing that worries me the most is the head and feet... I'm terrible at mooring clay XD I like how you've made yours though. Especially the possum's ^^ it looks really nice and smooth...
Oh yes, another thing. I'm guessing the clay head is really heavy? Is there any way to weigh down the body or something, so that it won't tilt due to the head weighing everything down?
Thanks
👍: 0 ⏩: 1
Yes, starting simple is a good idea, to get practice
Yes, I've had that propblem myself, so i fill the dolls with rice, works as a charm
You are very welcome

👍: 0 ⏩: 0

last question  (Wink)")
👍: 0 ⏩: 1
No problem
Products with varnish also lasts better
👍: 0 ⏩: 1
easy to understand tutorial , I think I will try :3 I just wounder how to put head after is baked onto a skeleton...
👍: 0 ⏩: 1
I'm glad you find it understandable!
I guess you can bake the whole thing also, with feet and head on the skeleton, but personally i find it hard to keep all the parts looking pretty while fiddling with other parts.
👍: 0 ⏩: 1

this is cool! Ive always wanted to make this sort of poseable creation and now I can
👍: 0 ⏩: 1
Yay! Glad to hear i could help
👍: 0 ⏩: 0
<= Prev |