HOME | DD
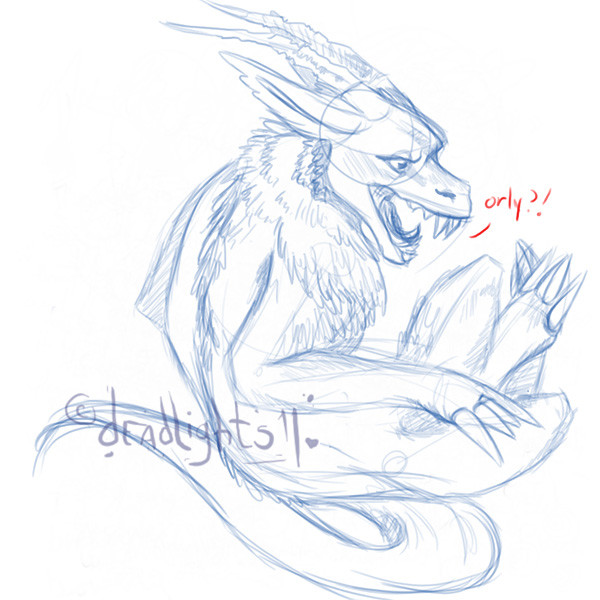
 deadlights11 — Traditional Fur Tutorial

Published: 2005-03-08 22:56:35 +0000 UTC; Views: 29579; Favourites: 442; Downloads: 1829
Redirect to original
Description
[EDIT] A link to my "How to draw a wolf" tutorial can be found here: [link]Anywho, more details:
Step One:
This is the most important stage, because you have to make sure your wolf is in the position you like. It's the basic structure for the pelt to sit on, and the way the muscles curve will determine the way your hair moves. Since this isn't a tutorial on how to draw wolf bodies, i won't go into detail here.
Step Two:
Personally, I like to draw little arrows, very lightly with my pencil, to make sure i remember which direction the hair travels when I start murdering the picture, lol. Not everyone does it, it's not necessary, but it does help to keep the realism. I know that sometimes when I'm drawing for a long time, I get so absorbed that I screw up and have to throw it out. This.. it's just so you don't have to take ant breaks and sit back. Lol. Like that helps you!
Step Three:
In order to make sure that the "undercoating" is nice and even, i shade it all in equally so that there's no white (unless I want white to be there). You'll notice on the chest and legs, I've left it white, and especially on the chest, I've drawn darker lines. It looks sloppy now, but it should play itself out and become good in the end.
Take note that I have started drawing my lines in, there's more details along the back of the wolf and his haunches. Try to go over your outlines with a shaggier touch.
Step Four:
Work from the neck down to the rump and tail (I have a hard time doing this because i'm left handed >_< ). Notice that the neck looks more complete compared to the haunches etc. Work with the direction of the pelt, even if it means you have to turn your paper sideways. It's all about staying in the same direction. Sometimes, i like to make flowy-looking V's** that are close together, and then blend them. Don't worry about fine details at this point - the hair will look better after you have the foundation down and can go over it with a darker lead.
** The V's can best be seen on the stomach at this point.
Step Five:
Working down to the stomach and hind area, you should make the strokes of your pencil less controlled. I like the pelt to look a little rough here, a little messy. You can make it look cleaner by following the steps of the neck and chest (blending by using different pressures of the lead). In order to get the "bunched" look, where the hair looks a little clump, I draw little combined W's (Look to the step #4 image ref) and build from there, starting light and moving to darker, more random lines. The easiest thing to remember is that I'm drawing ever single line separately, so.. if you don't think you have the patience for it, don't even both trying ^__^. Once you get the hang of it, you'll see it won't take you more than an hour to finish a full textured pelt.
Step Six:
This step is all about clean-up. Look over your drawing and, using a darker lead, add in a few lines where you think it'd look good. Maybe shadow along the belly to give it a rounded look. But remember!! You must not "shade" it, do it using individual strokes of the pencil! If you just simply "shade it", then you'll lose the nice textures you've worked so hard to get!! A waste of time.
I such at "short hair" textures, so i cheat and just cross-hatch. After i get a nice hatched look, i just go over with my pencil with short, controlled flicks of the pencil tip and leave it at that.
I hope this helps some people out there!! And i hope you like it Kate. I'm sorry it took me so damn long... I just can't put it all together on my computer downstairs (which is the one with the scanner). So, Here it is!
Related content


Comments: 93


awesome!
i was always looking a traditional way to colour the wolf fur ^^
i love the fur where the chest is the most its awesome.
👍: 0 ⏩: 0

Heeeey, I remember finding this tutorial last year on google. Great job by the way. It actually helped me with the assignment I needed it for.
👍: 0 ⏩: 0


Ah So that's how its done. Thanks! But the same applies for colour right?
👍: 0 ⏩: 1

i love this it helped me so much ty
awsome artwork btw
👍: 0 ⏩: 1

Thanks so much
👍: 0 ⏩: 1
your welcome
X )
👍: 0 ⏩: 0

Awesome Tutorial! too bad even though I try I still cant seem to get the feeling, but dude that's awesome!
👍: 0 ⏩: 0


thank you so much for the tutorial!
It really helped me out!
👍: 0 ⏩: 0

Hey, I found this very very useful, thanks for uploading it! (Posted 3 years ago, I'm a bit late ")
Awesome gallery too!
👍: 0 ⏩: 1
glad it helps you
👍: 0 ⏩: 0
Yeah
i used the same technique here:
[link]
[link]
 (Smile)")
👍: 0 ⏩: 1

Ok. Thanks. Nice pictures btw.
👍: 0 ⏩: 0


That's really good, the fur effect really looks convincing. I will try to use this technique next time I shade fur, thanks for this wonderful tutorial. ^^
👍: 0 ⏩: 1
Thanks ")
👍: 0 ⏩: 0


Thanks for this wonderful and simple tutorial! It helped me a lot with wolf anatomy (hey I still gotta get to the fur).. :3
👍: 0 ⏩: 1

👍: 0 ⏩: 0

wonderful i will use this once i am better at drawing animals thanks sssooooooo much this tutorial is amazing!
👍: 0 ⏩: 1


👍: 0 ⏩: 1
no problem i'll make sure i send you it but i bet it won't be very good.
👍: 0 ⏩: 0


im probably a bit late but memh gr8 tut im going to useit for a really weird animal
 (Wink)")
👍: 0 ⏩: 0


Woulde you mind if I tried to draw the exact same thing from the description and gvae you the credit?
👍: 0 ⏩: 1

👍: 0 ⏩: 1


SQUEE! Just what I was lookin' for! It's m-azin' because not only did you show an example you explained it. Other people*cough cough* would have just given brief explanations. I applaud you! XB By the way,

👍: 0 ⏩: 1
Thanks so much
👍: 0 ⏩: 1


| Next =>