HOME | DD
 diablo2003 — Pin-up step 1 tutorial

Published: 2011-08-08 20:24:21 +0000 UTC; Views: 70561; Favourites: 709; Downloads: 1153
Redirect to original
Description
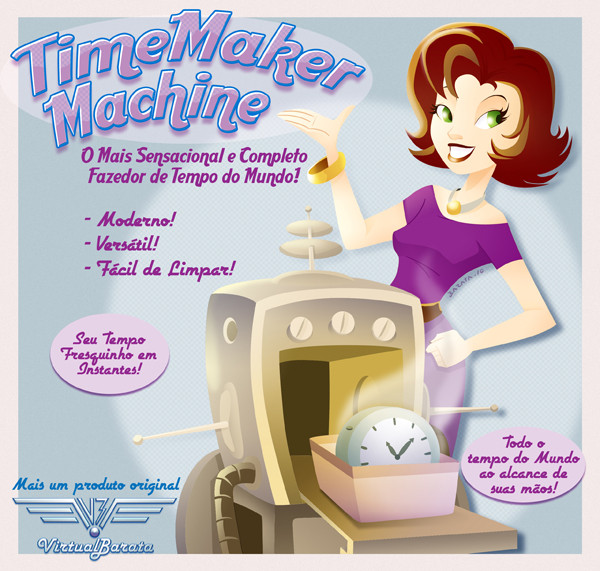
I was commissioned to do a piece for a client recently and they asked for a pin-up style woman baking ( it ended up being a gift for his wife). I decided this would be en excellent opportunity for a tutorial on how I go about doing my marker rendered pieces. This is the first in 4 steps and all will be posted separately so, if you would like to see the rest of the process, please check out the following links to the other Deviantart entries. step 2: [link] Step 3: [link] Step 4: [link]STEP 1:
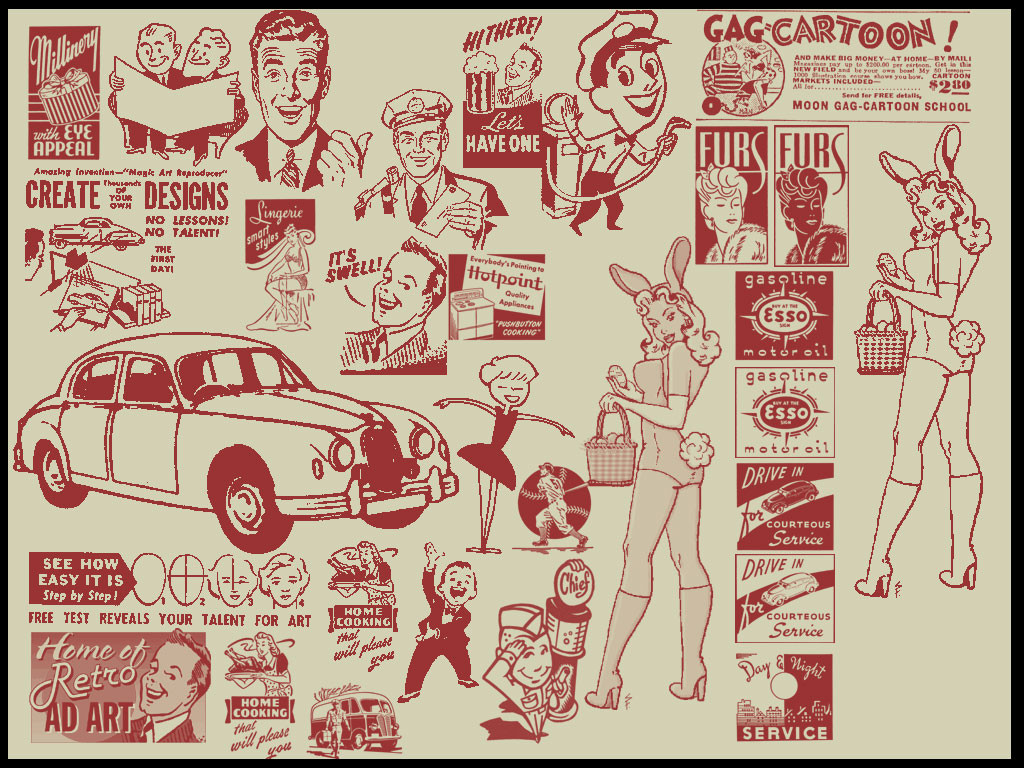
For the first step I decide what the subject matter is going to be and what idea I would like to express in the piece. For this I decided to go with a 40s style housewife while incorporating the same peek-a-boo style good girl art of the same era. 2 of my favorite artists are Norman Rockwell and Gil Elvgren. Norman, for his ability to tell a story in one single image. Gil, for his innocent way or expressing female sexuality with his amazing pin-ups. If you want to see more of their work, google either of their names and prepare to be amazed. For this reason I decided to do a Elvgren style pin-up with the story sensibilities of Norman Rockwell.
I decided to go with a woman trying to bake some cookies but realizing (thanks to her cookbook) that she has used salt instead of sugar while, at the same time, her dog is cautiously sniffing a splatter of batter she dropped on the floor. I begin with a sketch of the main character of the piece. I heavily reference old catalogs from Sears and Woolworths from the 40s to get the little details right like her hair, the shoes, dress, and stockings. I sketch completely in Photoshop CS1 using a Cintiq21UX and some custom brushes I found on line here: [link]
Once I'm happy with the sketch I move on to the background. In this case I decide to use Google Sketch-up to do the background to save some time and the get the dimensions correct. If you have never used Sketch-up I would highly recommend you go and check it out: [link] . That being said, here is my disclaimer concerning using Sketch-up. Just like anything else Sketch-up is an artistic tool but it can also become a crutch especially to those that have not learned how to draw backgrounds or gained an understanding of perspective and scale. I use Sketch-up because it is insanely faster than hand drawing a background but if my computer were to blow up tomorrow I could sit down with a pencil and paper and draw the background by hand. If you have practiced and taught yourself to draw backgrounds and want to try Sketch-up to speed up your process then by all means, please do. But, if you haven't put the man hours into learning the ins and outs of perspective, demension, and scale then please put down your mouse and pick up a pencil. If you need some help please check out the amazing book on perspective and backgrounds called Perspective For The Comic Book Artist by David Chelsea. Here's am Amazon link to help you out: [link]
I find a model I like in Sketch-up as well as some of the smaller things like the stool she is sitting on and the 40s style mixer she will have on the counter next to her. I place everything in the right spot in the model and use the zoom and rotate tool to get the background in the dimensions I will need for the piece. Once I'm happy with it I export the piece as a 2-D flat image into my photoshop and line it up with the original drawing. I use levels and the poster edge filter to turn the Sketch-up image to a simple black line image. At this point I go in and start drawing in the little details I will need to complete the layout including the salt box, cupcakes and tray, the towel, and the dog as well as the cookie dough on the floor.
Now it's time to print the image for inking. I flatten the image so all layers in Photoshop and merged together into a single image. I make sure the image is set to RGB color and go into Image>Adjust>Color Balance. I take the scale and move it all the way over towards CYAN on the top scale and all the way towards BLUE on the bottom scale. This will turn your image blue but it will still look dark. I think go into Image>Adjust>Hue and Saturation and take the lightness scale up to around 96%. This will make your image look extremely light but it will still be a bit too gray. I then go back into Image>Adjust>Color Balance and repeat the same steps with Cyan and Blue to make it look extremely light blue. The image above is darker than my actual formatted piece so you can see how it looks. If you've followed the steps correctly, your image will be light enough to be slightly visible but not at a distance from your monitor of more than 5 or 6 feet. At this point I set the size of the image to 13”X19” and print it off on my Epson Stylus R1800 photo printer for inking. Check out Step 2 for the next step in the process.
Hope you dig!
Best,
-Mark
Follow me on Twitter: [link]
Related content


Comments: 22

While it is true that we EACH evolve their own style... THANK YOU for taking a moment to show some of the newbies how to exploit the strengths of both conventional and electronic media to further the qualities of their art. I'm a recreational Graphic Artist/Photographer with a BFA with over 40 yrs experience... I enjoy "photo-compositing/collage, and... its NEVER to late for SOME 'old dogs' to learn new tricks. Kudos to you, Sir!
👍: 0 ⏩: 0


 (Smile)")

Thanks for this. I feel much better with perspective now
👍: 0 ⏩: 0


Pinup is my "I have a job that pays well, now I will do what I want" goal. I have long been a fan of Vargas, Elvgren, Janesko, Olivia, and more. Every day I catch myself doodling my way towards my goal - converting 2D pinup digital paintings to 3D digital characters.
👍: 0 ⏩: 0

Hi Mark,
amazing works!
I download the custom brushes that you linked, but wich one do you use?
thank you
👍: 0 ⏩: 0

Rockwell and Elvgren: my two favorite vintage artists! Great minds.
👍: 0 ⏩: 0

Nice piece of instructional advice there. Thanks.
👍: 0 ⏩: 0

so cool! thanks so much for posting and explaining your process, Mark ")
👍: 0 ⏩: 0


I have seen all the steps in the tutorial, and while the process is described accurately and clearly, the description as a chunk of text is very difficult to read because of lack of alignment, blank lines, and especially length. Separating the description with just a blank line would enhance reading.
This has nothing to do with the images and final result, which is masterly done and with a very high quality.
👍: 0 ⏩: 0

And here's the reason I'm downloading the program, even though I agree with you. It's because I'm unpracticed at backgrounds, and being able to make something to use as reference will actually help me. So it's a neat link and a good resource if you're practiced or not, in my opinion, but it all comes down to how you use it. I won't trace or photoshop-line it for use. Just get an idea of layouts and how things work, I'm a kinetic learned and all that jazz.
👍: 0 ⏩: 0


Thanks for all the tutorials and help (this one included). It's nice to see industry pro's (whose art I actually like) taking the time to help those of us trying to get there. Right on. Keep 'em coming
👍: 0 ⏩: 0

Have you looked into making Actions in PS? I made one that's a one-touch blue line so I don't have to waste all the time going through the motions of turning a sketch into non-repo blue every single time.
DC's Guide to Digital Drawing Comics was a pretty big life saver for me.
I haven't gotten around to using Sketch Up yet, but from everything I hear it's a pretty big life saver when you have the same recurring backgrounds throughout a series. Do you need the retail version to make the 2D flats?
👍: 0 ⏩: 1

I thought about that but my percentage of brightness and hue varies from piece to piece so I would just end up noodling with it anyway. No need for the retail version for the 2-D export. Just go to EXPORT>2-D graphic and save it to your computer
👍: 0 ⏩: 1
Sweeeet.
That saves me about 450 bucks.
👍: 0 ⏩: 0

I'm amazed at people who can sketch anything in Photoshop. The program just won't work correctly for me in this way unless I work insanely large.
Either way its an interesting tutorial!
👍: 0 ⏩: 0