HOME | DD
 ErisTheGoddess — Udemy Tutorial - 2.3 Using Liquify and Warp to Edi
Published: 2024-01-25 18:17:20 +0000 UTC; Views: 185; Favourites: 0; Downloads: 0
Redirect to original
Description
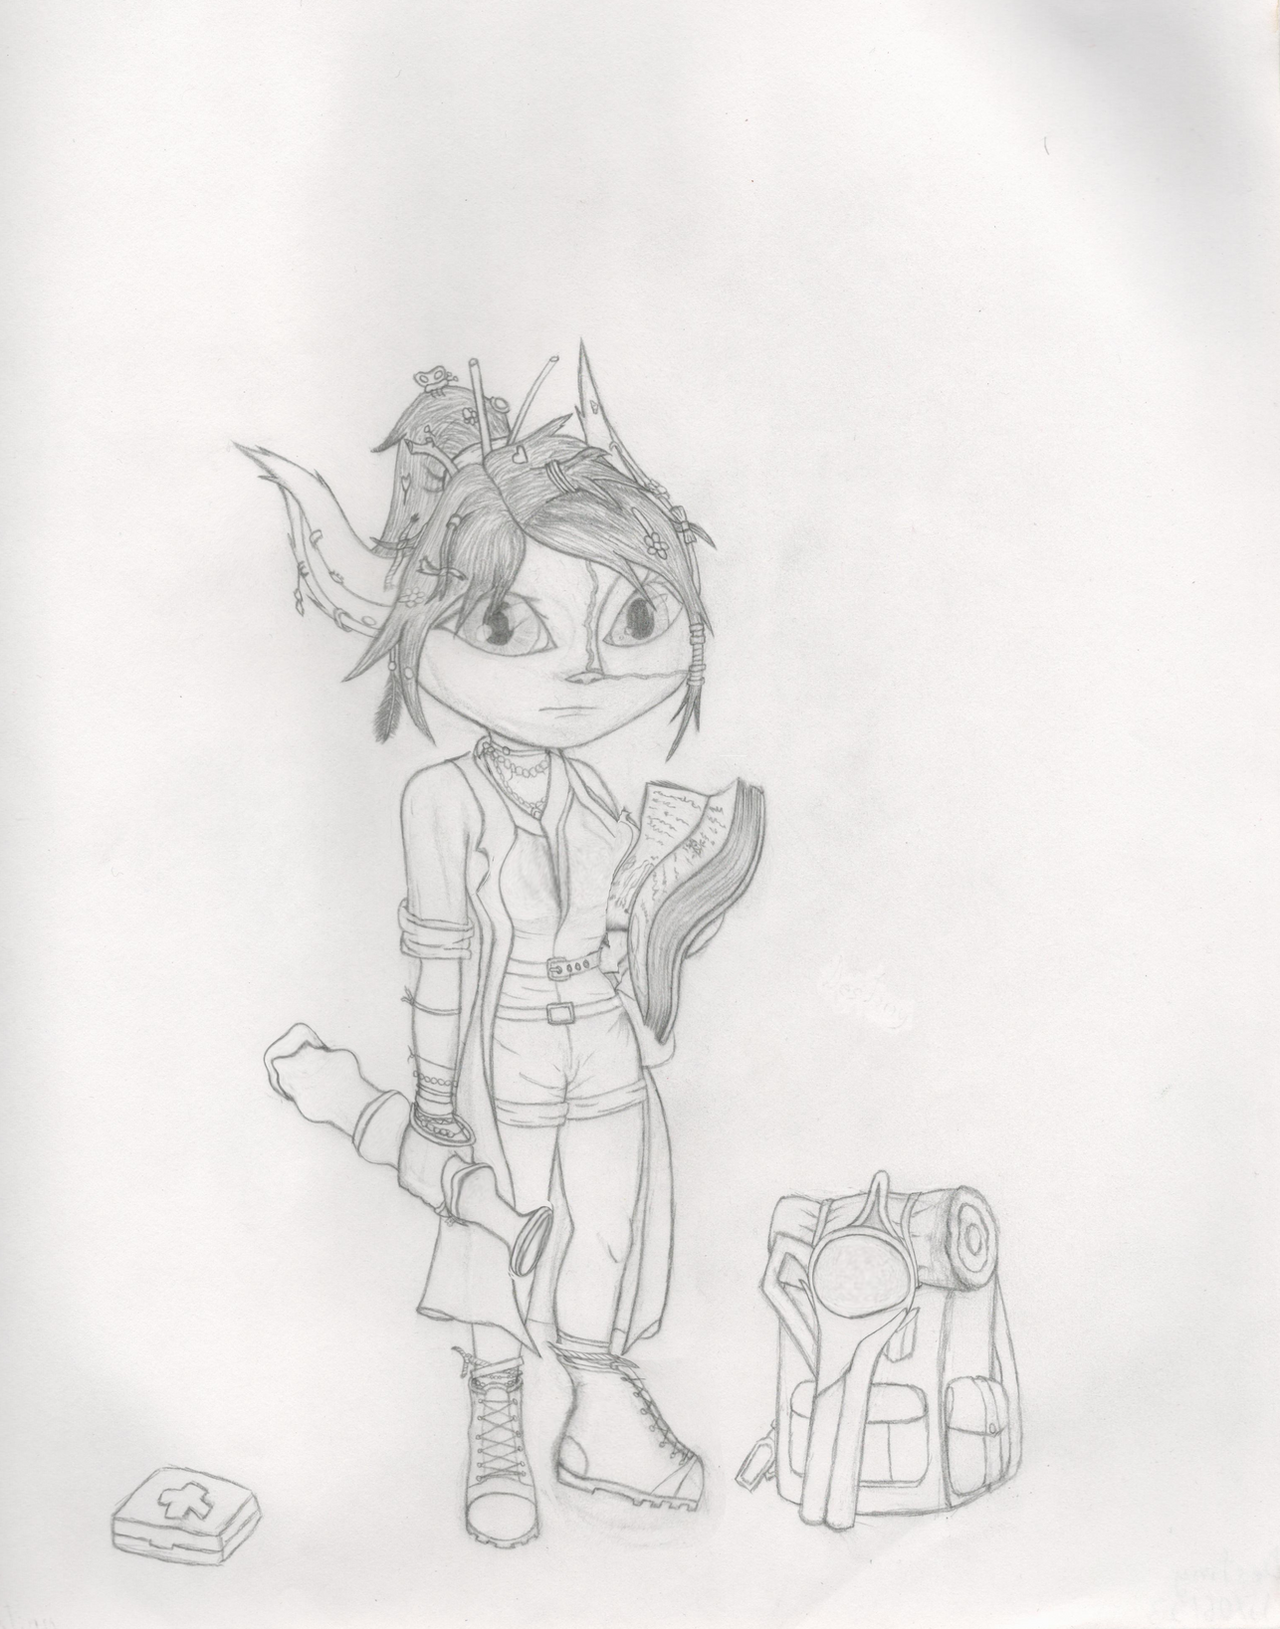
For this tutorial, Robert went over the Liquify and Warp tools. Unfortunately, I wish I had known about these tools before I did some of my refining from the previous tutorial. It would have made things much easier for fixing the leg and other things. So, because I didn't want to mess with what I had accomplished, I went back to the old version of Destiny to see what kind of things I could have done if I had known about the tools ahead of time.In the Liquify window, I used the Forward Warp tool to widen her head a bit, shape her hips and messed with the cross of the first aid kit. Then I used the Twirl Clockwise tool to twist her ears, and the Pucker tool to make her left eye smaller, because it was stretched out from the Forward Warp tool. Using the Bloat tool I increased her breast size and the size of her gun.
Then using the Selection tool I selected her book and used the Liquify option so that I only focused on her book and then used the Twirl Clockwise tool on it. Following this, Robert instructed to use the Selection tool to surround an area, Cut it out, and Paste it in place, then use the Liquify option to only effect that portion of the drawing, which I did with the telescope and then messed around with the Forward Warp tool.
Robert then continued to show how to use the Warp tool to make specific and minor changes to an area. I selected her right foot and messed around with it. Then I did the same with her shoulder. He also showed how to mask an area and use the Warp tool with it which I used to tweak her eye.
I'm excited for the next tutorial as it looks like he is going to get into actual painting.
Udemy Tutorial: Digital Painting in Photoshop: Create Amazing Concept Art: "Section 2, Part 9: Using Liquify and Warp to edit Your Artwork" by Robert Marzullo.


