HOME | DD
 foolyguy — Creating Lock - Tinker Toys

Published: 2010-04-13 06:16:03 +0000 UTC; Views: 1684; Favourites: 16; Downloads: 61
Redirect to original
Description
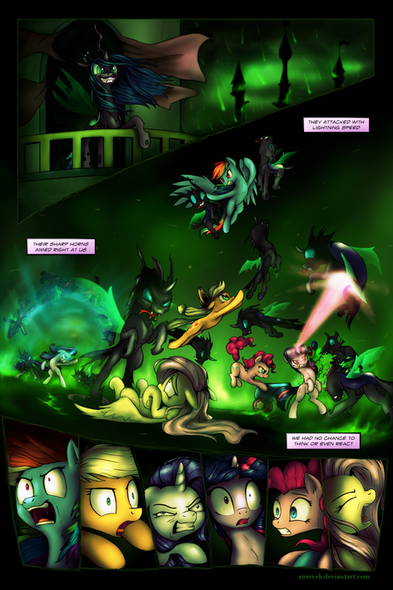
NOTE! This is not a step-by-step process to how this image was created, but a disassemble of the .psd file showing how many layers it took to assemble this piece in Photoshop CS.Hopefully this will give you an impression of what I did.
---
Layer 1: Line art
This is a simple line art layer, isolated by itself above the BG & Flat colors, but NOT the multiply, overlay, or screen layers. I used this handy tutorial for isolating my line art.
Layer 2: Flat colors
Simply put this is a layer where I put each character/object/etc's 'base' color (or their color unaffected by highlights or shadows) with NO blending, shading, or highlights what so ever.
I originally had each character and object on its own layer, which were also layers within layers themselves for easy management and coloring, but merged them all to one layer when I got the shadings/highlights to help make it easier on myself and keep the file size to a minimum. (I created this piece at 600 DPI)
Layer 3 & 4: Multiply
I changed the blending mode of these layers to 'multiply' an using a really dark blue I started doing the shadows. You'll note I have two multiply layers (as well as two overlay's and screens) and each set at their own opacity's as well. This is so I don't have to mess with the blending options of my brush as much, and I also feel I can control the amount of shading/highlights my drawing receives better this way than just freely painting on the layer
Layer 5 & 6: Overlay
Like the multiply layers, except here I have a focus on highlights. The blending mode is set to 'overlay' (though I used 'soft light' instead of overlay itself. Soft Light is just like overlay, but not as strong in vibrancy, allowing for slightly more subtle highlights.
I knew the lighting I wanted for this piece, so I used a very light red (very faint pink in color) and also a little of the same red with the saturation increased.
Layer 7 & 8: Screen
Again this one is like multiply layer, except the blending mode is set to 'Screen' Screen is similar to overlay in a lot of ways, but holds a transparency to the colors even if set to 100% opacity. Here I punched in all those colors bouncing off each individual character and not from the main light source.
Layer 9: BG
This was simply two layers compressed again. One was a solid color that filled the screen to give an impression of the major light tone's I was working with, and then a solid black tone above that, which I erased to fit the composition.
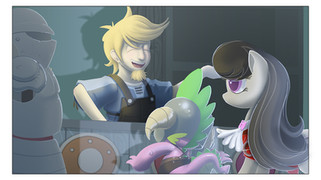
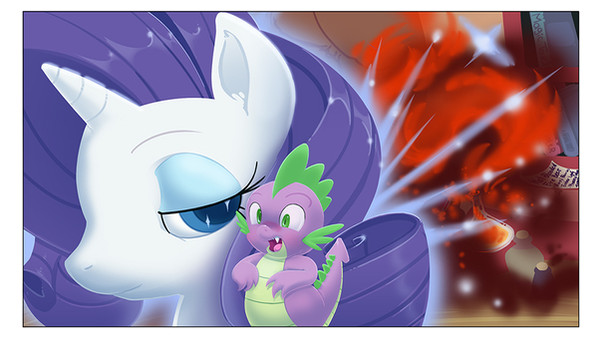
Put it all together, and you get what you see here
---
I hope this was of help and feel free to ask questions!


Related content
Comments: 3

Yah, I like to isolate every variable in my pieces (for a while, each character and object were on their own layer as well, so that's an additional 3 layers) this does cause the file to get very large (this one approached 1 GB), but I do have a computer that can handle this, (though full screen render's and saving does take a moment at the size & resolution)
👍: 0 ⏩: 1

OO; woah....wow....magnificent. 83
👍: 0 ⏩: 0


