HOME | DD
 Handyman4545 — Drydock - Durango 4
#action #kirk #perimeter #star #trek #akyazi #federation
Published: 2020-01-22 22:09:38 +0000 UTC; Views: 366; Favourites: 7; Downloads: 0
Redirect to original
Description
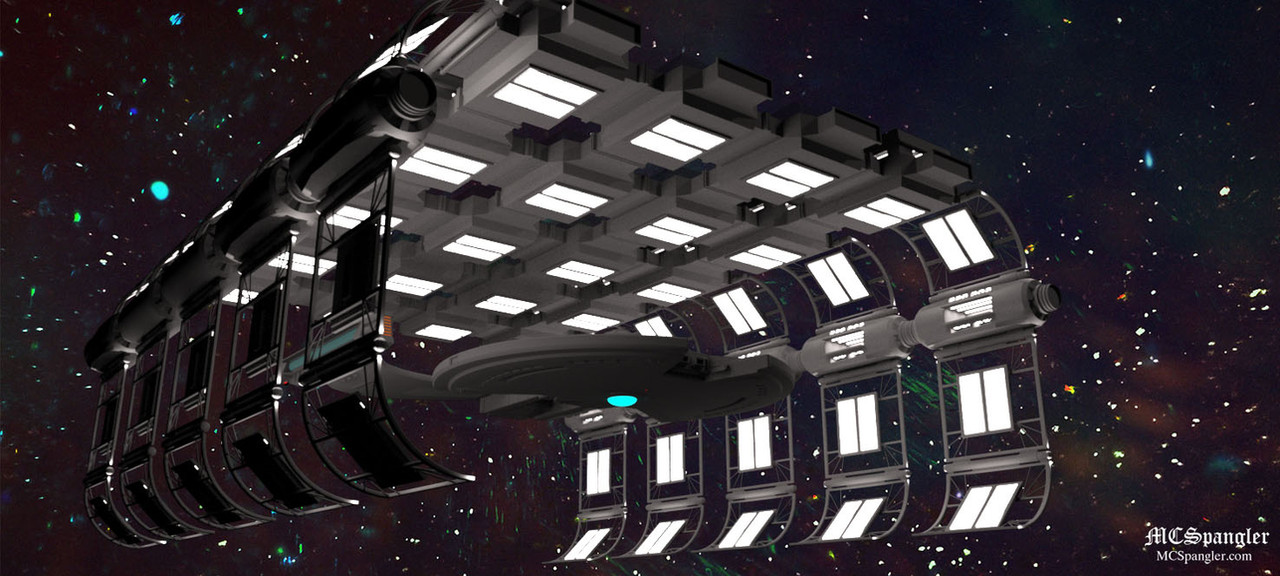
Looking up on the belly of the Braga in port.Related content


Comments: 8

DUDE your models have just been looking crazy good recently... amazing job man! This really just kinda blew me away, love how you set up the paneled emissive lighting here. It really adds so much to the overall impact of the design you created. Just in case you didn't know btw, you can also add any image to the emission channel and it will light the surface accordingly as long as it's turned on high enough.
Like just adding something simple like one of these images will give a whole different look (probably not what you're aiming for here, but you can just add one of these to some of the surfaces emission channels to get an idea of what I mean):
👍: 0 ⏩: 1

Thank for getting with me on this Carl.
I'm afraid I'm still in a state of confusion though.
What is an "emission channel"?
I don't have anything listed in my sliders as a channel much less an emission channel.
👍: 0 ⏩: 1
Under ‘Surfaces’ where it says ‘Emission Color’ click the little box with a triangle in it on the left of the color. Then click “Browse” and select the image file you want to input. Change the color to white or a light color, and either crank the luminence waaaay up, or switch the "luminence units" to cd/cm^2 , then you can lower the luminence to something like between 10-300 and it works the same.
👍: 0 ⏩: 2
By the way, thanks for helping me out here and for your kudo's.
It kinda annoys me a bit when people peruse my site and download my stuff without so much as an "atta boy" or "thanks" much less actual comments, you know.
Against my better judgement, I put one of the Tie Bombers on my storefront at Renderhub as a freebie.
I've had over 250 views, no idea how many downloads and 4 favs on it while it's sister, same ship but a better detail version at $10 has had 12 views, no purchasers and no reviews.
I hate cheapskates man.
Worse part of it is no one really even cares how much time and effort we put into this stuff.
They open their free Daz program, call up a free, naked doll, dress it in something they got for free and Mayyy Beee, add a free PSP backdrop to it then post the piece of shit work on the gallery and pridefully, call it art.
My grandson uses more talent in applying his feces to the bathroom wall than these dweebs do.
At the very least, he made the feces.
Only a couple of them actually create their work.
The rest, plagiarizer.
Fuck.
Maybe it's just me getting old and grumpy this week.
I took the Tie bomber off yesterday and resubmitted it as a $1 item.
Fuck-um.
👍: 0 ⏩: 0
I tried that as a matter of fact.
It applied one of your images to the surface of the sphere I created.
It was an interesting affect but I'm baffled as to how or when to use it.
All I can see in my minds eye is a fire emissing light.
What I'd like to know is how you get the haze around the light source.
👍: 0 ⏩: 1
For that haze you're talking about... I use several different methods, by applying "bloom" in render settings, applying bloom in photoshop post-work, and rendering multi-pass renders where I render each light source separately then recomposite those separate renders into "light layers" in photoshop. I use the different blending modes and opacity sliders to control the strength and features of each light source this way, and it can create a haze effect by overlaying one light layer in a screen mode over another light layer in normal mode. For postwork bloom I use the Camera Raw Filter which lets you manually adjust all the color/tone properties of the different layers... reverse-applying the dehaze effect and clarity effect, it essentially will add haze and fogged clarity to the image. Also I use NIK Color FX Pro inside photoshop which has several bloom-like filtering effects you can adjust on your layered images. And I sometimes also apply a tweaked Lens Blur with a depth map plugged into the channel to further enhance it... the postwork side of it is kind of touch and go, everything on a case-by-case basis so it's kind of hard to explain specifics. Shibashake has some great postwork tutorials on her site ThinkDrawArt.com, to add that special glow that you see in most of her images. I use some of those techniques I learned from her too.
The main one that you can use though is by enabling "bloom" filter under Render Settings tab. You'll have to manually adjust the few settings, definitely raise the bloom filter threshhold over 10,000 but it will totally depend on the strength and quality of the lighting in your scene as to what value you want it at. Bring the bloom filter radius down to maybe .020 see how it looks, and gradually increase it as you watch that bloom effect swell larger and less dense around your light sources. Play with those 2 values until you see the effect you're looking for... also you can adjust the Bloom filter brightness but it is very sensitive so do it very gradually upwards in small increments as you watch the effect it has on the lights in your scene. That's about the best advice I can offer since lighting will completely differ from scene to scene, so it's impossible to give specific values to adhere to. Let me know if it starts to work for you... the more you use it the more accustomed you'll get to it of course and it will become more intuitive like second nature after a while.
👍: 0 ⏩: 0
Hey folks...
If you like this work and decide it has a place in your favorites, please leave me at least a thank you after you take it off my site.
👍: 0 ⏩: 0
I gotta tell you...
I love this iray, emission lighting!
It's like installing lighting fixtures in the individual rooms.
You can adjust the lighting luminescence and color to suit what ever mood or light system you want.
👍: 0 ⏩: 0