HOME | DD
 HuniiTea — Animation Tutorial

#animation #howto #icons #tutorial
Published: 2018-08-13 22:55:46 +0000 UTC; Views: 1416; Favourites: 86; Downloads: 5
Redirect to original
Description
This is suPER rushed and not the best, but it's a super simple way of how I animate!!And just for easier explaining I'm gonna try explaining stuff in the description as well, ig??
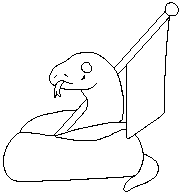
But!! I start off with only 3 sketches. The first and last sketches are what I call Point A and Point B. The middle frame is meant to be the transition from A to B, so it has a sort of 'inbetween' movement. It is the character in the middle of moving, so it's not too much like A but not too much like B either.
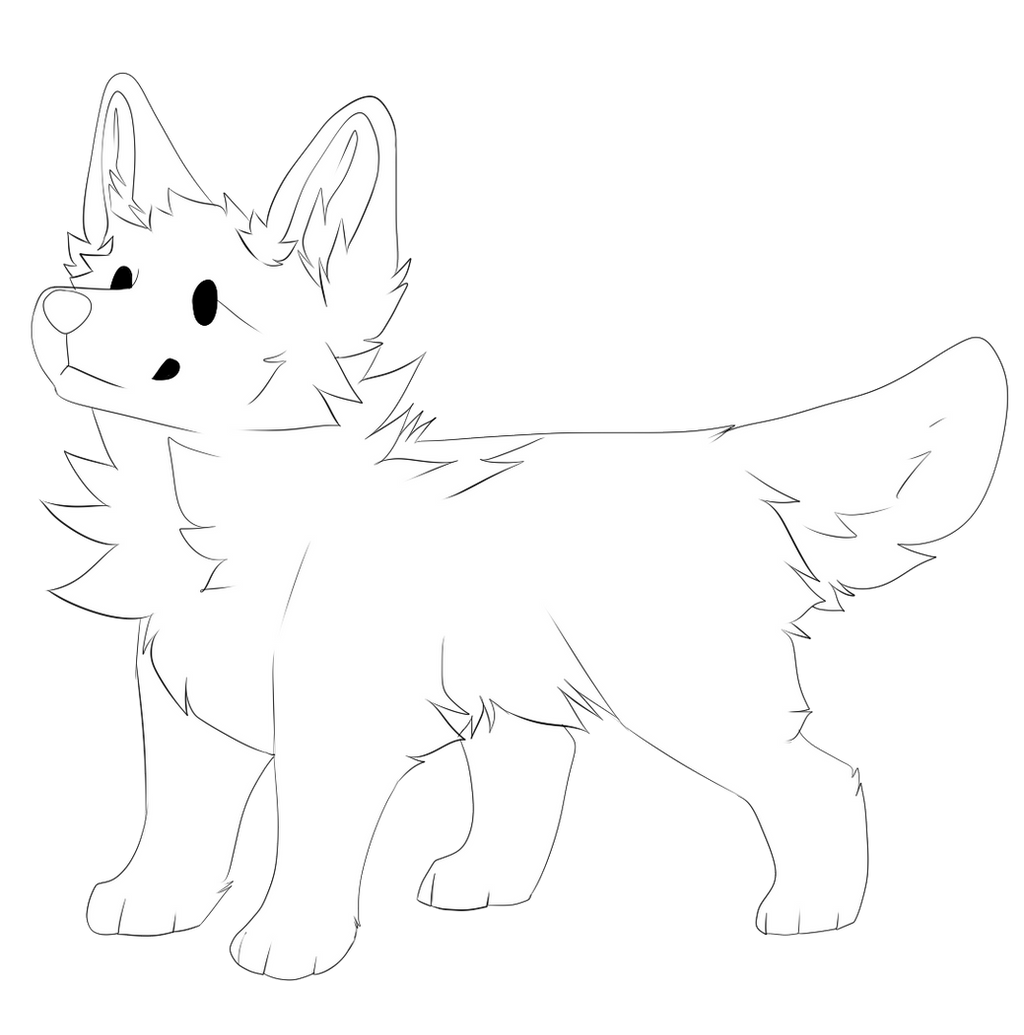
Once I have the keyframes, I line Point A, then once I'm done lining that 1 frame, I then trace over it to get it nearly perfectly the same as the original frame I traced over. The reason I do this is to make the animation smoother when transitioning. I sometimes make the new traced frame a bit different from the original, depending on what parts of the body are moving, and how fast. I usually do this with eyes or ears, depending on if I want it to look faster or slower!
Here's what the animation looks like with no second frame for the end of beginning: vs with the secondary frames:
Then I move on to simply lining the middle frame, which I usually don't put too much effort into -- it doesn't need to look super neat or perfect, since it's not gonna be seen for very long.
Putting together the frames, I usually have them numbered 1-5, 1 being the very first frame I drew and 5 being the very last frame and use gifmaker.me/ to animate them! I always put them in a patterned order. I sometimes put more frames at the beginning and end, but it usually looks like this:
1 1 1 1 1 2 3 4 5 5 5 5 5 4 3 2 1
I will put more 1's and 5's depending on what looks best for the timing of the animation! I then set the timing of the animation to 100 milliseconds and that's it! Usually if there's any mistakes, I go back and fix the frames, but other than that, everything goes really well and I'm usually happy with the result in the end.
If there's any questions, definitely feel free to leave a comment or a note!! I'm not a professional at this stuff, but I can try explaining what I already know.
Related content


Comments: 7


Oh goodness this is amazing~!!!
I’ve been slowly trying to roll myself into try to animate things such as backgrounds etc but never really knew how to animate anything like above,
Thank you so much for this wonderful tutorial aaa~!
👍: 0 ⏩: 0


")

Thank you so much for making this ;; this is definitely something I've been needing, but was never able to find a GOOD tutorial u-u
This will be very helpful for my practice.
👍: 0 ⏩: 0

awh yes this is super cute and helpful!! <3 ill def be giving this a try when i can <3
👍: 0 ⏩: 0