HOME | DD
 Manikk — Process: Osaka Kitchen

Published: 2016-05-28 16:06:57 +0000 UTC; Views: 945; Favourites: 17; Downloads: 8
Redirect to original
Description
Hi. I'd like to share some process steps with you.Overall it's quite simple, and I figure it'd be good to pass on the information and answer any questions you have about it overall.
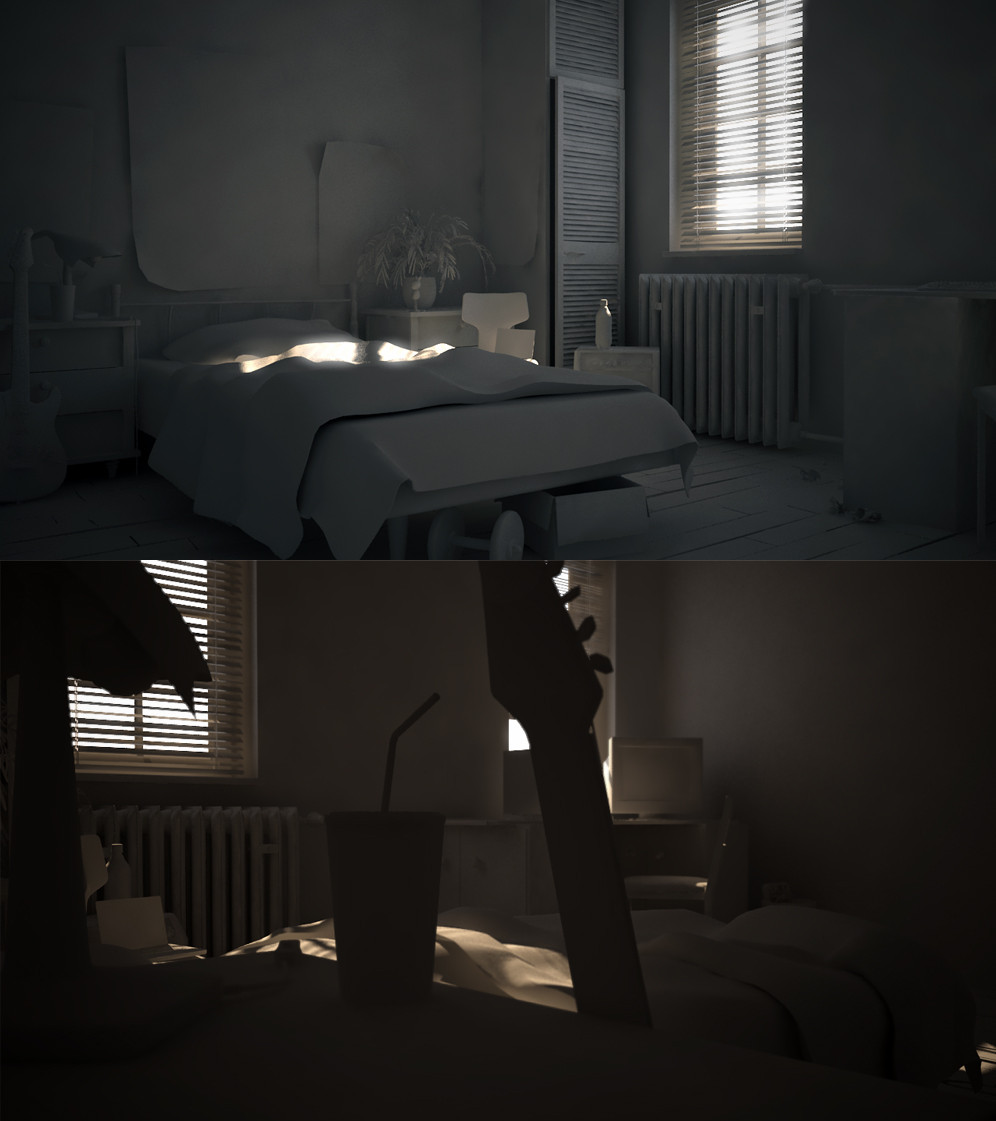
So first, you build a rough interior. Super simple to get the massing of the scene. In this stage you'll also want to set up your base lighting.
Next you define the individual assets. Just adding a little more detail. Focus on the pieces that the camera will see. Don't worry too much about the rest (unless you want to walk around in there)
After that , using corona ( or whatever texture method you have), piece by piece you develop your materials. You can take your own photos of textures as well. This is fun.
You can also use programs like B2M - Bitmap 2 Material to generate textures from your images. (Or Crazybump)
From here you keep fiddling with the scene. Setting up additional lighting / or tweaking it comes into play.
At this point your base render should be done.
After this you can use photoshop to color correct the image.
I also used the Alpha channel through the back window and placed a photo that I shot from my own bedroom window.
I balanced the colour and then went forward painting other elements in.
After that you're basically done. You can post process / filter it interchangeably with the painting stage. Overall the goal is to bake things together so that it's seamless.
That's all!
Enjoy and try it out. I'd like to know what process you use in your works. Also if you're starting from scratch then let me know how that turns out.
I'd be happy to give feedback
 (Smile)")
Cheers,
Manikk.
Related content


Comments: 2


Thanks
👍: 0 ⏩: 0