HOME | DD
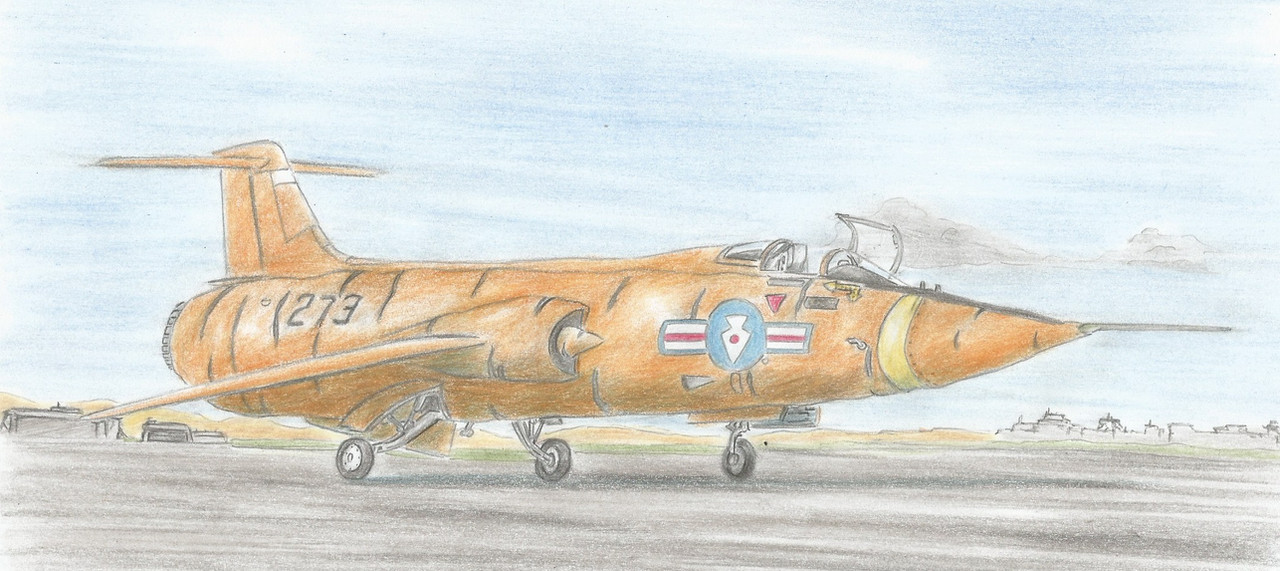
 Medjoe — Cardboard Seaplane

#aircraft #cardboard #papercraft #seaplane #airframe
Published: 2015-06-21 15:12:17 +0000 UTC; Views: 992; Favourites: 8; Downloads: 0
Redirect to original
Description
Oh, the irony of a plane meant to go on water but is made from cardboard!I started work on this about a week ago to explore an idea to recreate a cockpit from cardboard that would feel sturdy enough. Then I thought it might be interesting to work on the rear fuselage, then the wings and pontoons, and somehow a fictional seaplane appeared out of the whole deal. due to time constraints, the control surface were omitted. Nonetheless, it was a very fun build, especially for the frame beneath the cabin and most importantly provided useful insight in building with this material.
Related content


Comments: 18


for a non-flyer; masonite/hardboard might be a good choice, but you might need a scroll saw for htat.
Terrific piece of work .
👍: 0 ⏩: 1

Hm, both options seem a bit thick with regards to scale. At heart, I am a modelmaker. This seaplane dates back a fair bit, a year later I worked on a more detailed airliner cross-section, though the project has been put on indefinite hold: imgur.com/a/oPKXu . Cardboard is *way* cheaper than other options (wood, styrene), cost was a driving factor in material selection.
All glued up, it's fairly sturdy despite every part being 1mm thick, and I am satisfied with that. Only real concern materials-wise is getting clear plastic (windows, screens) to somehow stay bonded to the rest of the frame, white glue isn't cutting it and cyanoacrylate soaks into the cardboard instead of bonding...
The bigger problem is mass production of parts to ensure consistent tolerances. I don't think I can print using standard cardboard to have all the parts, so for that cross-section I had to do by hand every single frame and stringer. It's needlessly long if I want to streamline production. So I'm trying to consider various ideas for jigs and master patterns to speed up the tracing process. Same goes for cutting. Would love to have some sort of adjustable punch with parallel blades for all the standard notches!
 (Smile)")
👍: 0 ⏩: 1
Yeah, even the notching is a tedious process. The alignment of those blades would be critical & cardboard is so rough on any type of blade.
I'm actually thinking of doing some ribs and keel models of the ships I served on.
Both decommissioned now, one sunk as a target [DD982]and one broken up for scrap[MSO490].
looked at your 737 project.
very nice work.
👍: 0 ⏩: 1
Best of luck with the ships! I greatly admire shipbuilding, but have never had the courage to tackle a project!
👍: 0 ⏩: 1
and I'm just bullheaded enough to not acknowledge my limitations, or time restraints.
Thanks for reminding me of the fascination of making something definite from common materials.
Time to clean out the garage!
👍: 0 ⏩: 1
Ha, that makes two of us!
👍: 0 ⏩: 1
Now thinking about getting out my drawings of an Agile class Minesweeper, Ocean going. to see what I can do to reproduce a tabletop skeleton of that.
👍: 0 ⏩: 1
That should turn out interesting! Depending on the complexity of the hull (mostly for compound curves), I'd recommend using a CAD program to generate and print some master templates, as well as thinking about some assembly jigs for higher precision. It's probably the most important thing I've learned for the process. There are a ton of paper models out there that can be downloaded, printed and assembled, but I find that most of them lack the attention towards a very solid core structure, and feel skimpy as a result, whereas the real subject feels more resistant. That, or maybe I'm a sucker for structural design!
I find shipbuilding a very fascinating blend of art and science, on par with aircraft. Though shipbuilding terms leave me utterly confused!
👍: 0 ⏩: 1
I have some background in mechanical drawing, and a set of prints to work from so , I will want to do it all the hard way, butI'm glad you mentioned the other methods...
the assembly jigs will be invaluable for the build.
👍: 0 ⏩: 0

Love it! And of course if you wanted to you could always redo it in balsa/spruce/ply and cover it and make it fly. The proportions look good and if it balanced just behind the front spar all would be good.
👍: 0 ⏩: 1
Thank you for the feedback! I was considering balsa for the frame but wasn't fond of using it for a school project (I should probably pick up a handsaw to do the cuts), so cardboard felt like a cheap and quick alternative. Regarding balance, that's why I did a seaplane . Originally I thought of adding fishing weights to the engine to hold it down, but it turned out to be unnecessary. I wasn't planning on attempting to cover it, more likely will be done on a handful of test pieces in critical positions.
👍: 0 ⏩: 1
A tip about balsa - look at the grain and try and cut with a very sharp knife (I use a scalpel) away from the grain so that if it splits it does so on the waste side of the job. A razor saw is good for that and card too - model shops will sell them.
I worked a lot with card when making buildings for my model rail scene but most of my life i have used balsa , very thin mm ply or spruce strips. My life-size eagle is made this way, covered in thin balsa and then tissue paper with cellulose dope. The last job was many light washes of oil paint to build up a feathery effect.
👍: 0 ⏩: 1
Yes, I had to cut some thin balsa sheeting for a class project and using the exacto blade against the grain was rough, hence my reluctance to do it without a better tool.
I'm afraid I cannot use dope due to the lack of proper ventilation, so I'd have to resort to isopropyl alcohol. I did some research on it but haven't seen it be used with a cardboard frame, would you have any experience with it? My main concern would be that the frame will absorb the alcohol/water mixture too well and get soaked, rendering it weaker. In any case, until I get my hands on some tissue paper to work with I'll keep looking into this matter. Regarding paints, I don't think I'm at that stage yet, getting the base structure right will be the first step.
👍: 0 ⏩: 1
If you cover the framework with tissue (of bigger ones with nylon) then the tautening agent (usually cellulose "dope" sort of only meets the structure "end on" so at the edges of ribs etc. It shouldn't soak too much into it but having said that I have never used card that way. I have used it to make buildings and just glued (with PVA) stuff like brick paper on. With wood it won't disturb it too much anyway.
there will be vids about so try "traditional airframe model making" or somesuch. Good on you for doing this. Of course there are some very good "museum model" things - an aircraft structure deliberately left as a skeleton.
👍: 0 ⏩: 1
Well, good news for you then, you prompted me to work on a test ASAP (though I have been curious of what would happen since I started working on the frame). Card works, it's reasonably sturdy, but it depends on how it is prepared. Maybe a simpler shape would've been easier to make, but I have a tendency to overdo it; then again, I digress . The big challenge is finding a way to "mass produce" my shapes, because at the moment every single component is measured and hand-drawn, which is very time-consuming (I spent maybe 2 or 3 times more time designing and cutting the parts over the assembly and tissue application...)
👍: 0 ⏩: 1
Good for you doing all this! You should find many parts are the same shape: left and right fuselage side longerons, most ribs etc.
You could try cutting one and carefully marking the shape on the next piece of card with a few "dots" made by pushing the blade tip in next to its corners (or drawing round it and cutting inside the line enough to allow for the extra width of the pencil/pen. For tapered wings we often make a plywood root and tip rib, clamp them over the required number of balsa (or card) pieces and saw/file/sand all of them at once. That will of course give edges that are "too slope-ing" but not much and you can fettle them individually if really fussy.
I must post a picture of my 30 year old 3 foot wingspan wooden radio-controlled model - still in one piece and nowadays flying with an electric brushles motor and a LiPo battery. It is made just like tyours but with a simplified all sheet balsa fin and horizontal tail (many smaller flying models do that).
👍: 0 ⏩: 0