HOME | DD
 Mr--Jack — Cygnar: Cyclone Process
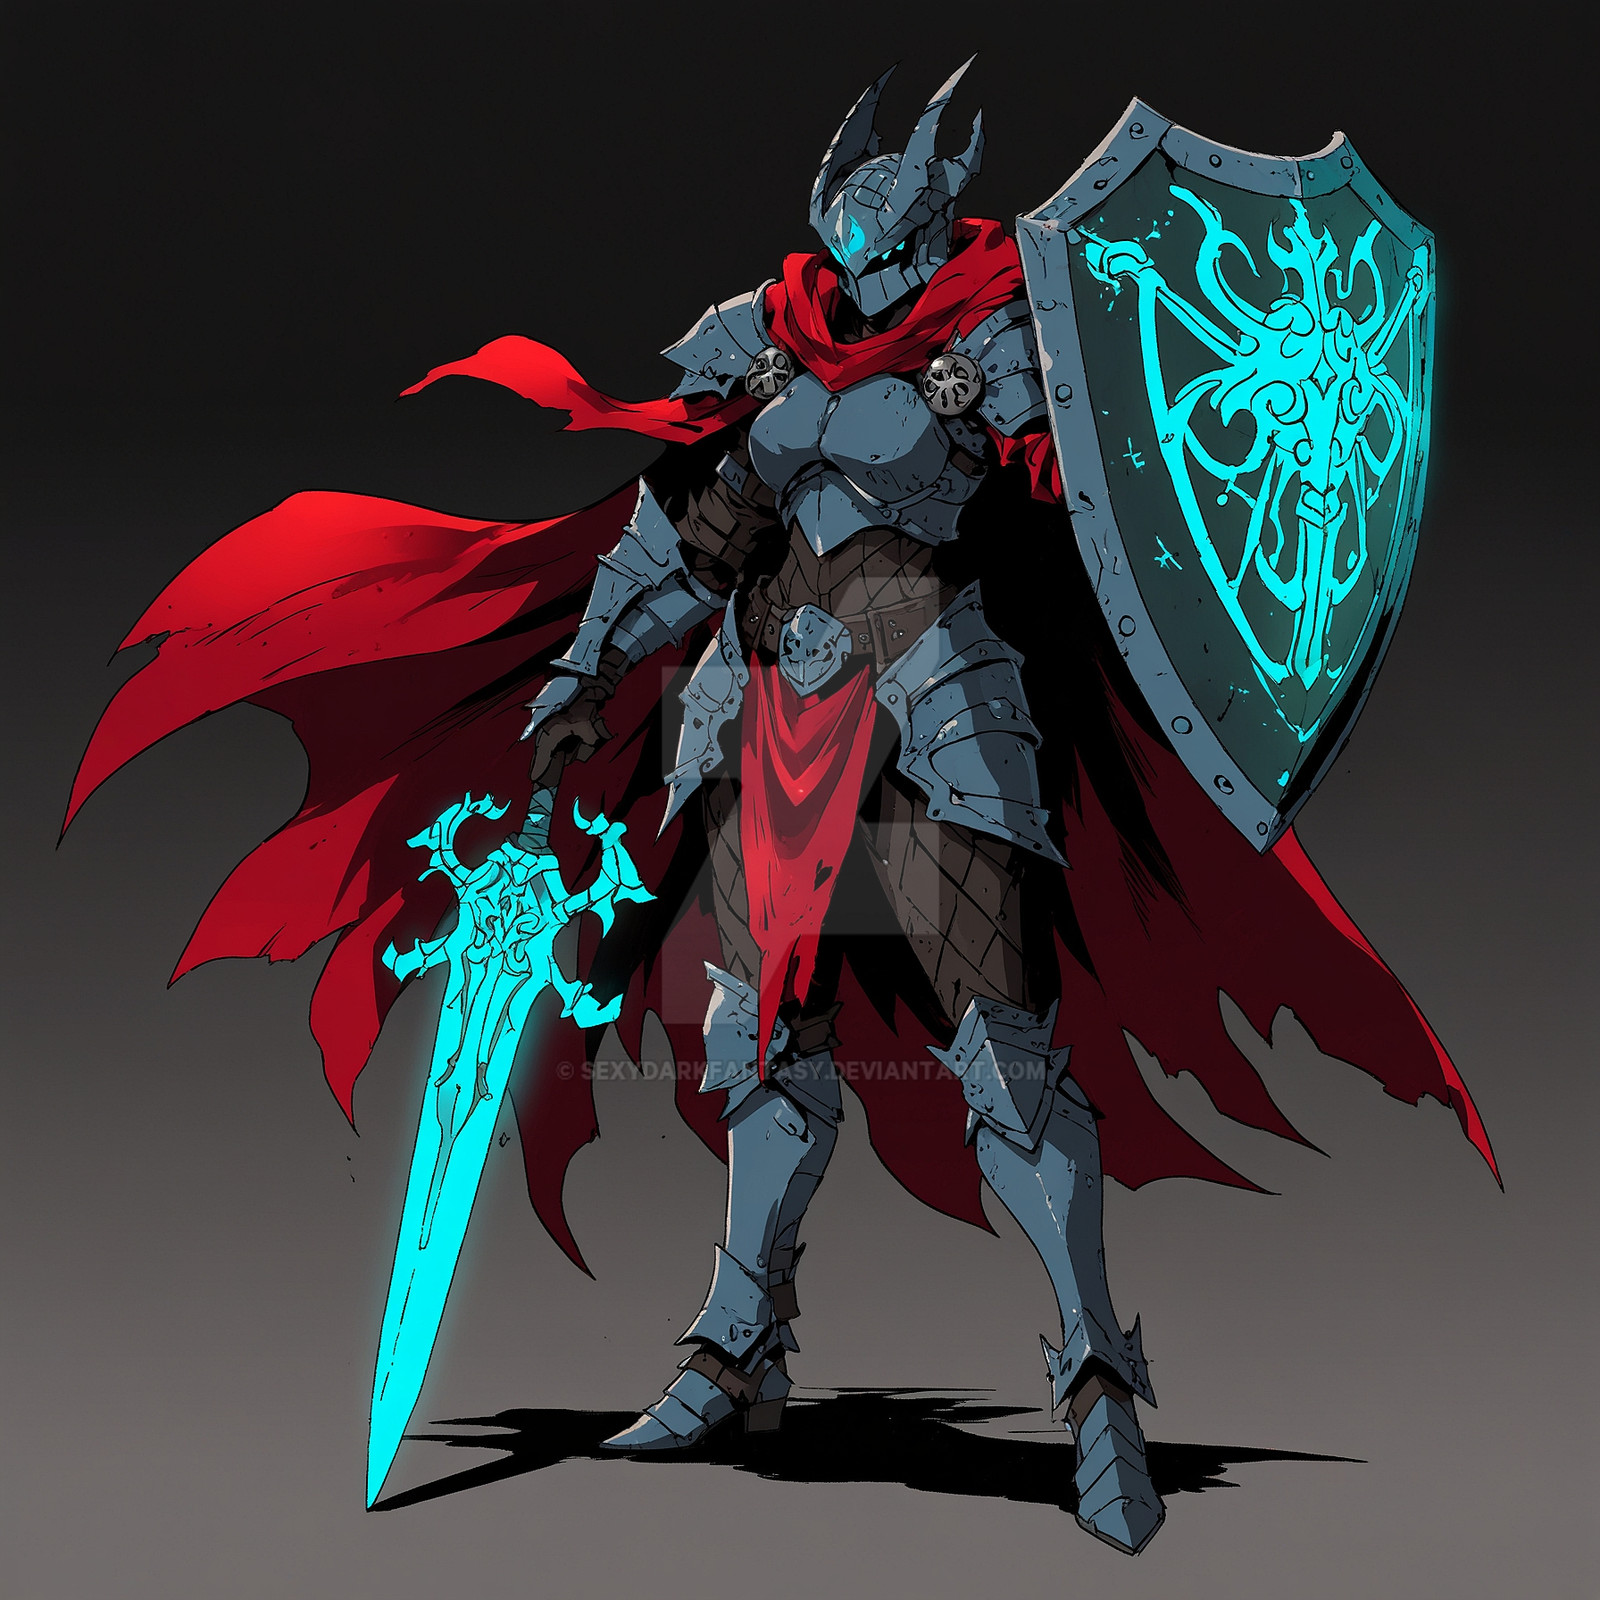

Published: 2010-01-18 02:49:57 +0000 UTC; Views: 28758; Favourites: 557; Downloads: 1653
Redirect to original
Description
So you asked for it")
Um; about 20 or so hours overall, colours done in Photoshop CS3.
Feel free to ask questions, I'll try to answer them.
Final piece is up here along with a couple of others.
NB this isn't a tutorial as such; i worked out a pretty solid method while working on these illustrations (I ended up producing more than 20 of them) but I've since changed my process a fair bit and always continue to experiment, but either way I hope it's helpful.
Enjoy!
Warmachine © Privateer Press
Related content


Comments: 155

Hi, I was wondering how can I make the background in sketchbook pro transparent? Whenever I import my line art to PS I always get the white background (very annoying). Much appreciated if you could reply thanks!
👍: 0 ⏩: 0

Newbie question here, since I'm trying to get into this stuff. What do you do with the lineart once the painting is done? Is it still hidden away somewhere in there or do you paint it over or what? I'd really like to know.
If this question has been answered before, I apologize, I don't have the time right now to look through the comments. But I will fave this picture to make up for it.
👍: 0 ⏩: 0


It looks like you're painting over the lineart. is there a reason to make the lineart so neat and tidy if you're going to do paint over it? I am trying to get better at lineless digitally, but its way different than my acrylics so im having some trouble with covering up my sketches
")
👍: 0 ⏩: 0


wow, really awesome. Thanks for putting up the process.
👍: 0 ⏩: 1

I think I'm starting to gain an understanding on how your process works, a very nic mention of mini colouring rebooted my memory.
While ago back in school I was told of an arrt student that painted from black, and slowly began 'chisling' out the image, it makes sense though this process, the darkest of colours first for base, and then going along and highlighting..
....need to experiment.
👍: 0 ⏩: 1

Yep, that's definitely the way I work (and unsurprisingly enough exactly the way I paint minis as well) - it can be a little frustrating sometimes (especially on miniatures, but that's another story) since you end up painting over a lot of areas quite a few times if it's got a few layers of highlights, but that way you can be selective about which areas you bring up to full brightness so your image doesn't become too monotone or evenly lit.
(hope that makes sense)
👍: 0 ⏩: 0


Not only your art is awesome, but you also share your techniques with people who draw.. khmm.. "a bit" worse than you
Kudos for the pic!
 (Wink)")
👍: 0 ⏩: 1

Just stunning work. So basically you work from dark to light. I'm intrigued as to the way in which the clean line of drawing gets assimilated to a point in which it becomes invisible as if it is barely there anymore.
Do you keep flattening layers as you add more and more detail?
👍: 0 ⏩: 1
Sometimes I flatten as I go, but with an illo like this I get a bit paranoid about accidentally stuffing something up so with these I worked up to about 15 or so layers in the end, starting underneath the linework layer then painting over the top.
It is cool at the end to see how little difference there is when switching on/off the linework; at that point it just provides slight shadows in creases and along edges.
Thanks!
👍: 0 ⏩: 0


 (Smile) - :)")


Phenomenal. Great Detail and just pure Awesome!!!
👍: 0 ⏩: 1


WOW THAT WILL help me much ,thank you, and really you have my admiration ")
👍: 0 ⏩: 1

Veryyy Coollll! 
👍: 0 ⏩: 0


Have you ever read the book called "All You Need is Kill" by Hiroshi Sakurazaka? i jsut finished it and i saw you refer subject matter as "the Jack" and they call their armor mech things Jackets. kinda a shot in the dark but it reminded me of it in a good way. anyways i love seeing your process and it looks tighter and tighter everytime i see it. Great stuff as always dood and can't wait to get an art book someday in the future with the words "by Mr. Jack" tagged next to some inspiring Blizz art!
👍: 0 ⏩: 1
I'm not actually sure where the original idea of them being Warjacks comes from but the game's been around for the last decade or so so *shrugs* I was given the concepts to work from
Thanks!
And hopefully you won't have to wait too long
👍: 0 ⏩: 0


Great tutorial. The comments with the screen shots are always helpful
👍: 0 ⏩: 1

Hi , great painting , just a few questions
The metal , Did you apply a texture or did you draw the effect? And how did you do the fire?
")
👍: 0 ⏩: 1
The only time I used a photographic texture was with the ground, the rest of it is all painted.
The fire was mostly done with this brush (the second one), and a bit of the smudge tool along the way.
👍: 0 ⏩: 1


Thanks! By sharing your techniques, you offer the rest of us the opportunity to improve.
👍: 0 ⏩: 1

Looks like a great tut! But, could you make it a higher res file? So I can see the details better. If you can double the res that would be great!
👍: 0 ⏩: 0
| Next =>