HOME | DD
 ney2x — RMTangoSys v2.1

Published: 2013-02-26 12:07:06 +0000 UTC; Views: 14028; Favourites: 18; Downloads: 3791
Redirect to original
Description
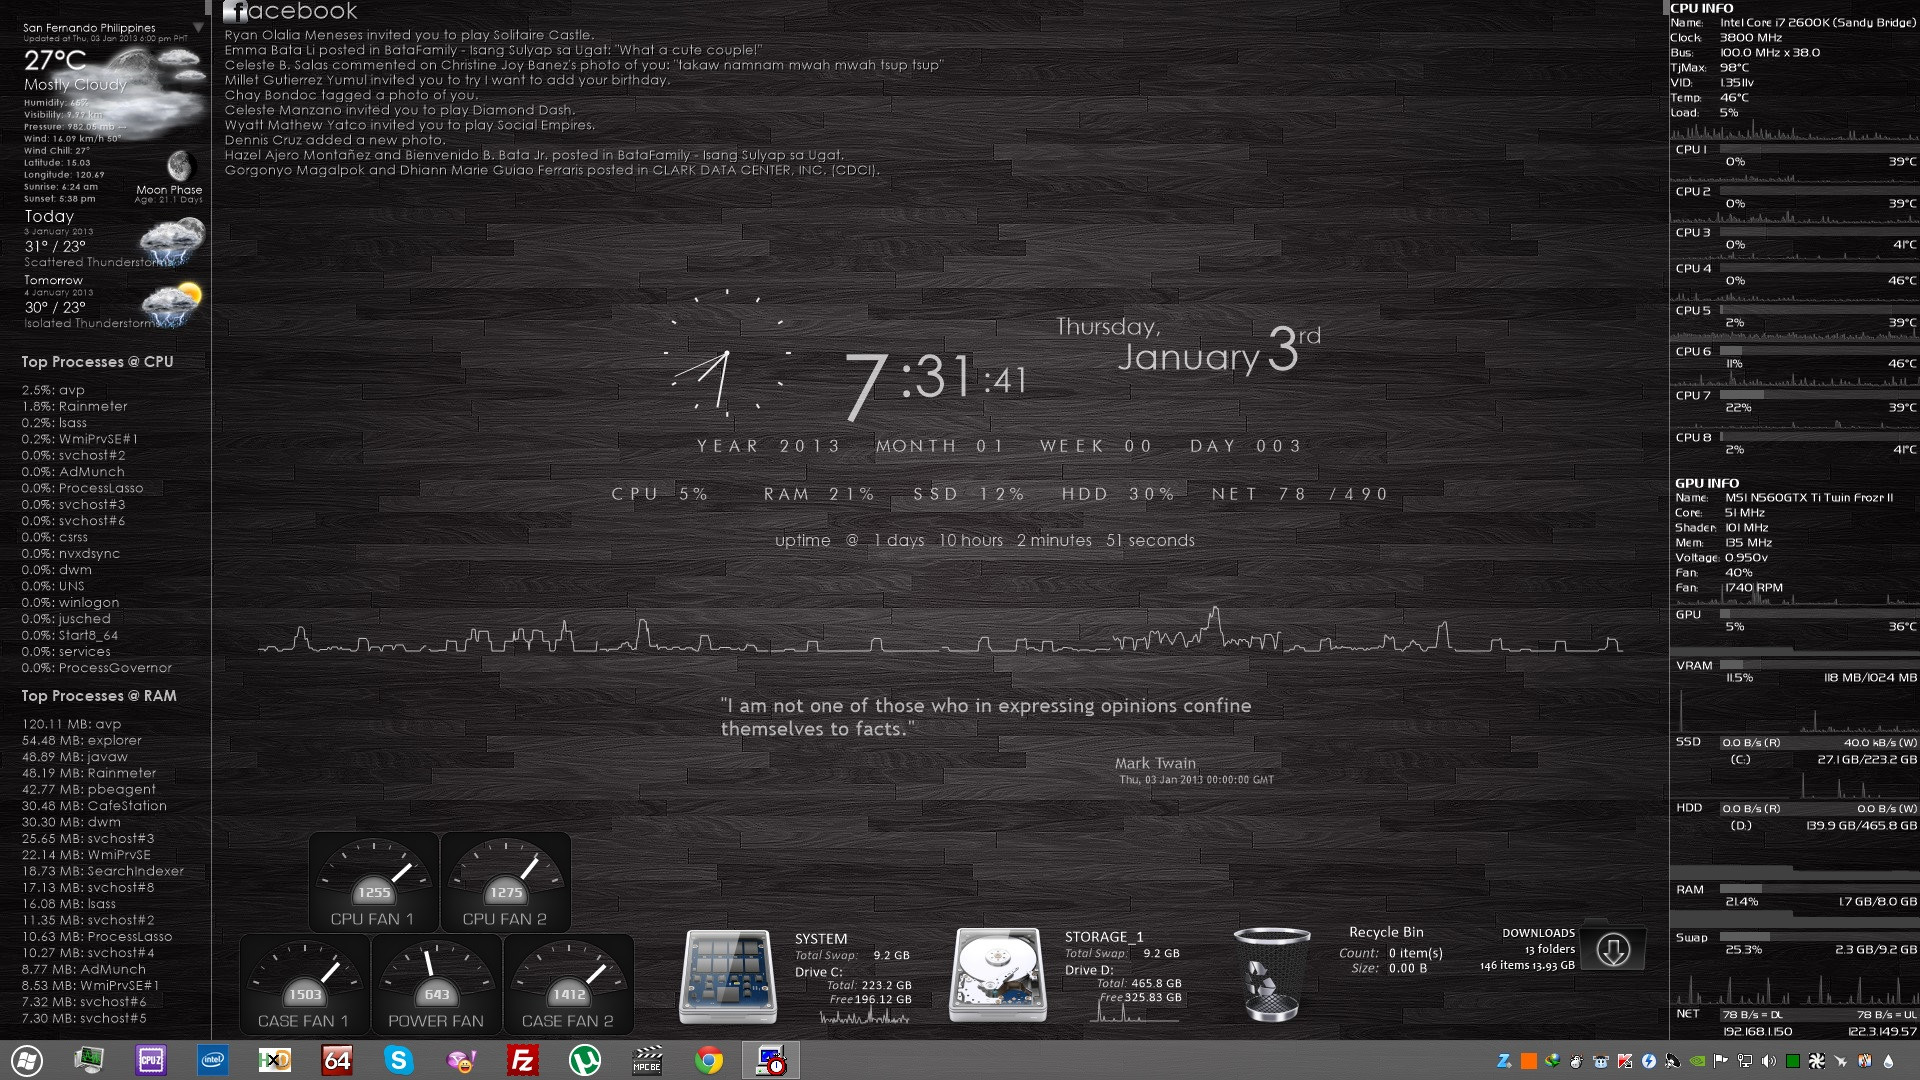
RMTangoSys v2.1Update: Now with CPU/GPU Load/Temp
Screen Resolution: 1920 x 1080
Overhaul of Tango Rainmeter System Bar by lordick
 (Smile)")
[link]
Note: Ping results turns red if > 60 ms
I want to thank [link] for the icons
Related content


Comments: 4

It doesnt measure CPU, GPU and internet connection... Why?
👍: 0 ⏩: 1

Ok to measure GPU and CPU you need two things:
The HWiNFO Plugin and Skin for Rainmeter
and the HWiNFO App.
But that's not it. Since this skin is based off the old version of HWiNFO, you're going to need to MANUALLY modify the code:
Things specific to this instruction set will be in ALL CAPS.
1. Go to your Rainmeter Install folder (If you didn't change it, it should either be in C://Users/YOUR USERNAME/OneDrive/Documents/Rainmeter, or C://Users/YOUR USERNAME/Documents/Rainmeter).
2. Open the HWiNFO app. Minimize. The app will not appear in Task Bar, but will be running in the background. Then, go to your Rainmeter install folder. Open "Skins/HWiNFO/resources ," and open "HWiNFOSharedMemoryViewer.exe."
3. Go back to the Rainmeter install folder. Open "Skins/RMTangoSys_v2."
4. Open "RMTangoSys_v2.ini." It will not launch the skin, and instead open TextEdit, which will allow you to modify the code.
5. Scroll all the way down to the line that says "[MeasureCPUTemp]."
6. Now, copy and paste this:
Measure= Plugin
Plugin=HWiNFO.dll
HWiNFOSensorId=
HWiNFOSensorInstance=
HWiNFOEntryId=
HWiNFOType=CurrentValue
HWiNFOLogHandler=1
MinValue=0
MaxValue=100
It should replace this text below "[MeasureCPUTemp]:"
Measure= Plugin
Plugin=HWiNFO.dll
HWiNFOid= DEFAULT ID
7. Now, go back to the HWiNFO Shared Memory Viewer. Go to the last section called "CPU #[0]: CPU NAME." Click on "CPU(Tctl/Die)" In the bottom section, there will be three values you want to pay attention to: ID and Instance under Sensor Details, and ID under Entry Details. Copy the Sensor ID. Paste it into the RMTango Skin under MeasureCPUTemp/HWiNFOSensorId=. Do the same for Sensor Instance and Entry ID.
8. Now, do the same for steps 5-7, but instead doing sections "[MeasureGPULoad]" and "[MeasureGPUTemp]," and in the Shared Memory Viewer under "GPU #[0]: GPU NAME," in "GPU D3D Usage", and "GPU Thermal Diode." You'll notice that the Type under "Entry Details" will change from "Temperature" to "Usage."
9. Now, refresh the RMTango Skin. If I wrote about this right, everything but the WiFi info will be filled. That requires an extra step by going back into the RMTango Skin, looking at Line 13, changing the website to a valid one (Don't forget the full address!), and following the instructions on the next line.
Two things to keep in mind:
If you ever change your hardware, you will have to repeat this process for the respective hardware.
The HWiNFO App will have to remain running in the background for the CPU/GPU stats to work. It should already be set as a start-up app by default.
Enjoy!
")
👍: 0 ⏩: 1
I only tested it with HWinfo Version 5.82-3410, so your results may vary based on what version you have. I will probably post a successor to these instructions when 6.0 comes out.
👍: 0 ⏩: 0
